Broken Truss in Attic: Your Ultimate Guide to a Scary Problem
Discovering a broken truss in your attic can be alarming. These critical structural components are the backbone of your roof, and any damage can feel like a major crisis. But before you panic, know that this is a solvable problem.
This comprehensive guide will walk you through everything you need to know. We’ll cover how to spot the signs of a broken truss, understand the causes, and outline the steps for a safe and effective repair.
You'll Learn About
What Are Roof Trusses and Why Are They Important?
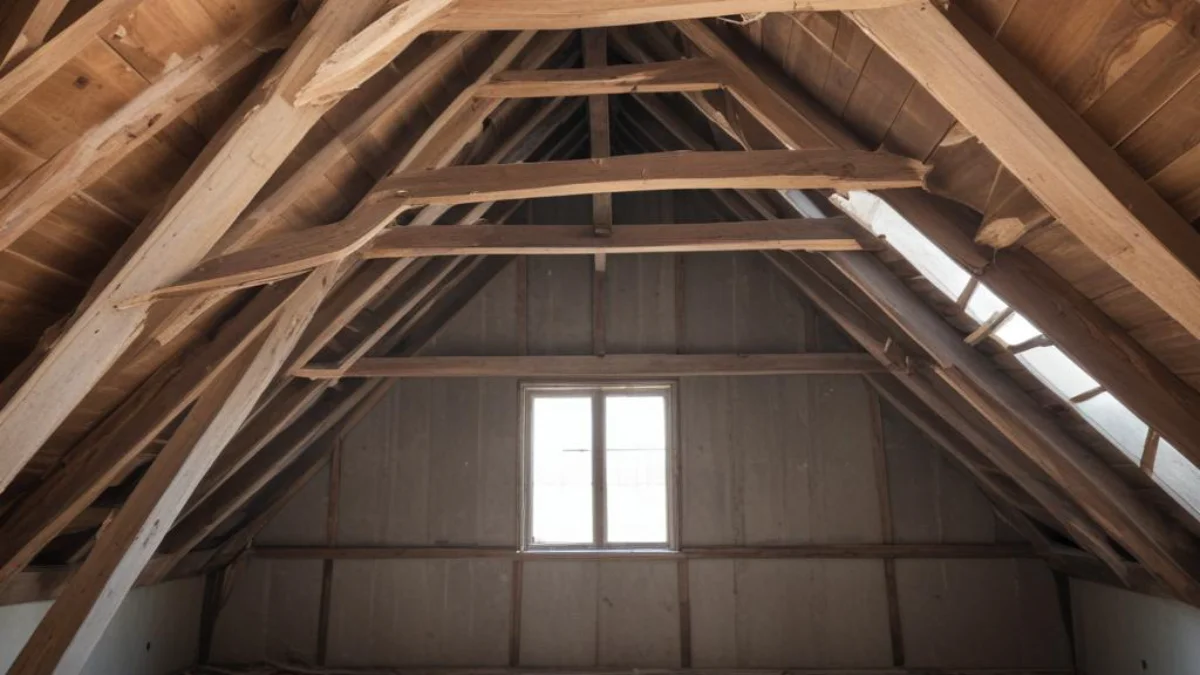
Roof trusses are pre-engineered triangular wood frames that form the support system for your roof. They are designed by engineers to distribute the weight of the roof evenly across the exterior walls of your home. This precise engineering is what makes them so strong and vital to your home’s structural integrity.
A single compromised truss can disrupt this delicate balance, leading to a cascade of problems. Ignoring a broken truss can result in sagging roofs, ceiling and wall cracks, and in the worst-case scenario, a roof collapse.
How to Identify a Broken Truss in Your Attic
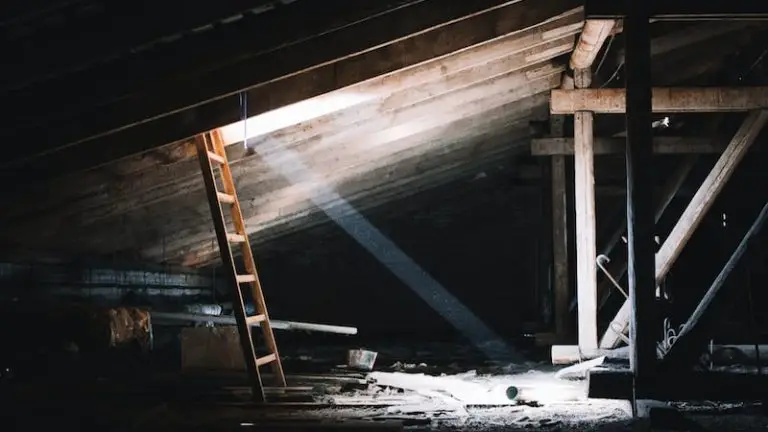
The first step to fixing the problem is identifying it. A thorough inspection of your attic is key. Grab a powerful flashlight and look for these tell-tale signs of a damaged or broken truss.
Visible Cracks and Splits
The most obvious sign of a problem is a visible break or crack in the wood. Look closely at the long wooden members (called chords) and the smaller, angled pieces (called webs). A fracture, no matter how small, is a serious red flag.
Pay attention to the connections. Trusses are held together by metal connector plates, also known as gussets. If these plates are bent, corroded, or pulling away from the wood, the joint is weakened and compromised.
Sagging or Bowing
Stand back and look at the overall roofline from inside your attic. Does it appear straight and level? Any noticeable sagging or dipping in the roof is a strong indicator of truss failure.
You might also see this from the outside of your home. A sagging ridgeline is a serious symptom that requires immediate attention from a professional.
Signs of Trouble in Your Living Space
Problems in the attic don’t always stay in the attic. A failing truss system can manifest as structural issues throughout your home. Be on the lookout for new or expanding cracks in your ceilings or interior walls, especially above doors and windows.
Doors that suddenly stick or become difficult to close can also be a symptom. This indicates a shift in the house’s frame, which could be caused by a compromised roof structure.
Common Causes of a Broken Attic Truss
Understanding what causes trusses to break can help you prevent future issues. The damage is often the result of a few common culprits.
Water Damage and Rot
Persistent moisture from a roof leak is a primary enemy of wooden trusses. Water can lead to wood rot and insect infestations, both of which severely weaken the lumber and can cause it to fail. Regularly inspecting your roof for leaks is a critical preventative measure.
Improper Alterations or Storage
Trusses are engineered as a complete system; you cannot cut or alter them without compromising their strength. Homeowners sometimes cut web members to create storage space or to install equipment like HVAC units, which is a dangerous mistake.
Piling heavy items onto the bottom chords of the trusses can also cause them to break. Trusses are not designed to support significant storage weight unless they are specifically designed as “attic trusses.” If you want to use your attic for storage, understanding if it is ok to put plywood over attic insulation depends heavily on your truss design.
Poor Installation or Design Flaws
Though less common, errors during the construction phase can lead to truss failure. Improper installation, inadequate bracing, or a design that doesn’t account for local conditions (like heavy snowfall) can put undue stress on the system.
Storms and Accidental Damage
Severe weather events like hurricanes, tornadoes, or heavy snowstorms can place extreme loads on a roof, leading to truss damage. Accidental damage can also occur during renovations or if a tree falls on the house.
Fixing a Broken Truss: A Step-by-Step Guide
Repairing a broken truss is not a typical DIY project. For anything beyond a minor, single crack, you must consult a professional. A broken truss is a structural issue that can affect the safety of your entire home.
When to Call a Professional Immediately
You should contact a licensed structural engineer without delay if you notice any of the following:
- Multiple broken or cracked trusses.
- A sagging roofline.
- Large, displaced cracks in your ceilings or walls.
- Damage caused by a significant event like a fire or major impact.
An engineer will assess the damage and provide a stamped, official repair plan. This is often required for building permits and is crucial for ensuring the repair is safe and effective.
DIY Repair for Minor Cracks (With Caution)
For a single, small crack in a non-critical area, a homeowner with advanced carpentry skills might perform a repair. The most common method is called “sistering.” This involves reinforcing the damaged member by attaching new lumber on either side.
Step 1: Temporary Support. Before you do anything, you must support the truss to take the load off the damaged area. This typically involves building temporary support walls under the affected truss.
Step 2: Prepare the Reinforcement. Cut two pieces of lumber (of the same dimension as the damaged member) to span well beyond the crack on both sides. A common recommendation is to extend the new pieces at least two feet past the break in each direction.
Step 3: Attach the “Sisters.” Apply a strong construction adhesive to the faces of the new lumber. Sandwich the broken truss member between the two new pieces, clamp them tightly, and fasten them securely with structural screws or bolts.
Step 4: Gusset Plate Reinforcement. For added strength, especially at joints, you can create gusset plates from 3/4-inch plywood or OSB. These plates should be glued and screwed over the repaired joint to further tie the members together.
| Sign of Damage | Risk Level | Recommended Action |
|---|---|---|
| Small, hairline crack in a single web member | Low to Moderate | Monitor closely. A DIY “sistering” repair may be possible for experienced individuals, but professional consultation is recommended. |
| A completely broken or split truss member (chord or web) | High | Immediately call a structural engineer. Do not attempt a DIY repair. The area needs professional assessment and a specific repair plan. |
| Bent or corroded metal connector plates (gussets) | Moderate to High | Contact a professional. These plates cannot be simply hammered back in; the joint integrity is compromised and requires an engineered solution. |
| Noticeable sagging of the roof or ceiling | Very High | Evacuate the area below if severe and call a structural engineer immediately. This indicates a significant structural failure is in progress. |
| Multiple damaged trusses | Very High | Call a professional immediately. This is a systemic issue that compromises the entire roof structure. Do not enter the attic. |
The Cost of Repairing a Broken Truss
The cost to fix a broken truss can vary widely depending on the extent of the damage. A simple repair designed by an engineer and executed by a contractor might cost between $500 and $3,000.
If the damage is extensive and requires replacing multiple trusses or significant portions of the roof, the costs can escalate substantially, potentially running into many thousands of dollars. It’s always wise to get multiple quotes from qualified contractors based on the engineer’s repair plan.
Preventing Future Truss Damage
Once your truss is repaired, you’ll want to prevent future problems. Regular attic inspections, especially after major storms, are crucial. Address any roof leaks promptly to prevent water damage.
Never alter or cut any part of a truss without consulting an engineer. Be mindful of storage; while it may be convenient, improperly loading your attic can lead to costly structural damage. And if you’re ever considering a project that involves your home’s utilities, like switching from propane to an electric water heater, ensure any attic work is done without compromising the roof structure.
Finally, for those who work with various sealants and compounds in home repairs, always know how to clean pipe dope and other materials properly to maintain a clean and safe work environment. A well-maintained home is a safe home, from the foundation to the peak of the roof.