How to Secure Extension Cord to Outside Wall: The Ultimate Guide
A loose extension cord snaking across your yard or dangling from a wall is more than just an eyesore. It’s a significant safety hazard, a tripwire waiting to happen, and an invitation for damage to the cord itself. Properly securing an extension cord to an outside wall is a critical step for anyone using temporary power for holiday lights, garden tools, or outdoor entertainment.
Many homeowners struggle with this common problem, unsure of the best methods that won’t damage their home’s exterior or compromise safety. This comprehensive guide provides a definitive solution, walking you through the safest, most effective techniques to secure your cords, regardless of your wall type.
You'll Learn About
Why a Dangling Extension Cord Is a Major Problem
Leaving an extension cord unsecured outdoors is a gamble with safety and your property. Understanding the specific risks involved underscores the importance of taking a few extra minutes to fasten it correctly.
The Tripping and Electrical Safety Hazard
The most immediate danger is the risk of tripping. A taut, unsecured cord across a walkway, patio, or lawn can easily catch a foot, leading to serious falls and injuries. Furthermore, a loose cord is more susceptible to damage from lawnmowers, foot traffic, or gnawing animals, which can expose live wires and create a severe risk of electric shock, especially in wet conditions.
Protecting Your Cord and Your Wallet
Outdoor-rated extension cords are an investment. When left to hang loosely, the constant strain on the plug and connector can cause premature wear and internal damage. Scrapes and abrasions from rubbing against rough surfaces like brick or concrete can compromise the protective insulation, rendering the cord unsafe and forcing you to buy a replacement.
Maintaining Your Home’s Curb Appeal
A neatly secured cord looks professional and intentional. An orange or yellow cord haphazardly draped across your home’s beautiful facade detracts from its curb appeal. Properly routing and securing the cord makes your outdoor lighting and power setup look clean, tidy, and well-maintained.
Choosing the Right Gear: Not All Cords and Clips Are Created Equal
Before you even think about attaching the cord, you must ensure you’re using the right equipment for the job. Using an indoor cord outside is a major safety violation and fire hazard. You must select a cord specifically designed for outdoor use.
Selecting a Weatherproof Outdoor Extension Cord
Look for extension cords with a “W” on the jacket, such as “SJTW” or “SJEOW”. This letter indicates the cord is rated for outdoor use, meaning its insulation is resistant to moisture, UV rays, and temperature changes. Also, consider the cord’s gauge (AWG); a lower number indicates a thicker wire that can handle more power over longer distances. For most home applications, a 12 or 14-gauge cord is sufficient.
Proper home maintenance is all about proactive safety checks. Just as you might wonder if you should replace a 30 year old water heater to prevent a leak, you should always inspect your extension cords for damage before use.
The Definitive Guide: How to Secure an Extension Cord to Any Outside Wall
Securing a cord isn’t a one-size-fits-all task. The best method depends entirely on your home’s exterior material. Here, we break down the most effective techniques for wood, vinyl, stucco, brick, and concrete walls.
Method 1: Coaxial Staples or Cable Clips for Wood and Siding
For wood siding, fences, or deck posts, the simplest method is using cable clips or staples. It’s crucial to use the right kind to avoid damaging the cord’s insulation. Never use standard office staples or U-shaped nails that can pierce the cord.
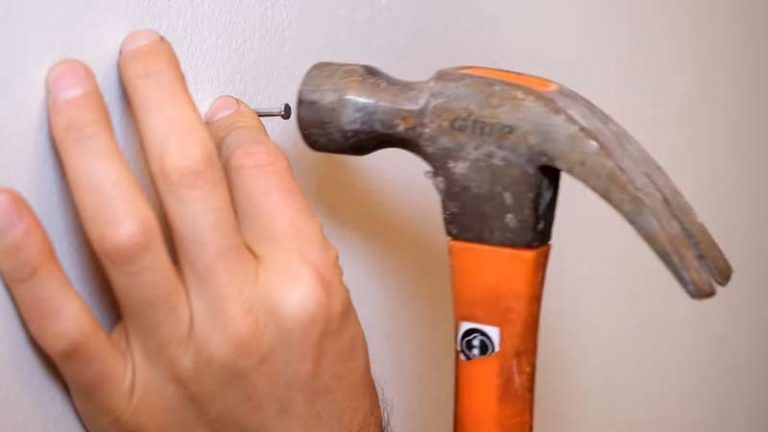
Choose insulated staples (often used for coaxial cable) or plastic cable clips that have a built-in nail. Position the clip over the cord and hammer the nail gently into the wood surface. Space the clips every 12-18 inches to keep the cord snug against the wall.
Method 2: Adhesive Clips for a Damage-Free Solution
If you’re a renter or simply don’t want to drill holes in your siding or stucco, outdoor-rated adhesive hooks and clips are an excellent choice. Look for brands that are specifically designed to withstand weather, UV light, and temperature fluctuations.
First, thoroughly clean the surface with isopropyl alcohol to ensure a strong bond. Then, simply peel the backing and press the adhesive clip firmly against the wall for 30-60 seconds. This is a perfect solution for temporary setups like holiday lighting, similar to the planning needed for a project like determining how to hang lights on a steep roof.
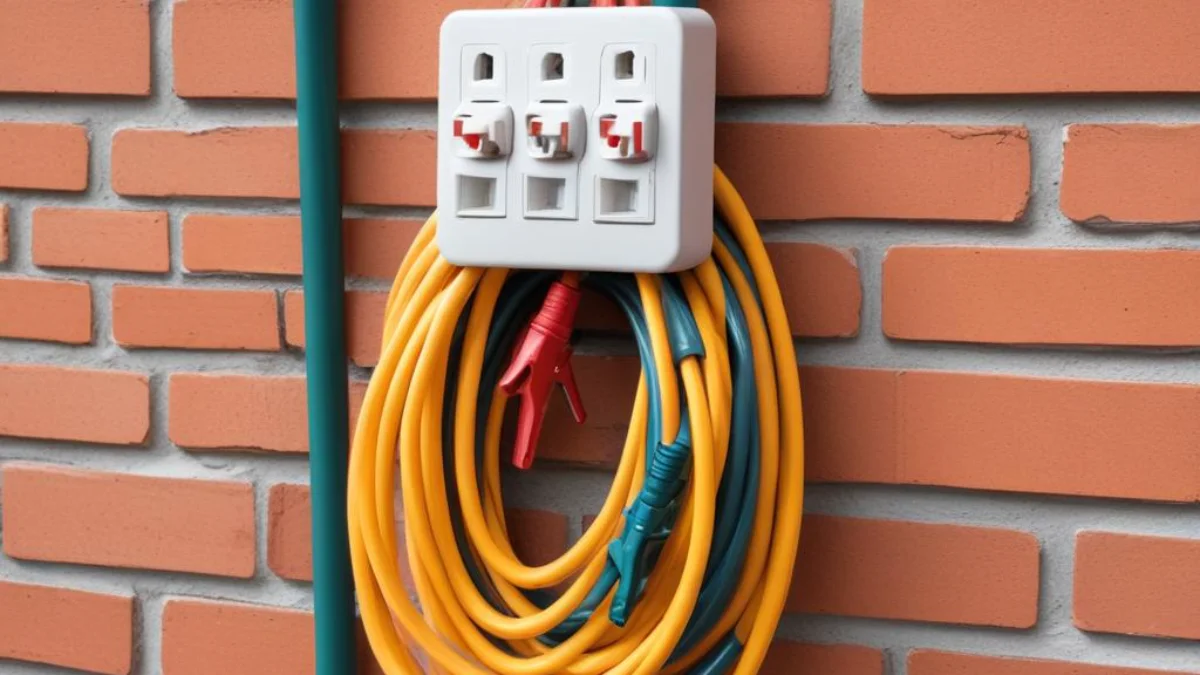
Method 3: Masonry Anchors for Brick and Concrete Walls
Attaching anything to brick or concrete requires more robust hardware. This is the most secure and permanent method for heavy-duty cords that will be in place for an extended period. You will need a hammer drill, a masonry bit, and specialized fasteners.
Start by drilling a pilot hole into the mortar joint, not the brick itself, as mortar is easier to drill and repair. Insert a plastic or lead wall anchor into the hole. Then, use a screw-in cable clamp or a P-clamp to secure the extension cord, fastening the screw into the anchor for a rock-solid hold.
Tools and Materials at a Glance
Having the right tools on hand makes the job quicker, safer, and more professional. The specific tools you need will depend on the method you choose, which is dictated by your wall type. Here is a breakdown of what you’ll need for each scenario.
| Wall Type | Primary Fastener | Required Tools | Best For |
|---|---|---|---|
| Wood / Wood Siding | Insulated Staples or Nail-In Cable Clips | Hammer | Semi-permanent installations, holiday lights, deck lighting. |
| Vinyl / Aluminum Siding | Siding Hooks or Outdoor Adhesive Clips | None (for hooks), Isopropyl Alcohol (for adhesive) | Temporary, damage-free setups. Ideal for renters. |
| Stucco / Painted Surfaces | Outdoor Adhesive Clips | Isopropyl Alcohol, Level | Temporary to semi-permanent use where drilling is not desired. |
| Brick / Concrete Block | Masonry Anchors with Cable Clamps | Hammer Drill, Masonry Bit, Hammer, Screwdriver | Long-term, heavy-duty applications requiring maximum security. |
Common Mistakes to Avoid at All Costs
Securing your extension cord can be a simple task, but a few common errors can lead to dangerous situations or damage to your home. Avoiding these pitfalls is just as important as following the correct steps.
Never Puncture the Cord’s Insulation
This is the cardinal sin of securing cables. Using a standard nail, a non-insulated metal staple, or any sharp object that could pierce the cord’s protective jacket creates a massive risk of electrocution and fire. It’s important to select the right fastener; just as a specific insulation retainer clip is designed for one job, a cable clip is designed to hold a cord without damaging it.
Don’t Create a Water Channel
When drilling into your home’s exterior, be mindful of water intrusion. Always apply a dab of exterior-grade silicone caulk in the hole before inserting the anchor or screw. This creates a waterproof seal, preventing moisture from seeping into your walls, which is just as important as ensuring proper outdoor drainage, like when deciding if you need gravel for a solid drain pipe installation.
Avoid “Daisy-Chaining” Cords
Plugging multiple extension cords into each other to increase length is a dangerous practice that can overload the circuit and create a fire hazard. Always use a single cord that is long enough to reach your destination without being stretched taut.
The Best Long-Term Solution: Install an Outdoor Outlet
While securing an extension cord is a great temporary solution, the safest and most convenient long-term strategy is to install a permanent outdoor electrical outlet. This eliminates the need for long cord runs from inside your home or garage.
Installing a GFCI-protected (Ground Fault Circuit Interrupter) outdoor receptacle provides a dedicated, weatherproof power source right where you need it. While some complex electrical work, like installing an electrical outlet inside a fireplace, is best left to specialists, adding a basic outdoor outlet can be a manageable DIY project for those with electrical experience. Otherwise, hiring a licensed electrician is a wise investment for guaranteed safety and code compliance.
Conclusion: Power Your Outdoors Safely and Stylishly
Securing an extension cord to an outside wall is a simple but essential task for home safety and maintenance. By choosing the right outdoor-rated cord and matching your fastening method to your wall type—be it clips for wood, adhesive hooks for vinyl, or masonry anchors for brick—you can eliminate dangerous tripping hazards and protect your equipment.
A neatly secured cord not only enhances safety but also improves the overall look of your property. Take the time to do it right, and you can enjoy your outdoor power needs with peace of mind, knowing your setup is secure, professional, and built to last.