How to Remove Glued Wood From Walls Without Destroying Them
That decorative wood paneling, elegant wainscoting, or charming chair rail looked great in a different era. Now, it just looks dated, and it’s standing between you and a fresh, modern space.
Unfortunately, it was installed with a generous amount of construction adhesive, turning what seems like a simple removal job into a homeowner’s nightmare.
Removing wood that has been aggressively glued to a wall is a challenging task that requires more patience than brute force.
Rushing the process will almost certainly lead to significant wall damage, leaving you with a much larger repair job. The key is to work slowly and methodically to break the adhesive’s bond without taking large chunks of your drywall or plaster with it.
You'll Learn About
Before You Begin: Assess the Situation
Before you pick up a single tool, it’s crucial to understand what you’re up against. The type of wall, the kind of wood element, and the likely adhesive used will all dictate your strategy. Taking a few moments to assess the project can save you hours of frustration and repair work later on.
Identify Your Wall and Wood Type
First, determine what your wall is made of. Most modern homes have drywall, which consists of a gypsum core pressed between two thick sheets of paper.
Older homes might have plaster walls, which are harder and more brittle. Gently tap on the wall; drywall will sound hollow, while plaster feels more solid. Knowing this is critical because drywall is much easier to damage, especially the paper facing.
Next, identify the wood element. Are you removing thin, flexible wood paneling, thick decorative molding, or solid wainscoting?
Thicker, more rigid pieces of wood are often harder to remove without creating leverage points that can damage the wall. Paneling, while thinner, often covers a larger surface area with more adhesive.
Understanding the Enemy: Construction Adhesives
The biggest challenge is the glue itself. In most cases, the adhesive used is a powerful construction-grade product, such as Liquid Nails or a similar polyurethane-based glue.
These adhesives are designed to create a permanent bond and are resistant to simply being pulled apart. The goal isn’t just to pull the wood off; it’s to weaken the glue’s grip first.
Gathering Your Arsenal: Tools and Safety Gear
Having the right tools on hand is non-negotiable for this project. Working with the wrong equipment will increase the likelihood of damaging the wall and can also be unsafe. Prepare your workspace by laying down drop cloths to protect your floors and clearing the area of furniture.
Essential Tools for the Job
Your toolkit should include a variety of prying and scraping tools, as well as items to help you weaken the adhesive. You will need a utility knife to score the edges, a flexible putty knife, a stiff scraper, and a sturdy pry bar. For applying heat, a heat gun or even a powerful hairdryer is essential. For wall repairs afterward, have spackle or joint compound, a sanding block, and primer ready.
Safety First: Protect Yourself
Always prioritize your safety. Wear safety glasses to protect your eyes from flying debris and glue chips. A good pair of work gloves will prevent splinters and cuts. If you plan on using chemical solvents, ensure the area is well-ventilated and consider wearing a respirator mask to avoid inhaling fumes.
The Main Event: Step-by-Step Removal Techniques
There is no single magic bullet for removing glued wood. Success often comes from a combination of methods tailored to how stubbornly the adhesive is holding on. Patience is your most valuable tool; work in small, manageable sections rather than trying to rip off an entire panel at once.
Method 1: The Careful Prying Approach
This method relies on mechanical force but must be done with precision to avoid gouging the wall. Start by using a utility knife to score the caulk or paint lines along the top and bottom edges of the wood. This simple step prevents the paint from peeling off the wall along with the wood trim.
Next, gently work a thin putty knife into the seam between the wood and the wall. The goal is to create a small gap. Once you have an opening, you can introduce a wider, sturdier tool like a pry bar. Crucially, always place a scrap piece of wood or a wide putty knife behind the pry bar to distribute the pressure and protect the wall surface from damage. Work your way along the wood, prying gently every few inches to slowly loosen it.
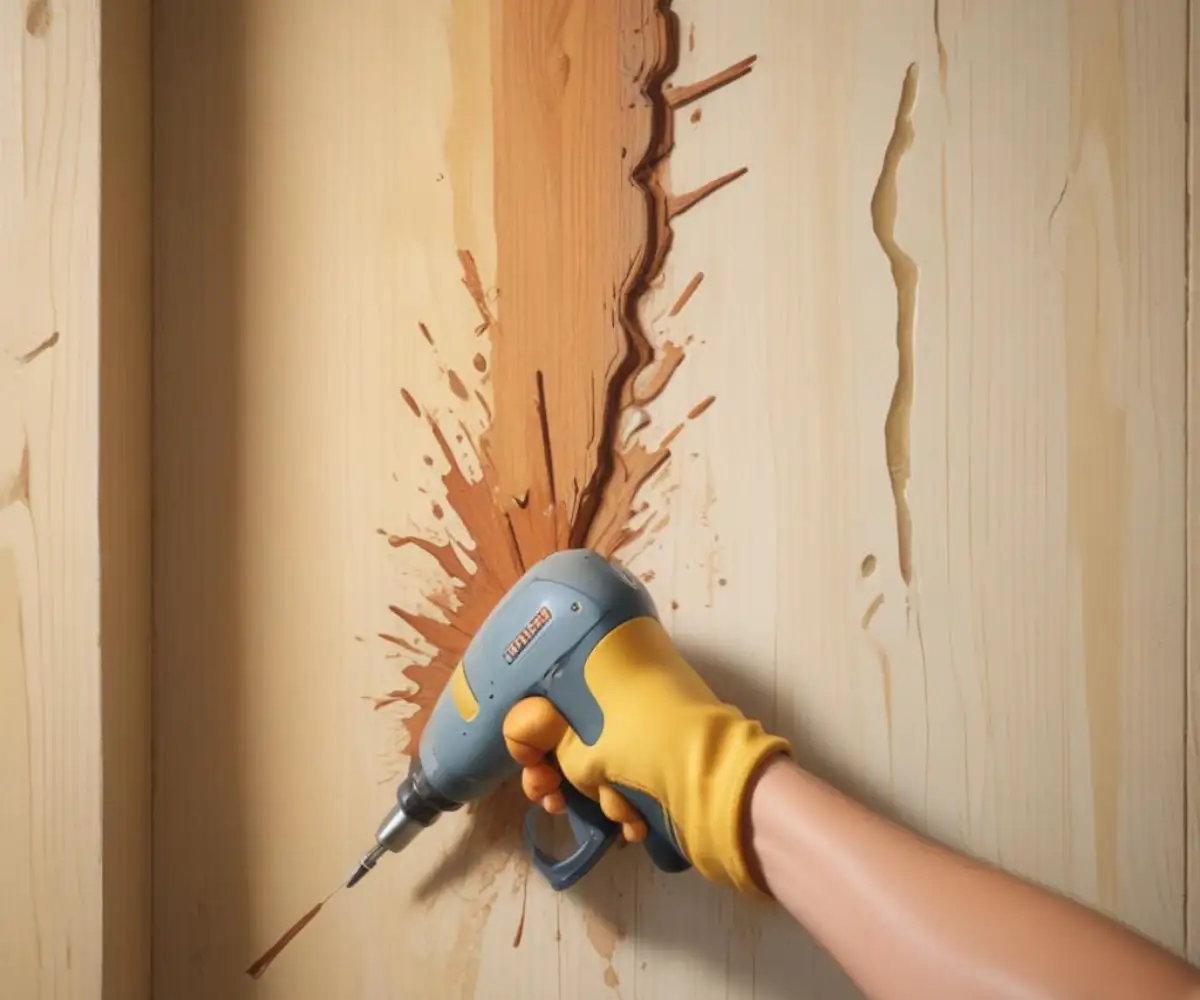
Method 2: Bringing the Heat
Construction adhesive can be softened with heat. A heat gun is the most effective tool for this, but a hairdryer on its highest setting can also work for less stubborn glue. Hold the heat gun a few inches from the wood surface and move it back and forth continuously to avoid scorching the wood or damaging the wall behind it.
Heat a small section for a minute or two until the wood feels warm to the touch. Then, immediately try the prying method described above. You should find that the softened adhesive gives way much more easily. This combination of heating and prying is often the most effective strategy.
Method 3: Using Solvents and Adhesive Removers
If heat and prying aren’t enough, you can turn to chemical solutions. There are various commercial adhesive removers available designed to dissolve tough glues. However, always test the solvent on a small, inconspicuous area of the wall first to ensure it doesn’t damage the paint or the wall surface itself.
Apply the solvent according to the manufacturer’s instructions, which usually involves letting it sit for a period to penetrate the adhesive. Once the glue has softened, you can begin scraping it away with a putty knife. Some people have also found success with household items like vinegar or mineral spirits, although these are typically less effective on heavy-duty construction glues.
Comparing Removal Methods
To help you decide which approach to start with, here is a comparison of the primary methods for removing glued wood from walls. Often, the best results come from using a combination of these techniques.
| Method | Pros | Cons | Best For |
|---|---|---|---|
| Mechanical Prying | No chemicals or heat required; fast if adhesive is weak. | High risk of wall damage if done carelessly; requires physical effort. | Trim or panels with already loose sections or weaker adhesive. |
| Heat Application | Very effective at softening stubborn adhesives; reduces the force needed to pry. | Risk of scorching wood or damaging paint; potential fire hazard if not used carefully. | Thick, stubborn construction adhesives like Liquid Nails. |
| Chemical Solvents | Can dissolve adhesive with minimal physical effort; good for residue cleanup. | Can damage paint/wall finishes; requires good ventilation due to fumes. | Removing leftover adhesive residue after the bulk of the wood is gone. |
The Aftermath: Dealing with Adhesive Residue
Once the wood is off the wall, you will almost certainly be left with a battlefield of hardened glue residue. Removing this is essential for achieving a smooth finish for painting or wallpapering. This step can be just as tedious as removing the wood itself.
Start by using a stiff scraper or a razor blade scraper held at a low angle to shave off the high points of the glue. For stubborn spots, reapply heat to soften the residue before scraping. After you’ve removed as much as you can mechanically, you can use an adhesive remover to tackle the remaining film. Finish by lightly sanding the area to blend it with the surrounding wall.
Wall Repair and Restoration: The Final Frontier
No matter how careful you are, some wall damage is almost inevitable. You’ll likely have to deal with torn drywall paper, gouges, and holes. The final stage of this project is to repair that damage to create a flawless surface.
Patching and Skim Coating
For small dings and areas where the drywall paper has torn, you’ll need to apply a thin layer of spackle or joint compound. First, seal any torn paper with a primer; otherwise, the moisture from the joint compound can cause it to bubble. Once primed, apply the compound with a putty knife, feathering the edges to blend with the wall.
If the damage is extensive, you may need to apply a skim coat, which involves spreading a thin layer of joint compound over the entire damaged area to create a new, smooth surface. This process is more involved than just figuring out how to remove glued cabinet knobs, but it’s the correct way to fix widespread surface damage. After the compound dries completely, sand it smooth with fine-grit sandpaper.
Priming and Painting for a Flawless Finish
After all repairs are made and the wall is smooth, wipe it down with a damp cloth to remove all dust. Apply a coat of high-quality primer to the entire wall. Priming is essential as it seals the repairs and ensures the final paint coat has a uniform appearance. Once the primer is dry, you can finally apply your new paint color and enjoy your updated, modern space.
While removing glued wood can be a difficult job, it’s a manageable DIY project with the right approach. On rare occasions, removing decorative elements might reveal deeper structural issues, similar to what one might find during a project to resheath a house. However, for most cosmetic updates, the biggest challenge is patience. If the damage seems too extensive or you are unsure about the repairs, don’t hesitate to call a professional. Sometimes complex jobs, like learning how to remove iron balusters, are best left to those with experience. But with careful work, you can successfully remove that unwanted wood and give your room the new look it deserves.