How to Remove an Attic Fan: Your Ultimate DIY Guide
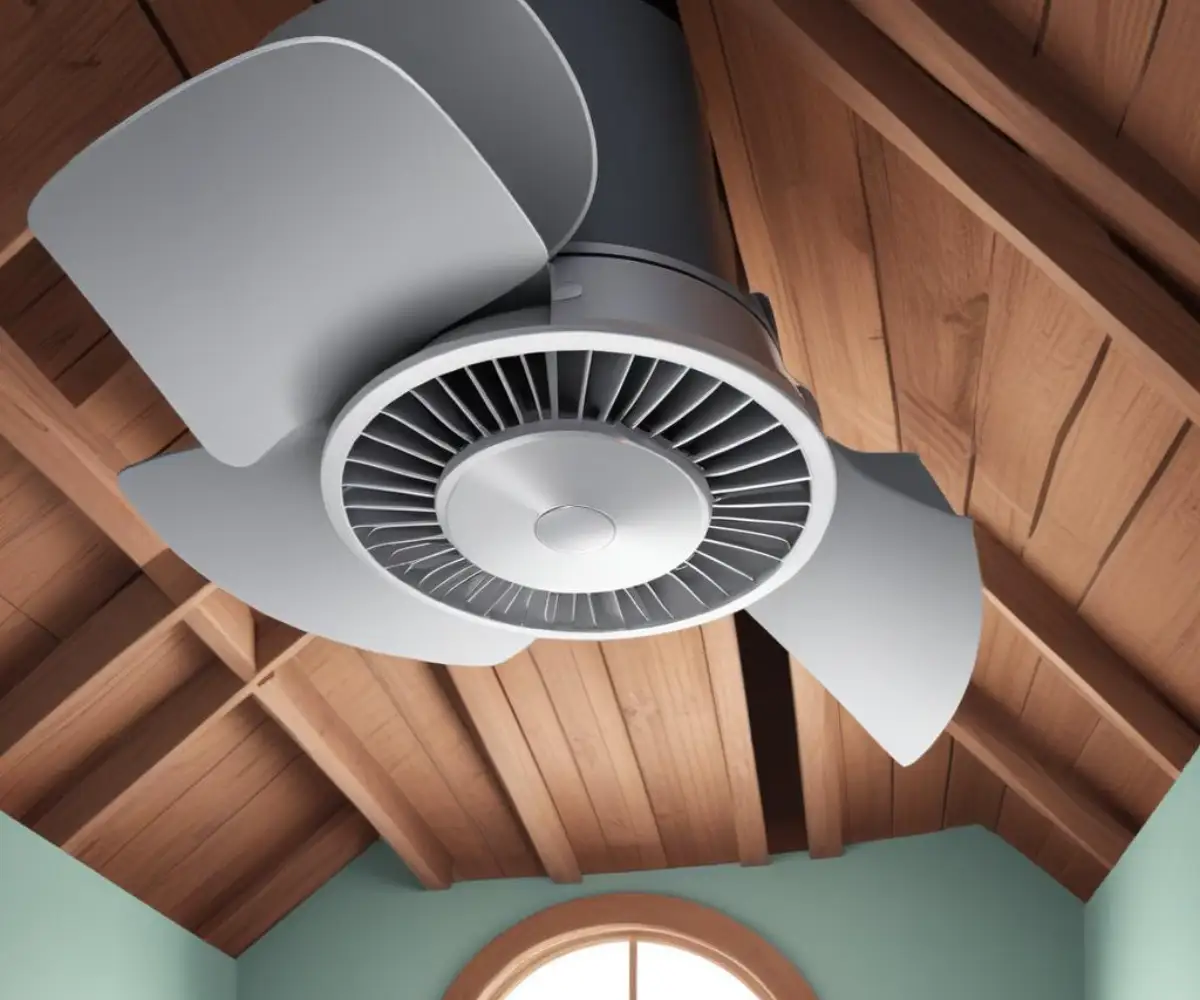
That old attic fan has been rattling for years. Maybe it stopped working altogether, or perhaps you’ve realized it’s an outdated piece of equipment doing more harm than good. Whatever the reason, you’ve decided it’s time for it to go. Removing an attic fan can feel like a daunting task, involving electrical work, heights, and navigating the tight confines of an attic, but with the right preparation and a clear plan, it’s a project well within the reach of a determined DIYer.
This guide provides a comprehensive walkthrough of the entire process, from understanding why removal is often the best choice to safely disconnecting the unit and deciding what to do with the resulting opening. Empower yourself with the knowledge to reclaim your attic, improve your home’s efficiency, and silence that noisy relic for good.
You'll Learn About
Why Bother Removing a Power Attic Fan?
Before diving into the “how,” it’s important to understand the “why.” While once considered essential for cooling, modern building science has revealed several significant downsides to traditional powered attic ventilators, making their removal a smart home improvement project.
The primary issue is the potential for negative pressure. When an attic isn’t perfectly sealed from the living space below (and very few are), a powerful attic fan can pull conditioned, cooled air straight from your home up into the attic. This depressurization forces your air conditioner to work harder, effectively canceling out any cooling benefits and driving up your energy bills. This problem is especially pronounced in homes without adequate soffit ventilation for the fan to draw outside air.
Furthermore, this negative pressure can pose a serious safety risk. It can cause backdrafting in fuel-burning appliances like gas water heaters or furnaces. Instead of venting harmful combustion gases like carbon monoxide outside, the fan can pull them back into your living space, creating a dangerous indoor air quality hazard. Considering these risks, and the fact that many older fans are noisy and inefficient, removal is often the most logical step forward.
Understanding Your Attic’s Ventilation System
Removing an attic fan is more than just taking out a piece of machinery; it’s an opportunity to re-evaluate and improve your home’s entire ventilation strategy. Modern homes benefit most from a balanced passive ventilation system. This system relies on the natural principle that hot air rises.
Cooler air enters through intake vents located at the lowest part of the roof (the soffits) and pushes the hot, moist air up and out through exhaust vents at the highest point (the ridge). This continuous, silent airflow requires no electricity and is highly effective at keeping the attic temperature and humidity in check. When you remove your powered fan, you can replace it with a passive vent, which enhances this natural cycle and improves your home’s overall health.
Safety First: The Critical Pre-Removal Checklist
Working in an attic and with electricity requires a serious commitment to safety. Do not skip these preparatory steps. Rushing into the project without the right gear and precautions can lead to injury or property damage.
The absolute, non-negotiable first step is to shut off all power to the attic fan at the circuit breaker. Locate your home’s main electrical panel and flip the breaker that controls the fan circuit. If the breaker isn’t clearly labeled, you may need to test a few. Confirm the power is off by trying to operate the fan’s switch. For an extra layer of certainty, use a non-contact voltage tester at the fan’s wiring to ensure no current is present before you touch any wires.
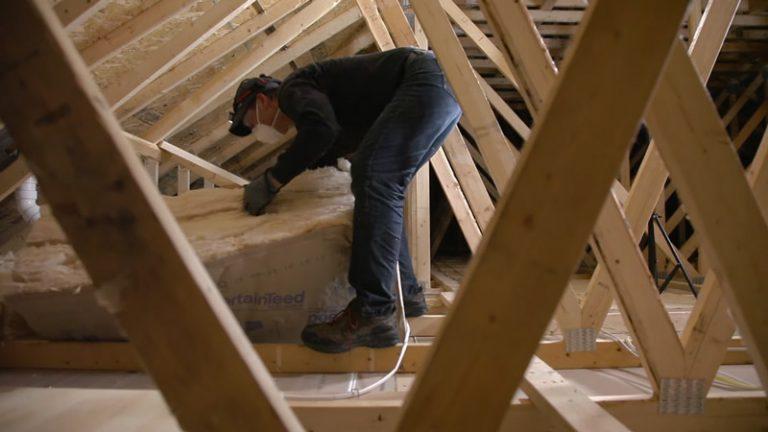
Next, gather your tools and safety equipment. Working in a cramped, poorly lit attic is challenging, so having everything you need within reach will make the job smoother and safer. Prepare the area by laying down plywood boards across the joists to create a stable working platform. Never step on the drywall between joists, as it cannot support your weight.
Tools and Materials You’ll Need
Having the right tools is half the battle. This table outlines the essential equipment for a successful attic fan removal project. Prepare everything in advance to avoid multiple trips up and down the attic ladder.
| Category | Item | Purpose |
|---|---|---|
| Safety Gear | Safety Goggles/Glasses | Protect eyes from dust, insulation, and falling debris. |
| Dust Mask or Respirator | Prevent inhalation of insulation fibers and dust. | |
| Work Gloves | Protect hands from sharp edges and splinters. | |
| Headlamp or Work Light | Ensure clear visibility in a dark attic. | |
| Electrical Tools | Non-Contact Voltage Tester | Crucial for confirming power is off. |
| Screwdriver Set (Phillips & Flathead) | Remove junction box covers and mounting screws. | |
| Wire Strippers/Cutters | Cut and strip wires safely. | |
| Wire Nuts | Cap off disconnected electrical wires securely. | |
| General Tools | Socket Wrench Set or Adjustable Wrench | Loosen and remove bolts securing the fan housing. |
| Pry Bar | Help loosen the fan housing if sealed with roofing cement. | |
| Utility Knife | Cut away old caulk or sealant. | |
| Ladder | Safely access the attic. |
Step-by-Step Guide to Removing Your Attic Fan
With your safety precautions in place and tools at the ready, it’s time to begin the removal process. This process can vary slightly depending on whether you have a roof-mounted fan (mushroom-style) or a gable-mounted fan (on a vertical wall), but the core electrical and mechanical steps are the same.
Step 1: Disconnect the Electrical Wiring
Even with the power off, treat all wiring as if it were live. Locate the junction box where the house wiring connects to the fan motor. Use a screwdriver to remove the cover. Inside, you will typically see three wires: a black (hot), a white (neutral), and a bare copper or green (ground) wire, connected by wire nuts.
Carefully unscrew the wire nuts to separate the house wiring from the fan wiring. Use your voltage tester one last time on the exposed copper wires to be absolutely certain there is no power. Once confirmed, you can proceed. The fan is now electrically disconnected from your home.

Step 2: Remove the Fan Motor and Blades
The next task is to remove the core of the unit: the motor and fan blades. This assembly is typically held in place by several bolts or screws attached to mounting brackets. Using a socket wrench or screwdriver, carefully remove these fasteners. Keep a firm grip on the motor assembly, as it can be heavy and awkward to handle.
If the fan blades are preventing you from removing the motor, you may need to detach them first. Look for a small set screw on the collar of the fan blade assembly where it meets the motor shaft. Loosening this screw with an Allen key should allow you to slide the blades off. Once the motor assembly is free, carefully lift it out of the housing and set it aside.
Step 3: Detach the Fan Housing
Now all that remains is the external housing. The method for this step differs based on the fan type.
For a gable-mounted fan, the housing is usually screwed or bolted directly to the attic’s wall framing. Simply remove these screws from the inside, and the unit should come free. You may need to cut through a bead of old caulk on the exterior with a utility knife to fully release it.
For a roof-mounted fan, the process is more involved as it is integrated with your roofing material. From the attic, remove any brackets securing the housing to the roof rafters. Then, you will need to get on the roof. Use a pry bar to carefully lift the shingles surrounding the fan’s flashing (the metal sheet that prevents leaks). Remove the roofing nails securing the flashing to the roof deck. Once the fasteners are removed, you can lift the entire fan housing and flashing off the roof.
The Aftermath: Sealing the Opening and Handling the Wires
Removing the fan is only half the job. You are now left with a hole in your roof or wall and a live electrical wire in your attic. Addressing these two elements correctly is critical for the safety and integrity of your home.
Option 1: Replace with a Passive Vent (Recommended)
The best solution for the opening is to install a passive vent. This maintains crucial attic airflow and integrates seamlessly into a healthy ventilation system. For a gable opening, you can install a standard gable vent. For a roof opening, you can install a low-profile roof vent (often called a “turtle” or “box” vent). Ensure the new vent is properly sealed with roofing cement and fastened according to the manufacturer’s instructions to prevent leaks.
Option 2: Patching the Opening
If you choose to seal the hole completely, you must do so properly to prevent leaks and structural issues. For a gable wall, this involves framing the opening, adding sheathing, a weather barrier, and siding to match the exterior. For a roof, you’ll need to patch the hole in the roof deck with plywood, cover it with roofing felt, and install new shingles that integrate with the existing ones.
Safely Terminating the Electrical Circuit
You cannot simply leave the disconnected electrical wires exposed in the attic. The circuit must be safely terminated. The proper way to do this is to place the ends of the wires back inside an accessible junction box. Secure a wire nut on the end of each individual wire (black, white, and ground).
Then, place a blank cover plate over the junction box. This ensures the wires are safely contained and indicates that the box contains a terminated, non-active circuit. Do not bury this box under insulation; it must remain accessible according to electrical code.
When to Skip the DIY and Call a Professional
While this guide is designed for the capable DIYer, there are situations where calling a professional is the wisest choice. If you are at all uncomfortable with electrical work, do not attempt it. Improperly handled wiring is a serious fire hazard. Hire a licensed electrician to safely disconnect and terminate the circuit.
Additionally, if the fan is located on a very steep or high roof, the risk of a fall is significant. A professional roofer has the safety equipment and experience to work at heights safely. They can also ensure the opening is patched or a new vent is installed in a completely watertight manner, protecting your home from future water damage. The cost of professional help is a small price to pay for safety and peace of mind.
If your old fan was causing significant shaking, you might also want to investigate the source of the issue. Sometimes an attic fan vibration can indicate underlying structural issues that are best assessed by a professional.
Finally, if you’ve noticed strange smells in your attic, the ventilation change could have an impact. Poor airflow is a common cause of attic smells in summer, and ensuring your new ventilation plan is sound will help prevent future problems.
Conclusion: A Quieter, More Efficient Home
Removing an old, inefficient attic fan is a rewarding project that can improve your home’s energy efficiency, reduce noise, and eliminate potential safety hazards. By prioritizing safety, following a clear and methodical process, and properly addressing the resulting opening and wiring, you can confidently tackle this task yourself.
This project not only removes an obsolete piece of hardware but also represents a significant upgrade to your home’s ventilation system. By transitioning from forced, powered ventilation to a balanced, passive system, you are aligning your home with modern building standards that promise better performance, lower energy costs, and a healthier living environment for years to come.


