How to End a Dry Creek Bed: 7 Ideas for a Flawless Finish
A well-designed dry creek bed is a fantastic solution for landscape drainage, adding natural beauty while channeling excess water away from your home. But a common design flaw can leave this stunning feature looking awkward and unfinished: an abrupt ending. An improperly terminated dry creek bed looks less like a natural element and more like a project that simply ran out of steam (and rocks).
The termination point is not just about aesthetics; it is a critical functional component. Where and how your dry creek bed ends determines how effectively it manages water. A poor ending can lead to pooling, erosion, or simply dumping water where it’s not wanted. The goal is to create a seamless transition that is both beautiful and practical, ensuring water is dispersed safely and the feature blends harmoniously with the surrounding landscape.
You'll Learn About
Why a Deliberate Ending is Non-Negotiable
Thinking about the end of your dry creek bed from the very beginning of the planning process is essential for success. The termination point influences the path, slope, and materials of the entire feature. It’s the destination for the water you’re redirecting, so it needs to be able to handle the flow without causing new problems.
A proper finish ensures the water has a safe place to go, preventing it from flooding patios, overwhelming garden beds, or creating a swampy mess in your lawn. Aesthetically, a thoughtfully designed ending provides a satisfying visual conclusion, making the entire feature look intentional and professionally executed. It turns a simple drainage channel into a true landscape highlight.
1. The Rain Garden: A Functional & Beautiful Basin
One of the most effective and eco-friendly ways to end a dry creek bed is to have it flow into a rain garden. A rain garden is a shallow depression filled with water-tolerant plants and absorbent soil that is designed to collect, hold, and filter stormwater runoff. This solution transforms a drainage problem into a beautiful, thriving ecosystem.
By directing the water into a specially prepared basin, you allow it to slowly percolate into the ground. This process recharges groundwater, filters pollutants, and prevents the overwhelming of municipal storm systems. It’s an excellent way to manage heavy rainfall and is often encouraged by local municipalities as a green infrastructure solution.
Creating a Rain Garden Terminus
To create a rain garden, excavate a shallow basin, typically 6 to 9 inches deep, at the end of your creek bed. The size will depend on the amount of water you need to manage. Amend the soil with compost and sand to improve drainage and create a rich planting medium.
Choose native plants that can tolerate both wet and dry conditions. Plants like irises, sedges, and dogwood shrubs are excellent choices. As the dry creek bed meets the rain garden, the rocks can become larger and more spread out, creating a natural-looking delta that helps slow the water as it enters the basin.
2. The Subsurface Dry Well: An Invisible Solution
For those who need a highly efficient drainage solution without the visual footprint of a rain garden, a dry well is an excellent choice. A dry well is an underground structure that collects and slowly dissipates water into the surrounding soil. This is the perfect “out of sight, out of mind” ending for a dry creek bed.
This method is particularly effective for managing large volumes of water or for properties with heavy clay soil where surface infiltration is slow. It keeps your landscape looking clean and uncluttered while working efficiently beneath the surface to prevent waterlogging and flooding.
How to Install a Dry Well
A dry well is essentially a large, buried pit filled with gravel or a prefabricated drainage structure. The end of the dry creek bed is positioned over this pit, often terminating in a subtle grate or a collection of larger stones that allow water to flow directly down into the well.
The pit is lined with landscape fabric to prevent soil from clogging the gravel. As water flows down the creek bed, it enters the dry well and is held in the voids between the rocks, slowly seeping into the earth. This is a robust solution for significant drainage challenges, though it requires more excavation than other methods.
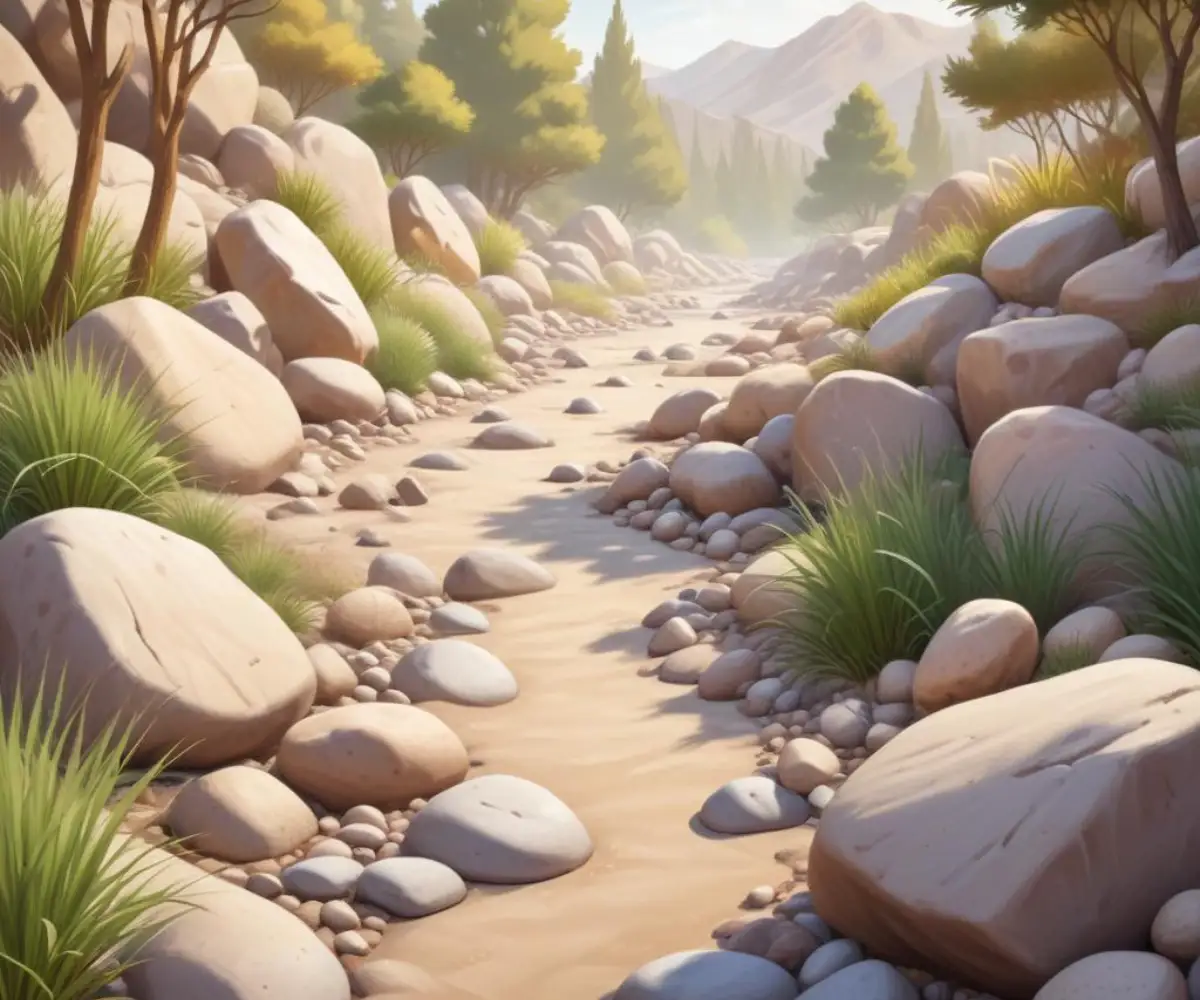
3. The Natural Fade: Blending into the Landscape
Perhaps the most artistic and natural-looking approach is to make the dry creek bed appear as though it’s simply disappearing back into the landscape. This technique requires a gentle touch and a good eye for natural patterns. The goal is to avoid a hard stop and instead create a gradual, organic transition.
This method works best when the primary purpose of the creek bed is more aesthetic than functional, or when it’s handling a relatively small amount of water. It excels at creating a sense of wonder and making the garden feel more expansive and wild.
Achieving a Seamless Disappearance
To create a natural fade, gradually decrease the size and density of the rocks at the end of the creek bed. The defined channel should widen and become less distinct, with the river rocks becoming more scattered as they blend into a mulch bed, a patch of groundcover, or the lawn.
Interspersing ornamental grasses and low-growing shrubs around the terminating rocks can further soften the edges. The key is to mimic how a natural stream would dissipate in a flat, absorbent area, creating a beautiful and subtle finish.
Choosing the Right Ending for Your Project
The best way to end your dry creek bed depends on your landscape’s specific needs, your budget, and your aesthetic goals. Consider both the function and the form to select a solution that will serve you well for years to come. Below is a comparison to help guide your decision.
| Termination Method | Primary Function | Aesthetic Style | Best For |
|---|---|---|---|
| Rain Garden | Infiltration & Filtration | Natural, Ecological | Eco-conscious homeowners with space for a garden basin. |
| Dry Well | High-Volume Infiltration | Invisible, Utilitarian | Heavy drainage needs or where surface water is undesirable. |
| Natural Fade | Gentle Dispersal | Wild, Organic | Aesthetic-focused projects with low to moderate water flow. |
| Boulder Cluster | Slowing Flow & Dispersal | Rugged, Dramatic | Creating a strong focal point in rock gardens or sloped yards. |
| Hardscape Integration | Redirection & Containment | Integrated, Cohesive | Properties with existing patios, paths, or walkways. |
| Pond/Water Feature | Collection & Recirculation | Lush, Dynamic | Creating a major landscape feature and habitat. |
| Underdrain System | Efficient Removal | Modern, Clean | Areas needing precise water control near structures. |
Ultimately, a dry creek bed is a feature that must be planned from start to finish. By giving careful consideration to how it will end, you ensure that this beautiful and practical addition will enhance your landscape, solve your drainage problems, and provide satisfaction for years to come.
4. The Boulder Cluster: A Strong Focal Point
Instead of fading away, you can end your dry creek bed with a bold statement. A carefully arranged cluster of large boulders creates a powerful and dramatic focal point. This method gives the impression that the creek originates from or disappears into a rocky outcrop, providing a sense of permanence and strength.
This is an excellent way to anchor the design and create visual interest. The boulders can also serve a functional purpose by helping to slow and disperse water flow at the termination point. A boulder ending is a perfect choice for rock gardens or landscapes with a more rugged, mountainous feel.
Designing with Boulders
Select several boulders of varying sizes to create a natural-looking arrangement. Partially burying the largest boulders will make them look as if they’ve been there forever. Position them at the end of the creek bed so the water flows into and around them.
The spaces between the boulders can be filled with smaller river rocks and plantings that thrive in rocky conditions, such as succulents or alpine plants. This technique effectively terminates the visual line of the creek while providing a stunning hardscape feature.
5. Integrating with Hardscaping
A truly sophisticated design approach is to integrate the end of the dry creek bed with other hardscape elements in your yard. This creates a cohesive and unified landscape where every feature flows logically into the next. It makes the creek bed feel like an integral part of the overall design rather than a standalone feature.
This method is about creating connections. The creek can flow under a bridge, end at the edge of a patio, or disappear into a culvert beneath a walkway. This thoughtful integration elevates the design from simple drainage solution to high-end landscape architecture.
Making the Connection
Plan your hardscape and dry creek bed together. For example, if your creek bed needs to cross a path, build a small footbridge over it. If it ends near a patio, you can create a stone “spillway” where the creek appears to run into a drain at the patio’s edge. An underground pipe can then carry the water away. For homeowners dealing with grading issues, properly channeling water is key to prevent property damage, especially when a neighbor’s yard is higher than yours.
These integrations require careful planning to ensure water is managed correctly. However, the result is a landscape that feels custom-designed and thoughtfully executed, where every element has a purpose and a place.
6. The Pond or Water Feature Terminus
For the ultimate transformation, end your dry creek bed at a pond or recirculating water feature. During dry weather, it serves as a beautiful stone channel leading to a tranquil pond. During a rainstorm, it becomes a functional streambed that feeds the pond, creating a dynamic and exciting landscape element.
This option turns a simple drainage feature into a living water garden. The sound of a waterfall and the sight of water teeming with life can completely transform the ambiance of your backyard. It’s a significant project, but the payoff is a truly spectacular garden feature.
Creating a Water-Filled End
The dry creek bed can terminate at the edge of a pre-formed or liner pond, with the rocks arranged to create a natural-looking entry point for the water. For a more dramatic effect, the end of the creek can be built up to create a waterfall that spills into the pond below.
A recirculating pump can be used to create a constant waterfall effect, even when it’s not raining. This provides the soothing sound of running water year-round. This is a fantastic way to combine practical water management with the beauty of a dedicated water feature.
7. The Underdrain or Channel Drain Conclusion
Sometimes the most practical solution is the most discreet. Ending your dry creek bed at a channel drain or other subsurface drainage system provides a clean, modern, and highly effective termination. This is an ideal solution for areas where surface water is not desired, such as near building foundations or paved areas.
This approach offers maximum drainage efficiency with a minimalist aesthetic. The creek bed serves its purpose of directing water, which then disappears neatly into an engineered drainage system. This is a very common and effective way to handle stubborn water issues and prevent erosion. When dealing with damaged areas, knowing how to fill an erosion hole and prevent its return is a complementary skill.
Implementing an Engineered End
At the chosen termination point, install a channel drain or a catch basin flush with the ground. The dry creek bed should be graded to direct all water flow directly into this drain. The drain is then connected to an underground pipe that carries the water to a suitable outlet, such as a storm sewer or a remote area of the property.
This method provides a very tidy and controlled end to the creek bed. It’s a professional-grade solution that guarantees water will be moved efficiently off-site, offering peace of mind in even the heaviest downpours.