How to Fill an Erosion Hole & Stop It From Coming Back
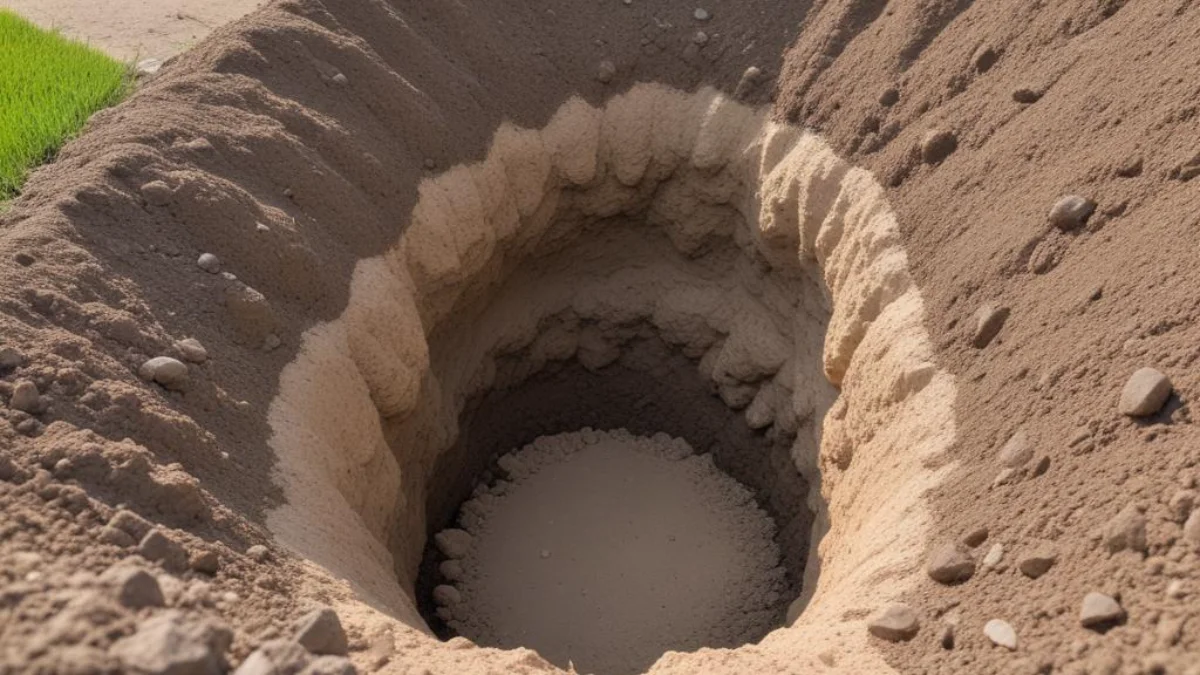
Discovering a gaping hole in your yard can be alarming. One day your lawn is smooth and even, and the next, a hazardous depression has appeared. These erosion holes are not just ugly; they can be a serious threat to your property’s stability and your home’s foundation.
Many homeowners find themselves asking the same question: how do I fix this, and how do I stop it from happening again? The good news is that filling an erosion hole is a manageable task, but it requires understanding the root cause to implement a lasting solution.
You'll Learn About
What Really Causes Those Ugly Erosion Holes?
Before you can effectively fix an erosion hole, you must understand why it formed in the first place. Erosion is the process of soil being moved by wind or water. In most residential yards, water is the primary culprit.
Heavy rainfall, poor drainage, and concentrated water flow can quickly wash away soil, creating voids and gullies. Identifying the source of the water is the critical first step in solving your erosion problem for good.
The usual suspects behind yard erosion:
- Improper Drainage: This is the number one cause of soil erosion in yards. If your property doesn’t slope away from your home, or if you lack effective drainage systems, water will pool and carve out the soil.
- Gutter and Downspout Issues: Clogged or improperly positioned gutters and downspouts can dump massive amounts of water directly next to your foundation. This concentrated flow has incredible erosive power. A simple solution for this is to address any gutter downspout on patio and driveway drainage issues to redirect water safely away.
- Bare Soil: Patches of bare dirt in your yard are highly susceptible to being washed away. Plant roots act like a natural net, holding the soil together and preventing it from eroding.
- Steep Slopes: Gravity works against you on steep inclines. Water flows faster down a slope, giving it more power to carry soil particles with it.
Your Step-by-Step Guide to Filling an Erosion Hole
Once you’ve identified and addressed the source of the water causing the erosion, you can begin the repair process. The method you use will depend on the size and depth of the hole. For small to moderate holes, this DIY approach is highly effective.
Step 1: Prepare the Area
Your first task is to clean out the erosion hole. Remove any loose debris, rocks, leaves, or roots. This ensures that your fill material will make direct contact with the stable soil at the bottom and sides of the hole.
If the soil around the edges of the hole is compacted, use a rake or garden fork to loosen it up. This will help the new soil integrate with the existing landscape.
Step 2: Layer the Fill Material
Filling the hole correctly involves more than just shoveling in dirt. Creating a stable, compacted base is crucial to prevent future settling. Start by filling the bottom of the hole with a layer of large rocks or gravel.
This initial layer provides a solid foundation and improves drainage. After the rock base, begin adding your fill soil in layers. A mix of sand, topsoil, and compost is an excellent choice for promoting healthy grass growth later on.
Step 3: Compact Each Layer Thoroughly
This is a step you absolutely cannot skip. As you add each 6-inch layer of fill material, you must compact it firmly. Proper compaction prevents the formation of air pockets, which can lead to the hole sinking over time.
You can use a hand tamper for smaller holes or even your feet to press the soil down. The goal is to make each layer as dense and stable as possible before adding the next one.
Step 4: Top It Off and Re-establish Vegetation
Continue layering and compacting until you have slightly overfilled the hole to account for natural settling. The final layer should be a high-quality topsoil to create a good seedbed.
Spread a grass seed blend that matches your existing lawn over the repaired area. To protect the seeds and retain moisture, cover them with a light layer of straw or an erosion control blanket.
Choosing the Right Fill Material
The success of your repair job heavily depends on the materials you use. While it might be tempting to use whatever dirt is available, selecting the right combination of materials will provide a much more durable and long-lasting solution.
Your choice will depend on the size of the void and whether it’s simply a surface hole or a void under a concrete slab.
| Fill Material | Best For | Key Advantages |
|---|---|---|
| Rock & Gravel Base | Bottom layer of deep holes | Provides excellent drainage and a stable foundation. Prevents soil from washing out from below. |
| Sand & Soil Mix | Mid-level fill for most holes | Compacts well to create a dense, stable fill. Balances drainage and moisture retention. |
| Topsoil & Compost | Top layer of the repair | Rich in nutrients, promoting strong root growth for grass or other plants that will hold the soil in place. |
| Flowable Fill / Slurry | Voids under concrete slabs | A cement-based mixture that flows easily to fill all gaps and hardens for maximum support. |
| Polyurethane Foam Injection | Stabilizing soil under concrete | High-density foam expands to fill voids, providing strong support and preventing future erosion. |
Long-Term Solutions to Prevent Future Erosion
Filling the hole is only half the battle. To ensure you don’t face the same problem again, you must implement long-term erosion control strategies. The goal is to manage water flow and stabilize the soil.
Taking proactive steps now will save you time, money, and frustration down the road.
1. Improve Your Yard’s Drainage
Proper drainage is your best defense against erosion. If your yard has low spots or slopes toward your house, you may need to improve the grading. Creating a gentle slope away from your foundation will direct water to safer areas.
For more significant water issues, installing a French drain can be a game-changer. Thinking about this solution might lead you to ask, can you bury corrugated drain pipe? Yes, and it’s a common and effective method for creating underground drainage channels that redirect excess water.
2. Plant, Plant, Plant
Vegetation is a powerful tool for erosion control. The roots of grasses, shrubs, and ground covers bind the soil particles together, making it much more difficult for water to wash them away. If you have bare patches or slopes, establishing plant cover should be a top priority.
Choose native plants with deep root systems for the best results. For sloped areas, consider planting ground covers or building terraces to slow down water flow and allow it to soak into the ground.
3. Manage Runoff with Hardscaping
In some cases, you may need to use physical barriers to control water. Building a retaining wall can help stabilize a steep slope and prevent soil from sliding downhill. Strategically placed rocks, known as riprap, can also be used to slow down water flow in channels or ditches.
Another common issue is runoff from a sump pump. If you’re wondering how to hide a sump pump discharge pipe, consider integrating it into a rock-lined dry creek bed that helps manage water flow while adding a decorative landscape feature.
By understanding the causes of erosion, properly filling the existing holes, and implementing smart prevention strategies, you can protect your yard and home from the damaging effects of displaced soil. A little effort now will ensure a stable and beautiful landscape for years to come.