How to Cut Drywall on a Stud Without Destroying Your Wall
You need to make a cut in your drywall, but there’s a stud exactly where you need to work. This common home improvement scenario can feel daunting, whether you’re installing a new electrical box, creating an access panel, or making a seamless repair. A wrong move can lead to a messy, jagged hole, a damaged stud, or even a dangerous encounter with hidden wires.
The challenge lies in making a precise, clean cut through the drywall without compromising the structural wood behind it. Fortunately, with the right approach and tools, cutting drywall on a stud is not only possible but is often the best way to ensure a strong and professional-looking repair. This guide will walk you through the process step-by-step, transforming a potentially frustrating task into a manageable one.
You'll Learn About
Why Aiming for the Stud is a Pro Move
It might seem counterintuitive to cut directly over a framing member, but it’s a technique professionals use to their advantage. When you cut the drywall so that half of the stud’s width is exposed, you create a perfect, solid surface to attach the new piece of drywall. This provides superior support compared to a patch floating between two studs.
This method ensures your repair is strong, less prone to cracking, and easier to finish smoothly with joint compound. Cutting on the stud eliminates the need to install extra backing boards, saving you time and material. It’s the secret to a repair that blends invisibly into the existing wall.
Essential Tools for a Perfect Cut on a Stud
Having the right tools is the first step toward a clean, professional-looking cut. While you might not need every tool for every job, this table outlines the most effective options and their primary uses. Choosing the right instrument will make the job faster, safer, and yield better results.
| Tool | Primary Use | Pro Tip |
|---|---|---|
| Stud Finder | Locating the exact edges and center of the stud. | Invest in a quality model that can also detect live AC wiring for safety. |
| Utility Knife | Scoring the drywall for a clean, controlled cut. | Use a fresh, sharp blade for every project to avoid tearing the drywall paper. |
| Oscillating Multi-Tool | Making precise plunge cuts directly against the stud. | A bi-metal blade can handle accidental contact with drywall screws or nails. |
| Jab Saw (Drywall Saw) | Manually cutting holes or straight lines. | Ideal for starting a cut in the middle of a panel; keep the blade angled away from the stud. |
| Level or T-Square | Marking perfectly straight and level cut lines. | A 4-foot level is versatile for marking long vertical cuts along a stud. |
| Safety Gear | Protecting eyes and lungs from dust and debris. | Always wear safety glasses and a dust mask; drywall dust is a serious irritant. |
Step-by-Step Guide: How to Cut Drywall Perfectly on a Stud
Follow these structured steps to achieve a flawless cut every time. Precision and safety are paramount, so take your time with each stage of the process. This methodical approach will prevent common mistakes and ensure your project is a success.
Step 1: Precisely Locate the Stud and Mark Your Cut
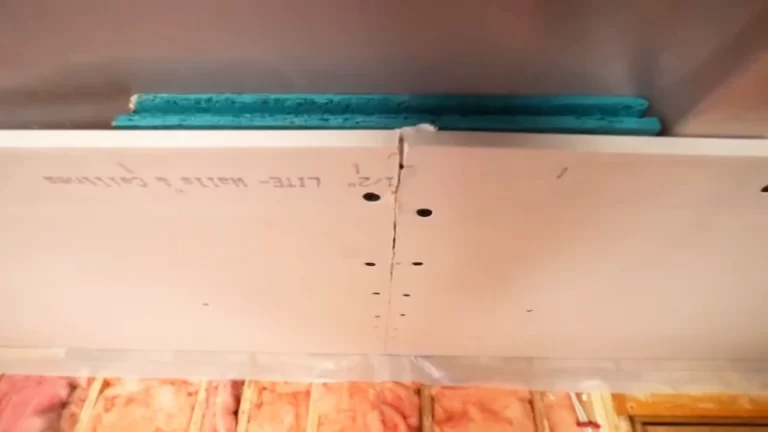
The foundation of a good cut is accurate marking. Use a high-quality stud finder to scan the wall and locate the stud you need to cut along. Mark both edges of the stud with a pencil.
Once you have the edges, you can determine the center. For a standard 1.5-inch wide stud, your centerline will be 3/4 of an inch from either edge. Use a level or T-square to draw a crisp, straight vertical line down the center of the stud—this will be your primary cutting guide.
Step 2: Check for Hidden Dangers Behind the Wall
Safety is non-negotiable. Before making any cuts, you must check for electrical wires, plumbing pipes, or HVAC ducts hidden in the wall cavity. Many modern stud finders have a built-in AC voltage detector that can alert you to live wires.
For added certainty, turn off the corresponding circuit breaker for the area you’re working in. If you’re unsure, it’s always best to make a small exploratory hole first and use a flashlight and mirror to inspect the area behind the drywall before proceeding with a larger cut.
Step 3: Make Your Cut with Precision
With your lines marked and the area confirmed to be safe, it’s time to cut. The best tool for this job is often an oscillating multi-tool with a plunge-cut blade. Set the blade depth to slightly more than the thickness of your drywall (typically 1/2 inch or 5/8 inch) to avoid cutting deeply into the stud.
Position the blade directly on your marked centerline and begin your cut. Move the tool slowly and steadily along the line, letting the blade do the work. The oscillating action provides excellent control and minimizes dust compared to other power saws.
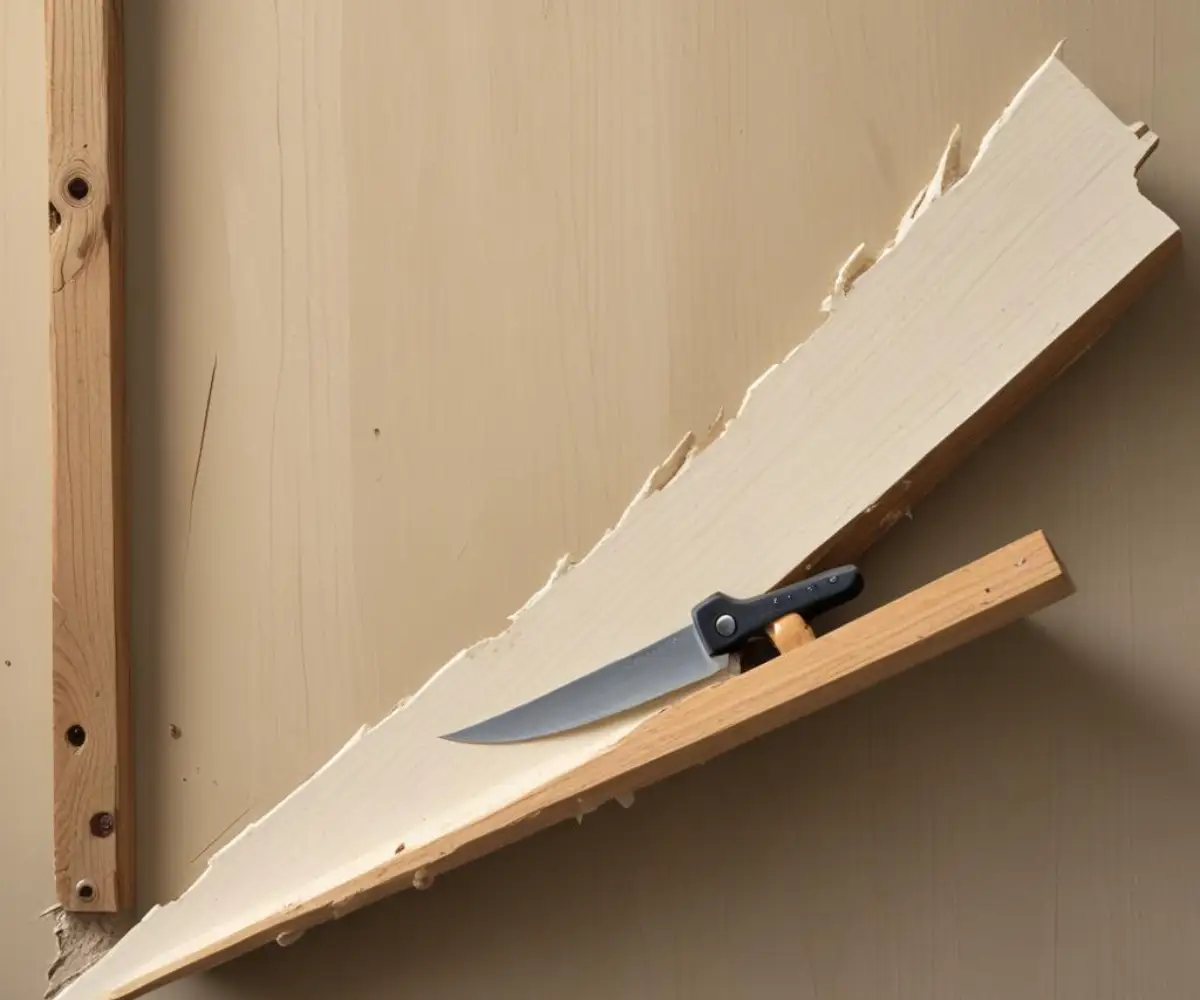
Alternatively, you can use a utility knife. Press the blade firmly and score the line multiple times, going a little deeper with each pass. This method is slower but offers great control and produces very little dust.
Step 4: Remove the Drywall Section Carefully
Once the cut is complete, the drywall section should be loose. If it was installed with screws, you may need to pry it away from the stud gently. Use a putty knife or pry bar to carefully separate the cut piece from the stud.
You should now have a clean opening with exactly half of the wooden stud exposed. This provides the perfect mounting surface for your new piece of drywall, ensuring a solid foundation for your repair or installation.
Prepping for the Next Phase: After the Cut
With the section removed, take a moment to clean up the opening. Use a utility knife to trim away any frayed paper from the edge of the existing drywall for a cleaner joint. Inspect the exposed stud for any screws or nails that might interfere with the new piece and remove them.
This clean, stable opening is now ready for the next step, whether that’s installing an electrical box, adding insulation between brick and drywall for better thermal performance, or simply patching the hole. A proper cut makes the finishing process significantly easier, reducing the amount of mudding and sanding required for a seamless finish.
Common Mistakes and How to Avoid Them
Even a seemingly simple task can go wrong. Being aware of common pitfalls is key to avoiding them and achieving a professional result. Here are some frequent mistakes made when cutting drywall on a stud.
Cutting without checking for utilities is the most dangerous mistake. Always use a stud finder with AC detection and turn off the power. A few extra minutes of precaution can prevent serious injury or costly repairs to wiring and plumbing.
Another frequent error is using a dull blade. A dull utility knife or saw blade will tear the drywall’s paper face rather than cutting it cleanly. This leads to a ragged edge that is difficult to finish properly, so always start with a sharp blade.
Finally, avoid making freehand cuts. Without a straightedge or level to guide your tool, it’s nearly impossible to make a perfectly straight cut. This will result in a poorly fitting patch that is much harder to tape and mud invisibly.
Pro Tips for an Ultra-Clean Finish
To elevate your work from good to great, incorporate a few professional techniques. When you are done with your repair, the final paint job is critical. Sometimes, you might notice that the cut-in paint is darker than the rolled section, which can ruin an otherwise perfect patch. Proper blending techniques are essential.
For enhanced acoustic performance, especially in media rooms or bedrooms, consider the wall’s overall structure. Understanding the principles of drywall vs drop ceiling soundproofing can inform your repair choices and help you maintain or improve the room’s quietness.
Frequently Asked Questions (FAQ)
What is the best tool for cutting drywall that’s already on a wall?
An oscillating multi-tool is widely considered the best choice. It offers excellent control for plunge cuts, minimizes dust, and can be set to the precise depth of the drywall, reducing the risk of damaging studs or utilities behind the wall.
How can I cut drywall without making a huge mess?
To minimize dust, the “score and snap” method using a utility knife is the cleanest option, though it’s best for drywall that isn’t yet installed. For installed drywall, an oscillating tool paired with a shop vacuum held close to the blade can capture the majority of the dust created.
Is it possible to cut drywall on a stud without a power tool?
Yes, it is entirely possible. A sharp utility knife and a steady hand are all you need. Score the line repeatedly with firm pressure until you cut through the paper and gypsum core. A manual jab saw can also be used, but it requires more effort to keep the cut straight and tight against the stud.
How do I know for sure if there are wires behind the drywall?
While a stud finder with an AC detector is a great first step, the only way to be 100% certain is through visual inspection. After turning off the power, drill a small pilot hole in the center of your intended cut area and use an endoscope or a small mirror and flashlight to look inside the wall cavity before proceeding.