Homko Snow Blower: Your Ultimate Guide to Reviving a Classic
You have a problem. Nestled in your garage is a heavy-duty, steel-built machine, a relic from an era when things were made to last. It’s a Homko snow blower, and you know it’s a powerful beast, but there’s a catch. Information is scarce, parts seem impossible to find, and every winter season begins with the anxious question: “Will it start this year?”
This frustration is common for owners of these vintage machines. The brand has long since disappeared, leaving a void of manuals, part lists, and reliable repair advice. You’re left to piece together information from dusty forums and vague product listings, feeling more like an archeologist than a homeowner preparing for a snowstorm.
This guide is your solution. It is the definitive resource for identifying, maintaining, troubleshooting, and even upgrading your Homko snow blower. Here, you will find the expert advice and actionable steps needed to turn that classic garage ornament back into the dependable snow-clearing titan it was built to be.
You'll Learn About
The Forgotten Legacy of Homko: More Than Just a Snow Blower
Understanding your machine starts with understanding its origins. Homko products were manufactured by the Western Tool & Stamping Company, based in Des Moines, Iowa. Active primarily from the 1950s through the 1960s, this company built a reputation for producing incredibly durable outdoor power equipment, from lawn mowers to snow blowers.
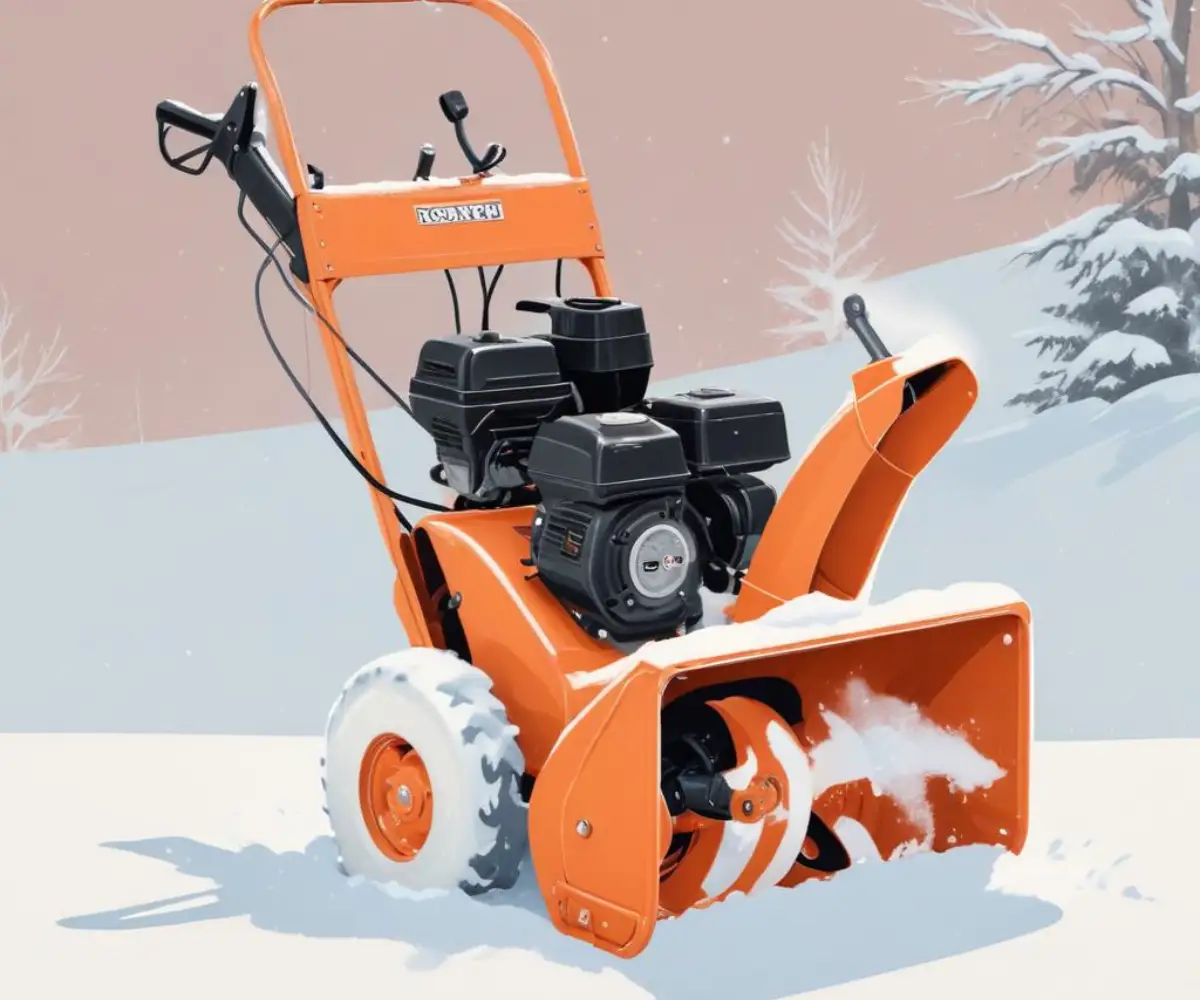
Unlike modern machines often built with significant plastic components, Homko snow blowers were constructed with heavy-gauge steel. They featured simple, robust mechanical designs that were easy to understand and repair. This commitment to quality is precisely why so many of these units have survived for decades and are well worth the effort of preservation.
Identifying Your Homko Snow Blower: A Model Deep Dive
One of the biggest hurdles for owners is the lack of clear model information. Over the years, identification plates can corrode, and records have been lost. However, you can typically identify your machine by its key features, such as the engine type and the design of the auger housing.
Most Homko snow blowers were single-stage units, meaning the auger both collects the snow and ejects it through the chute. They were almost exclusively paired with powerhouse engines from either Briggs & Stratton or Tecumseh, which is a critical piece of information for maintenance. While Homko-specific body parts are rare, the engine parts are often still available.
To help you narrow down what you have, the table below outlines some common characteristics of Homko models from their production era.
| Model Series Characteristics | Typical Engine | Stage Type | Key Identifying Features |
|---|---|---|---|
| Early “Snow Mule” / SP-Series | Briggs & Stratton 2-3 HP | Single-Stage | Very compact design, often with steel wheels and a simple, direct-drive auger. The chute is typically controlled by a basic lever. |
| Mid-Era “Blizzard” / 350-Series | Briggs & Stratton or Tecumseh 3-4 HP | Single-Stage | Slightly larger frame, often painted orange and white. May feature a gearbox for the auger drive and sometimes had rubber tires instead of steel wheels. |
| Sears Re-Badged Models | Tecumseh “Snow King” 3-5 HP | Single-Stage | Often sold under the Craftsman brand, these units are mechanically identical to Homko models but will have Sears branding. The paint scheme is typically gray and red. |
The Homko Owner’s #1 Problem: The Elusive Hunt for Parts
Let’s address the elephant in the room: finding original Homko parts is nearly impossible. Because Western Tool & Stamping Co. is long gone, the original supply chain has vanished. However, this is not a dead end; it simply requires a smarter approach focused on identifying universal and engine-specific components.
Decoding the Drivetrain: Finding Belts That Fit
The belts that drive the auger are one of the most common failure points. Don’t waste your time searching for a “Homko snow blower belt.” Instead, measure the old belt. If it’s broken but mostly intact, lay it flat and measure its outside circumference. If it’s lost, use a piece of string to carefully trace the path around the pulleys to get an accurate length.
With the length and approximate width, you can visit any auto parts store or small engine repair shop. These belts are often standard V-belt sizes used across many applications. Providing the measurements is far more effective than providing the brand name of your machine.
Shear Pins: Your Auger’s Best Friend
Shear pins are designed to be the weak link in the system. When your auger hits a rock or a thick chunk of ice, these small pins snap, protecting the far more expensive gearbox from catastrophic damage. Never replace a shear pin with a standard bolt. A hardened steel bolt will not break, transferring all that destructive force directly to your transmission.
Fortunately, shear pins are fairly standardized. Most vintage snow blowers use 1/4″ or 5/16″ diameter pins. Take an old pin to a hardware or outdoor power equipment store to find a match. It’s always a good idea to have several spares on hand before the first storm hits.
Carburetor Conundrums and Spark Plug Solutions
Here lies the most important secret to keeping your Homko alive: focus on the engine, not the snow blower. The Briggs & Stratton or Tecumseh engine has its own model and type number stamped directly onto the engine shroud. This number is your golden ticket to finding parts.
With the engine’s model number, you can easily order carburetor rebuild kits, gaskets, ignition coils, and spark plugs. These parts are widely available online and in repair shops. Problems that seem like major snow blower failures, such as an engine that won’t start or runs rough, are often just simple engine issues that can be fixed with a $15 carburetor kit.
Step-by-Step Resurrection: A Pre-Season Maintenance Checklist
Bringing a dormant Homko back to life requires a systematic approach. Before the first snowflake falls, follow this checklist to ensure a reliable start and powerful performance all winter long. This process can be the difference between a frustrating morning and a smoothly cleared driveway.
Fuel System First: Tackling Stale Gas Issues
The most common cause of a non-starting small engine is a gummed-up fuel system. Modern gasoline with ethanol can go stale in just a few months, leaving behind a varnish that clogs tiny carburetor passages. Start by completely draining the old fuel from the tank and fuel lines.
Next, remove the carburetor bowl. You will likely find a thick, sticky residue inside. Clean it thoroughly with carburetor cleaner and a soft brush. For the best results, use the engine model number to order a carburetor rebuild kit and replace all the old gaskets and seals.
The Ignition Spark: Simple Steps for a Reliable Start
An engine needs fuel, air, and spark to run. With the fuel system clean, the next step is to verify you have a strong spark. Remove the spark plug and inspect it. If the electrode is coated in black carbon or appears worn, replace it. A new spark plug is an inexpensive and highly effective piece of preventative maintenance.
To confirm the ignition system is working, you can use a spark tester. This simple tool connects between the spark plug and the plug wire and will light up if a current is present when you pull the starter rope. No spark could indicate a faulty ignition coil, which can be sourced using your engine’s model number.
Auger and Impeller Inspection: Preparing for Battle
With the engine ready, it’s time to inspect the business end of the machine. Check the auger for any signs of damage or debris that may have become wrapped around the shaft. Lubricate any moving parts, such as the auger shaft bushings and the chute rotation mechanism, with a quality spray lubricant.
Finally, check the condition of your scraper blade and skid shoes. The scraper blade is the metal bar at the bottom of the auger housing that clears the last layer of snow. If it’s excessively worn, your machine will leave a film of snow behind. Adjustable skid shoes on either side of the housing allow you to set the height of the scraper blade, protecting it on uneven surfaces.
Troubleshooting Common Homko Headaches
Even with proper maintenance, you may encounter issues. These old machines can be temperamental. Here’s how to diagnose and solve some of the most frequent problems that plague Homko snow blower owners.
Engine Won’t Start: A Diagnostic Flowchart
When your engine refuses to start, don’t just keep pulling the rope. Work through the problem logically. First, confirm you have fresh fuel and the fuel shut-off valve is open. Ensure the throttle is in the start position and the choke is engaged.
If it still won’t start, check for spark using a tester. If you have spark, the problem is almost certainly fuel-related. Try spraying a small amount of engine starter fluid directly into the carburetor’s air intake. If the engine fires up for a second and then dies, you have confirmed a fuel delivery problem, pointing to a clogged carburetor jet.
Poor Snow Throwing Distance: Restoring Lost Power
Is your Homko running but barely throwing snow more than a few feet? This common complaint has a few potential causes. The most likely culprit is a worn or slipping drive belt. Over time, the belt connecting the engine to the auger can stretch, causing it to slip under load and fail to spin the auger at full speed.
Another cause could be a worn-out auger or paddles. On many single-stage models, rubber paddles help squeegee the snow off the pavement and fling it into the chute. If these are worn down, the machine’s efficiency will be drastically reduced. Finally, ensure your engine is running at its proper top speed; a misconfigured governor linkage can prevent the engine from reaching full RPM, robbing it of power.
The Modern Upgrade: Retrofitting and Modifications
Owning a vintage machine doesn’t mean you have to be stuck in the past. With a few simple modifications, you can improve the performance and usability of your Homko snow blower, giving it capabilities that rival modern equipment.
Wheels and Tires: Improving Traction
Many early Homko models came with solid steel wheels. While durable, they offer poor traction on icy surfaces. A significant upgrade is to replace these with modern pneumatic snow tires. This often requires a simple modification to the axle, such as adding a new mounting hole, but the improvement in grip and maneuverability is well worth the effort.
A simpler, no-modification alternative is to install a set of tire chains over the existing wheels. This provides a substantial boost in traction for a fraction of the cost and effort. This can be especially helpful on sloped or uneven terrain where control is paramount.
Lighting the Way: Adding an LED Headlight
Snow often needs to be cleared in the early morning or evening when visibility is poor. Many vintage engines, particularly Tecumseh models, were equipped with a lighting coil designed to power a headlight. If your engine has an extra wire coming from under the flywheel housing (that isn’t for stopping the engine), you can use it to power a modern, low-wattage LED light.
This simple addition can transform your machine’s usability in low-light conditions. The process is similar in concept to more complex home electrical work, like the careful planning required when adding recessed lighting to a first floor, but on a much smaller scale. It’s a project that delivers a huge practical benefit for a minimal investment.
When to Call it Quits: Is Your Homko Worth Saving?
While these machines are built like tanks, some are simply too far gone to be practical restoration projects. It’s important to know when to invest your time and money and when to walk away. The biggest red flags are a cracked frame or a severely rusted-out auger housing.
While engine problems are often fixable, a catastrophic failure like a thrown rod that punches a hole in the engine block is usually a terminal diagnosis. The cost of a replacement engine would far exceed the machine’s value. Evaluating the structural integrity is key; just as one might use specialized foam to address foundation issues, sometimes the core structure is beyond simple repair, much like the process behind a Great Stuff concrete lift which has its limits.
However, if the frame is solid and the engine has compression, almost any other issue can be overcome with patience. Be aware of local regulations if you do decide to dispose of the machine; some areas have specific rules, not unlike the complexities of dealing with a retroactive permit in NJ, where proper procedure is essential.
Ultimately, reviving a Homko snow blower is a rewarding experience. These are not just tools; they are pieces of American manufacturing history. By applying the knowledge from this guide—focusing on the engine for parts, following a diligent maintenance schedule, and making smart upgrades—you can ensure your classic machine will continue to battle winter storms for many years to come. The satisfaction of preserving this vintage iron is a reward in itself.