Hexagon Tile Problems: The #1 Mistake You’re About to Make
Hexagon tiles are the undisputed star of modern interior design. Their unique geometric appeal offers a touch of sophistication that can transform a kitchen backsplash, bathroom floor, or feature wall into a stunning focal point, fitting seamlessly into styles from minimalist modern to rustic farmhouse.
But this beauty comes with a hidden cost. Behind every flawless honeycomb pattern is the potential for a series of frustrating installation challenges. The six-sided shape that creates their allure is also the source of numerous hexagon tile problems that can quickly derail a project, leaving you with a result that falls far short of your vision.
This comprehensive guide will walk you through the most common pitfalls and provide the expert-level, actionable solutions needed for a perfect finish. Overlooking this crucial preparation and planning is the single biggest mistake homeowners and even some professionals make.
You'll Learn About
The Hidden Headaches of Hexagonal Designs
The core issue with hexagon tiles lies in their geometry. Unlike a simple square tile with four sides, a hexagon has six sides and three different directional axes. This inherent complexity means that every single tile interacts with up to six neighbors.
This interconnectedness creates a powerful domino effect. A minuscule error in the placement of one tile—a slight rotation or a millimeter of mis-spacing—doesn’t just affect that single tile. It telegraphs outwards, disrupting the alignment of every subsequent tile, leading to a cascade of visual imperfections that are nearly impossible to correct later.
Problem 1: The Great Grout Divide – Crooked Lines and Spacing Nightmares
The most common and visually jarring hexagon tile problem is the failure to achieve crisp, uniform grout lines. The goal is a perfect, repeating honeycomb pattern, but the reality is often a meandering, chaotic grid that makes the entire surface look sloppy and unprofessional.
This issue is especially prevalent with smaller, mesh-mounted mosaic tiles. The mesh backing is designed for convenience, but it can stretch, warp, or have tiles that were imperfectly spaced at the factory. Relying solely on this backing without manual checks is a recipe for disaster, as tiles can easily sag or shift while the mortar sets.
The Domino Effect of Visual Drift
Even if individual sheets are placed perfectly next to each other, tiny variations in the mesh can create wider or narrower gaps between sheets. This “visual drift” is insidious. What starts as an imperceptible error in one corner can become a glaringly obvious crooked line by the time it reaches the other side of the room.
Your eye is exceptionally good at picking up patterns and even better at noticing when they break. Once you see a wandering grout line in your hexagon tile, you will never be able to unsee it.
Problem 2: The Cutting Conundrum – Awkward Angles and Chipped Edges
Virtually every tile installation requires making cuts to fit the tiles against walls, corners, and fixtures like pipes or outlets. With square tiles, these are typically straightforward 90-degree cuts. Hexagon tiles, however, present a far greater challenge.
Cuts against a straight wall require trimming the tile at a specific angle to maintain the pattern. Worse are the inside corners, which can require complex “Y” shaped cuts that are incredibly difficult to execute without the right tools and practice. Using the wrong technique or a dull blade will inevitably lead to chipped edges, cracked tiles, and a significant amount of wasted material and time.
Problem 3: Lippage – The Unforgiving Reality of Uneven Tiles
Lippage is the industry term for a difference in elevation between the edges of adjacent tiles. When one tile is set slightly higher than its neighbor, it creates a “lip” that can ruin both the look and function of the floor.
Hexagon tiles are notoriously unforgiving when it comes to lippage. Their multiple edges and points are more likely to catch on feet or cleaning tools, and the shadows cast by uneven tiles can disrupt the clean, flat plane that the pattern is meant to create. The primary causes are almost always an imperfectly prepared subfloor or an inconsistent application of thin-set mortar.
Subfloor Deflection: The Unseen Enemy of Hexagon Tile
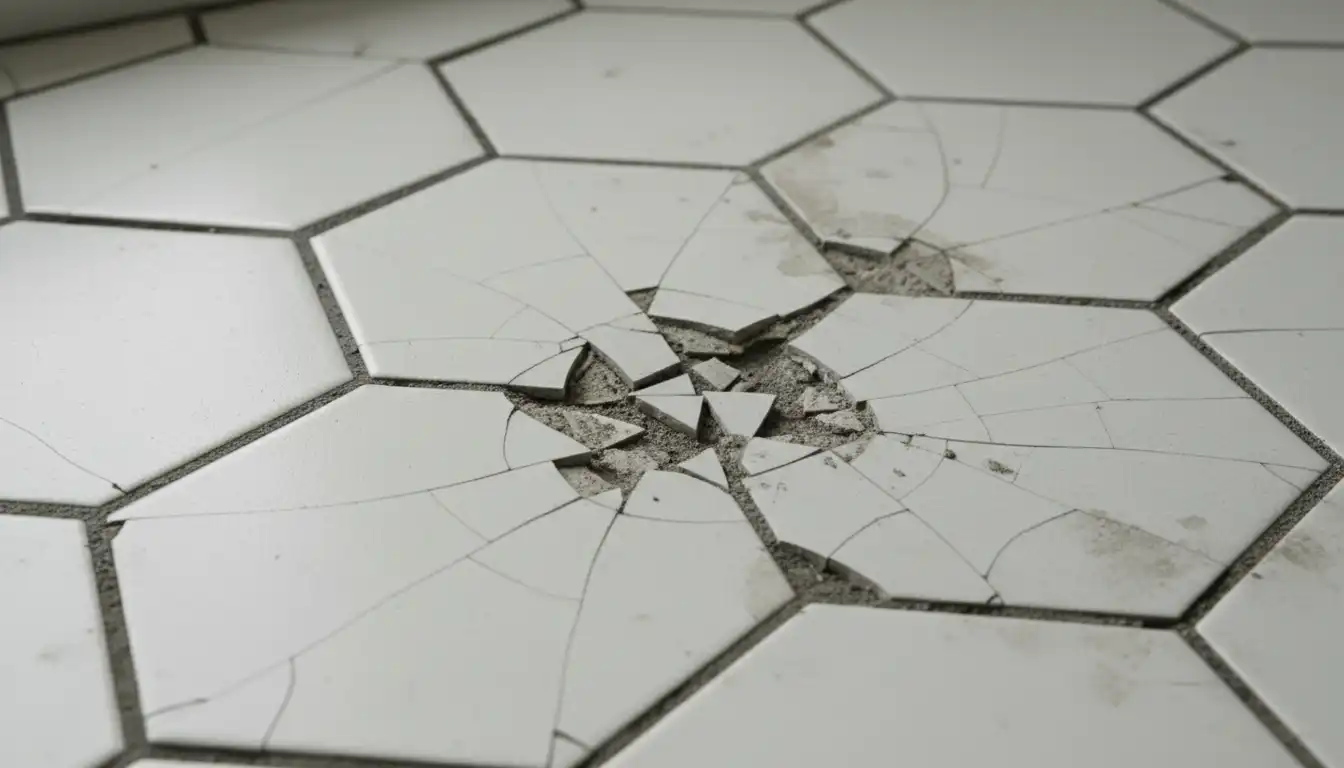
While most DIY guides emphasize a *flat* subfloor, few discuss the critical issue of subfloor *deflection*—the subtle bounce or flex in a floor as you walk across it. For flooring with countless grout lines like hexagon mosaics, even a small amount of deflection can be catastrophic.
This constant, minute movement places stress on the rigid grout and tile, leading to a network of stress fractures over time. It is a slow-motion failure that can cause widespread cracking and crumbling grout, completely destroying an otherwise perfect installation.
Problem 4: The Grout Haze Maze – A Lasting Blemish on Your Beautiful Floor
Grouting is one of the final, and most crucial, steps. After all the hard work of laying the tiles, a new problem can emerge: grout haze. This is a thin, mineral-based film left behind on the tile surface as the water from the grout evaporates.
Because hexagon tiles have significantly more grout lines per square foot than larger tiles, there is more grout being spread, and thus a higher risk of significant haze. If this film is not cleaned meticulously and at the correct time, it can cure to a state that is incredibly difficult to remove, permanently dulling the color and texture of your new tiles.
Problem 5: Layout Paralysis – Where Do You Even Begin?
Unlike square tiles, which can often be started from a corner, a hexagon tile layout is best started from the center of the surface. This approach ensures that the tiles are balanced visually and that the cuts you make at opposing walls are of a similar size, avoiding awkward, paper-thin slivers.
Determining this starting point and snapping accurate, perpendicular reference lines is absolutely essential. Many homeowners feel a “layout paralysis,” overwhelmed by the geometry and unsure of where to lay that first critical tile. A poorly planned start is a guarantee of a poor finish.
Quick Reference: Common Hexagon Tile Problems and Solutions
Before exploring the in-depth solutions, use this table as a quick guide to diagnose potential issues and understand the core strategies to prevent them. This overview summarizes the most critical points for a successful project.
| Problem | Primary Cause | Proactive Solution |
|---|---|---|
| Uneven Grout Lines | Tile shifting; warped mosaic sheets; lack of spacers. | Use T-shaped or Y-shaped spacers; dry-fit sheets first; check alignment every few rows. |
| Chipped Edges During Cuts | Using the wrong blade or a dull tile saw. | Use a high-quality diamond blade designed for porcelain or ceramic; apply painter’s tape over the cut line. |
| Lippage (Uneven Tiles) | Uneven subfloor; inconsistent mortar application. | Use a self-leveling underlayment; apply mortar with the correct trowel size and ensure even coverage. |
| Stubborn Grout Haze | Waiting too long to clean; using too much water during initial cleanup. | Clean haze within the manufacturer’s recommended time frame; use a grout haze remover for stubborn spots. |
| Awkward Layout & Cuts | Starting from a corner instead of the center. | Find the center of the room and snap perpendicular chalk lines; perform a full dry layout before mixing mortar. |
Your Blueprint for a Flawless Hexagon Tile Installation
The key to avoiding these common problems is not about being a professional, but about preparing and working like one. A proactive, meticulous approach is not just recommended—it is the only way to guarantee a successful outcome with hexagon tiles.
Step 1: Achieve Subfloor Perfection
Your installation is only as good as its foundation. The subfloor must be perfectly clean, flat, and rigid. Any flaws in the subfloor will be telegraphed directly through to the tile surface.
Begin by scraping and vacuuming the subfloor until it is completely free of dust, old glue, or debris. Use a long, straight edge (like an 8-foot level) to check for flatness. Any dips or high spots greater than 1/8 inch over a 10-foot span must be remediated. Use a self-leveling compound to fill in low spots and an angle grinder to take down high spots.
On wooden subfloors, walk every square foot to check for flex. If you feel any bounce, the subfloor must be reinforced with an additional layer of 3/4-inch plywood or a cement backer board, screwed down every 6-8 inches to create a single, rigid unit.
Step 2: Master the Layout with a Dry Run
Never mix a batch of mortar until you have a complete visual plan. A full dry layout of the tiles is the single most effective step you can take to prevent spacing, alignment, and cutting problems down the line.
Measure to find the exact center of the room and use a chalk line to snap two perfectly perpendicular lines that cross in the middle. This gives you your starting point. Begin laying out your hexagon tiles or mosaic sheets from this intersection, working your way out towards the walls. Do not use any mortar at this stage.
This dry run allows you to see exactly how the tiles will terminate at every wall. If you see that your starting point will result in tiny, difficult-to-cut slivers against a highly visible wall, you can now adjust the entire layout by shifting your starting point a few inches. This foresight is invaluable.
Step 3: The Right Tools for Precision Work
Using professional-grade tools is essential for achieving a professional-grade result. For spacing, do not trust the mesh backing on mosaic sheets alone. Invest in a bag of Y-shaped or T-shaped tile spacers to manually ensure perfect spacing at the corners where tiles meet.
A high-quality wet tile saw is non-negotiable for cutting hexagon tiles. It must be fitted with a new, high-quality diamond blade that is specifically designed for the type of tile you are using (e.g., a porcelain blade for porcelain tiles). This will minimize chipping and produce clean, sharp edges.
Pay close attention to your notched trowel. The tile or mortar manufacturer will specify the correct notch size and shape. Using the right trowel is your first line of defense against lippage, as it ensures a consistent, even bed of mortar under every single tile.
Step 4: Mortar and Grouting Masterclass
When applying your thin-set mortar, comb the ridges in a single direction. When you place the tile or sheet, press down firmly and give it a slight side-to-side wiggle. This collapses the mortar ridges, ensuring 100% coverage and preventing hollow spots that can lead to cracked tiles later.
For grouting, choose your product wisely. For tight grout joints (1/8″ or less), an unsanded grout is best to avoid scratching the tile surface. For areas needing high stain resistance, like a kitchen, consider an epoxy grout, which is non-porous but can be more difficult to work with.
When cleaning the excess grout, use a two-bucket system. One bucket is for the initial, dirty rinse of your sponge, and the second bucket contains clean water for the final pass. Always wipe diagonally to the grout lines to avoid pulling grout out of the joints.
Step 5: The Final Steps – Haze Removal and Sealing
After the grout has cured for the time specified by the manufacturer (typically 24-72 hours), you will likely see a faint, chalky film on the tiles. For most modern grouts, this can be buffed off with a clean, dry microfiber towel.
If the haze is stubborn, use a pH-neutral commercial grout haze remover. Follow the directions precisely and test it on a spare piece of tile first to ensure it doesn’t cause any discoloration of your tile or grout.
The final, crucial step is to seal your grout. Cement-based grout is porous and will absorb spills and dirt, leading to staining. Apply one to two coats of a high-quality impregnating grout sealer with a small brush or applicator bottle. This invisible barrier will keep your grout looking clean and new for years.
Special Considerations for Different Hexagon Tile Types
Not all hexagon tiles behave the same way. The specific challenges you’ll face can vary depending on the tile’s size and what it’s made of.
Small Mosaic vs. Large Format
Small, mesh-mounted mosaics demand extreme attention to detail to keep grout lines from wandering between sheets. However, their small size makes them more accommodating to minor subfloor imperfections. In contrast, large format hexagon tiles are much easier to keep in straight lines but are extremely demanding of a perfectly flat subfloor to avoid lippage.
Material Matters: Porcelain, Ceramic, and Natural Stone
Porcelain is extremely durable and water-resistant, making it ideal for wet areas, but its density makes it harder to cut. Standard ceramic is softer and easier to cut but is less durable and more porous. Natural stone like marble or travertine offers unparalleled beauty but requires sealing of the stone itself (in addition to the grout) and is more susceptible to scratching and acidic stains. Your choice of material will directly impact your cutting strategy and long-term maintenance plan.
When planning a project, consider how the tile will interact with other design elements. For instance, the intricate pattern of a Dallas White granite countertop will influence your choice of hexagon tile for the backsplash, creating a cohesive visual language in your kitchen.
Handling Repairs and Transitions
Even a flawless installation can suffer damage over time. If a tile gets cracked, replacing a single hexagon is possible but requires care. The best method is to use a grout removal tool to grind out the grout around the damaged tile completely before carefully chiseling it out.
This is where having extra tile is a lifesaver. It is always wise to buy at least 10-15% more tile than you need for this very reason. Finding a perfect match years later can be impossible, so understanding what to do when you can’t match floor tiles is a crucial piece of homeowner knowledge.
Finally, a professional finish extends to the edges of the installation. A clean transition from tile to another flooring type is essential. Knowing how to properly fill the gap between tile and a wood floor with the correct transition strip or flexible sealant is just as important as laying the tiles themselves.
Conclusion: A Rewarding Challenge
Installing hexagon tile is undeniably more demanding than a standard project with square or rectangular tiles. It requires a higher level of patience, precision, and most importantly, preparation.
However, the stunning visual impact of a perfectly executed honeycomb pattern is a reward that is well worth the extra effort. By understanding the unique challenges that hexagon tiles present and by diligently applying the professional techniques and proactive solutions outlined in this guide, you can successfully avoid the common pitfalls. The end result will be a beautiful, durable, and expertly installed surface that will elevate your home’s design for decades to come.