Goodman GMT070-3 Smart Thermostat Installation Guide

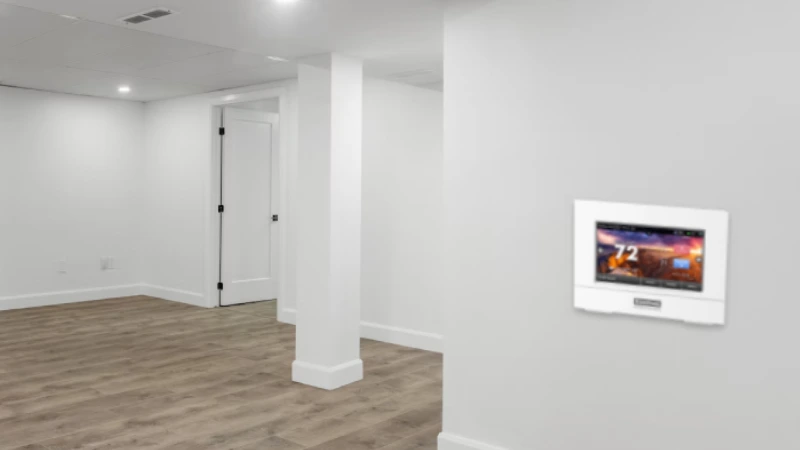
Installing a smart thermostat on your Goodman GMT070-3 furnace can bring a number of benefits to your home heating system. A smart thermostat allows you to control the temperature of your home remotely, using your smartphone or tablet, and can also learn your preferred temperature settings and adjust accordingly.
This means you can come home to a warm house on a cold day, or turn the temperature down when you’re away, all from the comfort of your couch. Smart thermostats also have the potential to save you money on your energy bills by helping you to be more efficient with your heating and cooling usage.
Overall, upgrading to a smart thermostat is a simple and effective way to improve the convenience and efficiency of your home heating system.
You'll Learn About
Preparation
Before beginning the installation process for a smart thermostat on your Goodman GMT070-3 furnace, it is important to take a few safety precautions.
Turn Off the Furnace
First, make sure that the furnace is turned off and that the power supply to the unit has been disconnected. This will prevent any electrical accidents or injuries during the installation process.
Gather Necessary Tools
Next, gather all of the necessary tools and materials for the installation. This may include a screwdriver, wire stripper, wire connectors, and the mounting plate and screws provided by the manufacturer. It is also a good idea to have a flashlight on hand in case you need to see inside the furnace or check the wiring connections.
Necessary Safety Precautions
Once you have gathered all of the necessary tools and materials and taken the necessary safety precautions, you can begin the installation process. Follow the instructions provided by the manufacturer carefully to ensure a successful installation.
Mounting the Thermostat
Install the Mounting Plate
To begin the installation process, the first step is to install the mounting plate for the thermostat on the wall. This is typically done by attaching the mounting plate to the wall using the screws provided by the manufacturer. Make sure to use a stud finder to locate the studs in the wall and attach the mounting plate to them for added stability.
Place the Thermostat Properly
Once the mounting plate is securely in place, the thermostat can be attached to it. Simply place the thermostat on the mounting plate and secure it in place using the screws provided. Make sure that the thermostat is level and straight before tightening the screws completely.
Installation Process
Once the thermostat is securely mounted on the wall, you can proceed to the next step in the installation process: connecting the thermostat wiring to the furnace. Follow the instructions provided by the manufacturer carefully to ensure a successful connection.
Connecting the Thermostat Wiring
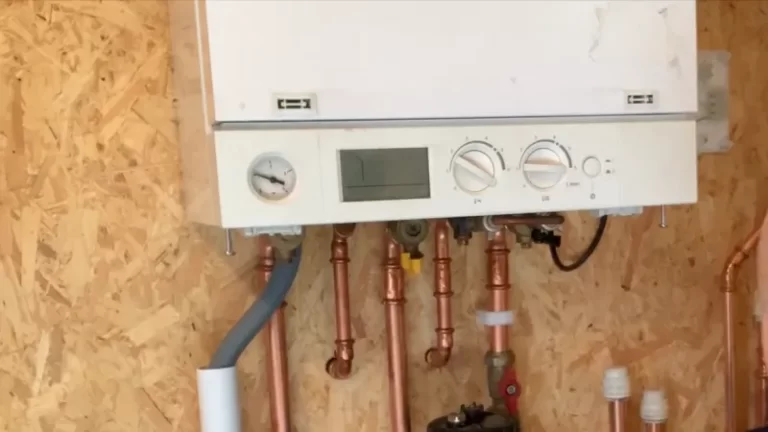
The next step in installing a smart thermostat on a Goodman GMT070-3 furnace is to connect the thermostat wiring to the furnace’s control board. To do this, you will need to identify the terminal connections on the control board and attach the thermostat wires to the corresponding terminals.
Locate the Terminal Connections
First, locate the terminal connections on the control board. These are typically labeled with letters such as “R,” “W,” “Y,” and “G.” Refer to the manufacturer’s instructions or the wiring diagram provided with the thermostat to determine which terminal each wire should be connected to.
Attach the Thermostat Wires
Next, attach the thermostat wires to the appropriate terminals on the control board. Use wire connectors or wire nuts to secure the connections and make sure that they are tight and secure.
Connect the “c” Wire
Finally, the “C” wire, which is typically a blue wire, needs to be connected to the metal chassis of the furnace. This can typically be done by attaching the wire to one of the ground screws on the furnace. Make sure that the wire is securely attached and does not come into contact with any other components or wiring.
Once all of the wiring connections have been made, you can proceed to the next step in the installation process: testing the system to ensure that it is functioning properly.
Testing the System
Once the thermostat wiring has been connected to the furnace’s control board, it is time to test the system to ensure that it is functioning properly. To do this, power on the thermostat and set the temperature to a level that is different from the current room temperature. The furnace should turn on and begin heating or cooling the room to the desired temperature.
If the thermostat does not function as expected, there may be a problem with the wiring connections or the furnace itself. In this case, it may be necessary to check the wiring connections to make sure that they are secure and properly connected. You can also refer to the manufacturer’s troubleshooting guide or consult a professional HVAC technician for additional assistance.
Overall, testing the system is an important step in the installation process to ensure that the thermostat and furnace are working together properly. If you encounter any issues during this step, don’t hesitate to seek help to get your system up and running smoothly.
Can You Install a Smart Thermostat Without a C Wire?
A C-wire is a common term used in the HVAC industry that refers to the common wire used in heating and cooling systems to provide a continuous power source to a thermostat. In this article, we will discuss the different ways to install a smart thermostat without a C-wire.
Option 1: Do Nothing at All
Some smart thermostats are designed to work without a C-wire and can rely on the power from the heating and cooling system itself. This is the easiest and most straightforward option as it doesn’t require any additional work or equipment. However, it is important to note that not all smart thermostats will work this way and some may require a C-wire for optimal performance.
Option 2: Search for a Hidden C-wire
If your HVAC system is equipped with a C-wire but it is not connected to your thermostat, you can search for it in the wall or attic. Sometimes, a C-wire is already installed in the system but is not in use, so you can simply connect it to the thermostat. If you are not familiar with electrical wiring, it is recommended to hire a professional for this task.
Option 3: Use the G-wire as C-wire
If your HVAC system does not have a C-wire but has a G-wire, also known as a fan wire, you can use it as a C-wire. The G-wire provides power to the fan and is not used in most smart thermostats. By using the G-wire as a C-wire, you can power your thermostat without having to install new wiring.
Option 4: Buy an Adapter
Another option is to buy an adapter that can be used to convert the existing wiring in your HVAC system into a C-wire. These adapters are readily available online and are easy to install. They can be a convenient solution for those who are not comfortable with electrical wiring.
Option 5: Install New Hvac Wiring
If none of the above options are suitable for your HVAC system, you may need to install new wiring. This involves running a new C-wire from the HVAC system to the thermostat, which can be a complex and time-consuming task. This option should only be considered as a last resort and should be performed by a professional.
There are several ways to install a smart thermostat without a C-wire. Whether you opt to do nothing, search for a hidden C-wire, use the G-wire as a C-wire, buy an adapter, or install new HVAC wiring, it is important to make sure that the solution you choose is suitable for your HVAC system and meets your needs.
It is also important to keep in mind that electrical work should only be performed by a professional if you are not familiar with it.
Can I Install a Smart Thermostat With 2 Wires?
In today’s technology-driven world, smart thermostats have become a popular way to control the heating and cooling system in homes and businesses.
Typically, a smart thermostat requires a C-wire, also known as a common wire, to provide a continuous power source to the device. However, there are some smart thermostats that can be installed with only 2 wires.
Two-wire Smart Thermostats
The Nest E and Nest Gen 3 Thermostats are two popular smart thermostats that can be installed with just 2 wires. These thermostats are designed to work with heating and cooling systems that have only 2 wires, which are typically the red and white wires used for heating or cooling.
These wires provide power to the thermostat and control the heating or cooling system.
How to Install a Smart Thermostat With 2 Wires
Installing a smart thermostat with 2 wires is a simple process that can be done by following a few steps.
- First, turn off power to the heating and cooling system to avoid any electrical hazards.
- Then, remove the old thermostat and label the wires connected to it.
- Next, connect the red and white wires to the corresponding terminals on the new thermostat.
- Finally, attach the thermostat to the wall and turn the power back on to the heating and cooling system.
Benefits of Installing a Smart Thermostat With 2 Wires
There are several benefits to installing a smart thermostat with 2 wires. The first is that it eliminates the need for a C-wire, making it a more cost-effective solution.
Additionally, it is a simple and straightforward process that can be done without the need for additional wiring or equipment. This makes it an ideal solution for those who are not comfortable with electrical work or do not want to hire a professional.
Drawbacks of Installing a Smart Thermostat With 2 Wires
There are also some drawbacks to installing a smart thermostat with 2 wires. One of the main disadvantages is that the thermostat may not be as feature-rich as other smart thermostats that require a C-wire.
For example, some features, such as real-time energy monitoring or control of multiple zones, may not be available. Additionally, the performance of the thermostat may not be as optimal as with a C-wire, as it may not have a constant power source.
Both the Nest E and Nest Gen 3 Thermostats can be installed with just 2 wires. While this is a cost-effective and simple solution, it does come with some limitations in terms of features and performance. When deciding to install a smart thermostat with 2 wires, it is important to consider the specific needs and requirements of your heating and cooling system and choose a solution that meets those needs.
Conclusion
Installing a Goodman GMT070-3 smart thermostat can improve your home’s energy efficiency and comfort. The process involves connecting the thermostat to your HVAC system and configuring its settings. Always follow the manufacturer’s instructions to ensure proper installation.
While setting up your thermostat, consider other ways to optimize your HVAC system. For example, learning how to drain a dehumidifier through a wall can improve indoor air quality. Additionally, understanding why air conditioners are so expensive can help you make informed decisions about your HVAC investments. For more tips, check out our guide on resetting a Midea air conditioner remote.
Upgrading to a smart thermostat can improve the convenience and efficiency of your home heating system, allowing you to control the temperature remotely and potentially save money on your energy bills. If you are considering installing a smart thermostat on your Goodman GMT070-3 furnace, we encourage you to go for it – the process is straightforward and the benefits are well worth it.


