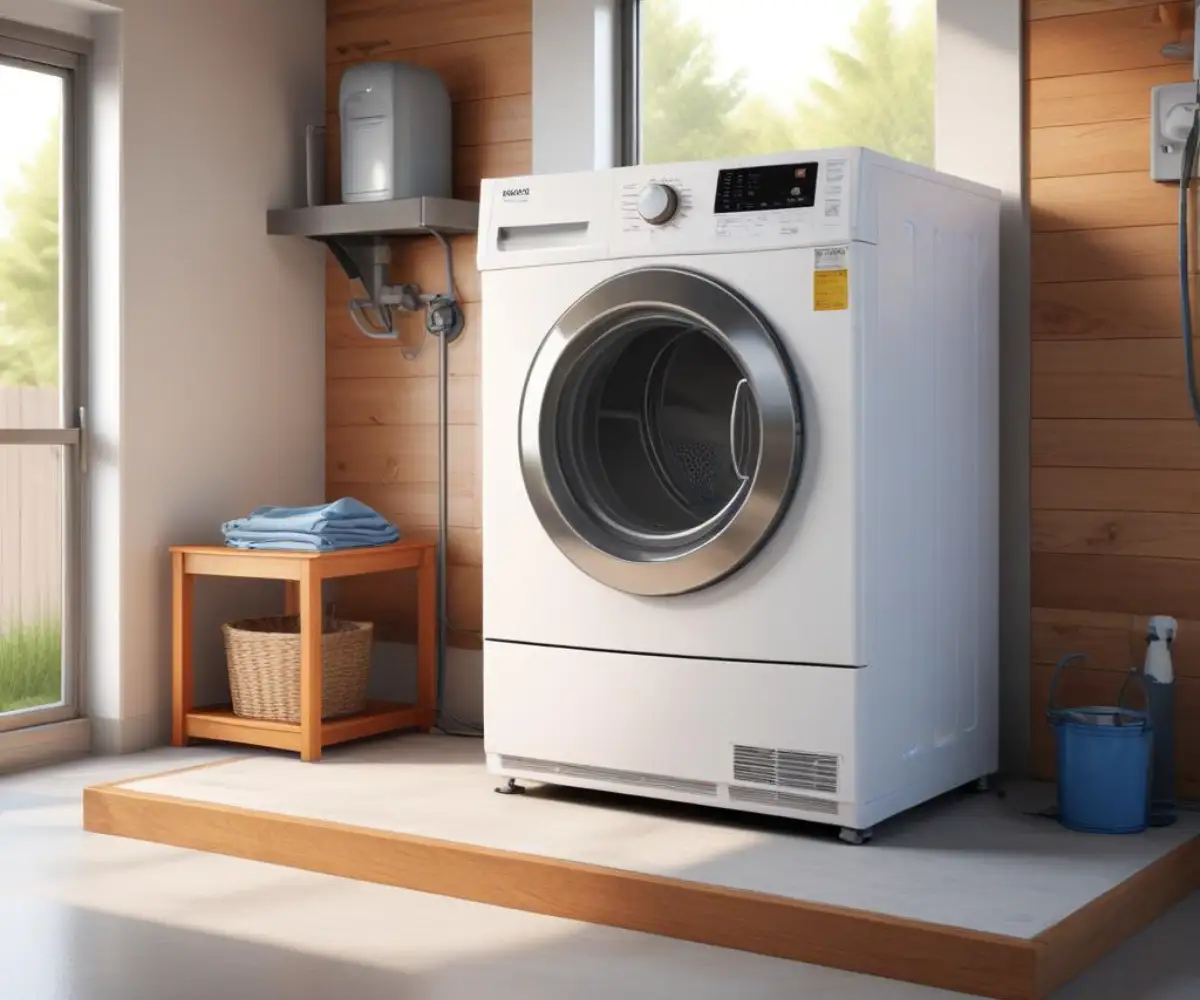
Gas Dryer in Garage on 18″ Platform: The Ultimate Safety Guide
Moving your laundry appliances into the garage is a popular way to reclaim space and reduce noise inside your home. However, installing a gas dryer in a garage presents unique challenges and significant safety considerations that are often overlooked. The primary concern revolves around placing this appliance on a platform, specifically an 18-inch platform, a requirement dictated by safety codes in many areas.
Many homeowners question the necessity of this elevation, wondering if it’s just a recommendation or a strict rule. This guide will address the critical safety issues, explain the non-negotiable building codes, and provide a comprehensive, step-by-step approach to safely and correctly installing your gas dryer on an 18-inch platform in the garage.
You'll Learn About
The Critical Reason for the 18-Inch Rule: It’s Not About Flooding
The most common misconception about elevating a gas dryer in a garage is that it’s to protect the appliance from water damage. While a platform can offer protection from minor water intrusion, similar to concerns in a basement which you can read about in this guide on surviving a flooded basement, the primary reason is far more critical: fire and explosion prevention.
Garages are designated as hazardous locations in building codes because they are common storage areas for vehicles, lawnmowers, gasoline cans, paints, solvents, and other flammable liquids. The vapors from these substances are heavier than air and can accumulate near the floor. A gas dryer’s burner and igniter are sources of ignition. If these components are too close to the ground, they can ignite these invisible, combustible fumes, leading to a catastrophic fire or explosion. The International Residential Code (IRC) specifically mandates that appliances with an ignition source must be elevated at least 18 inches above the floor in garages to mitigate this risk.
Understanding Flammable Vapor Density
To appreciate the science behind this rule, it’s essential to understand vapor density. Most flammable liquids produce vapors that are denser than the surrounding air. For example, gasoline vapors are three to four times heavier than air. When a can is left uncapped or a small spill occurs, these vapors don’t dissipate upwards; they sink and spread across the garage floor, creating a low-lying, invisible hazard.
The 18-inch elevation raises the dryer’s ignition source—the flame from the burner or the spark from the igniter—well above this danger zone. This height provides a crucial buffer, allowing vapors to disperse to a non-combustible concentration before they can reach the appliance’s flame. This isn’t just a best practice; it is a life-saving requirement rooted in physics and fire safety engineering.
Planning Your Installation: Codes, Clearances, and Connections
Before you build a platform or move your appliance, a thorough planning phase is crucial for a safe and compliant installation. This involves checking local codes, ensuring you have adequate space, and planning for the necessary utility connections.
First and foremost, always consult your local building department. While the IRC provides a national standard, your city or county may have additional amendments or specific requirements. A quick phone call can clarify rules regarding platforms, gas line materials, and ventilation ducting, saving you from costly mistakes and ensuring your installation passes inspection.
Space and Clearance Requirements
Measure the intended location for your dryer and its new platform. Manufacturers specify minimum clearances required around the appliance for proper airflow, service access, and safety. Typically, this includes at least 1 inch on the sides and 4-6 inches at the rear for the vent and gas line. Ensure the final placement does not obstruct access to electrical panels, water shut-offs, or egress paths.
Consider the total height. An 18-inch platform will raise your dryer significantly, which can be ergonomically beneficial but may interfere with existing overhead shelving or garage door tracks. Plan the layout to ensure both functionality and safety, including protection from potential vehicle impact by installing a bollard or concrete stop if necessary.
Building a Safe and Sturdy 18-Inch Dryer Platform
A DIY platform must be incredibly sturdy to handle the weight and vibrations of a running dryer. A weak or unstable platform is a serious safety hazard. Commercial pedestals often do not meet the 18-inch height requirement, making a custom-built wooden platform the most practical solution.
The structure should be built like a small, robust deck frame. Use high-quality lumber, such as 2x10s or 2x12s for the frame, supported by 4×4 posts for legs. This ensures the platform can easily support the dryer’s weight (often 150-200 lbs) plus the dynamic forces of the spinning drum without shaking apart.

Materials and Step-by-Step Construction
Building a stable platform is straightforward with the right materials and a solid plan. A simple box frame with a plywood top is sufficient to provide the necessary support and stability.
| Material | Recommended Size/Type | Purpose |
|---|---|---|
| Frame Lumber | 2×10 or 2×12 Framing Lumber | Creates the main box structure. |
| Legs | 4×4 Pressure-Treated Posts | Provides vertical support and stability. |
| Top Surface | 3/4-inch Plywood or OSB | Creates a solid, flat surface for the dryer. |
| Fasteners | 3-inch Deck Screws & 1-5/8-inch Screws | For assembling the frame and attaching the top. |
| Adhesive | Construction Adhesive | Adds rigidity and prevents squeaking. |
Start by building a rectangular frame to the dimensions of your dryer’s base, allowing for a small border. Attach the 4×4 legs securely to the inside corners of the frame. Add a center support joist to prevent the plywood top from sagging. Finally, apply construction adhesive to the top edges of the frame and secure the plywood sheathing with screws every 6-8 inches.
Gas Line Installation: A Job for Professionals
While building the platform can be a DIY project, connecting the gas line is a task that should always be handled by a licensed plumber or HVAC professional. Natural gas is highly combustible, and an improper connection can lead to a dangerous leak. Professionals have the tools, knowledge, and experience to ensure the installation is safe and up to code.
A proper gas line installation for a dryer includes several key components. A dedicated shut-off valve must be installed within 6 feet of the appliance for emergency access. A sediment trap, or “drip leg,” is a vertical piece of pipe with a cap installed just before the flexible connector; this trap catches moisture and debris in the gas line, protecting the dryer’s sensitive gas valve from damage.
Flexible Connectors and Proper Fittings
The connection from the rigid gas pipe to the dryer is made with a new, certified flexible gas connector. Never reuse an old connector, as they can degrade over time. The professional will also ensure all threaded connections are sealed with the appropriate pipe dope or gas-rated Teflon tape. When discussing pipe termination points, understanding details like the proper depth for a drop ear elbow becomes important for securing the fixture correctly and preventing strain on the gas line.
After the connection is complete, the professional will perform a leak test using a soapy water solution or an electronic gas detector to confirm that every joint is perfectly sealed. This final check is the most critical step in the entire process.
The Overlooked Danger: Garage Ventilation and Make-Up Air
Proper ventilation for a gas dryer is a two-part system: exhausting the hot, moist air and lint, and providing a source of fresh “make-up” air for combustion. Failing to address both can lead to poor dryer performance, dangerous carbon monoxide buildup, and fire hazards.
The exhaust vent must be as short and straight as possible, terminating directly to the outdoors. Use only rigid or semi-rigid metal ducting—never use flexible plastic or foil ducting, as it is a serious fire hazard that can trap lint and be easily crushed. Every 90-degree bend in the ductwork adds resistance equivalent to several feet of straight pipe, reducing airflow and increasing drying times. Ensure the exterior vent cap has a functioning backdraft damper and is not obstructed by screens, which can clog with lint.
The Critical Need for Make-Up Air
A gas dryer pulls a significant amount of air from its surroundings for both the drying process and the combustion of natural gas. In a well-sealed, modern garage, a running dryer can create negative pressure. This “air vacuum” can be dangerous, as it can cause other fuel-burning appliances in the garage, like a gas water heater, to backdraft, pulling toxic combustion gases like carbon monoxide back into the space instead of venting them outside.
To prevent this, building codes require a source of make-up air. This is often achieved by installing vents in the garage door or an exterior wall, providing a path for fresh air to enter and replace the air being exhausted by the dryer. A common rule of thumb is to provide at least one square inch of vent opening for every 1,000 BTU/hr of appliance input. Check your dryer’s specifications and local codes to determine the exact requirement.
Final Steps: Electrical, Positioning, and Safety Checks
Once the platform is built, the gas line is professionally installed, and ventilation is addressed, the final steps involve connecting the power and safely positioning the appliance. A gas dryer still requires a standard 120-volt electrical outlet to power the drum motor, controls, and igniter.
Placing the dryer onto the high platform can be challenging. This is where knowing how to lift a dryer by yourself or with a partner safely becomes essential. Use proper lifting techniques or an appliance dolly to avoid injury. Once on the platform, level the dryer by adjusting its feet to ensure it operates smoothly without excessive vibration.
Final Inspection and Maintenance
Before the first use, perform a final check. Ensure the dryer is stable on the platform, the exhaust vent is securely connected at both ends, and the gas line is free of kinks. Turn on the gas supply and run the dryer on a heat cycle, checking for normal operation. It’s also wise to have a carbon monoxide detector in the garage as an added layer of safety.
Regular maintenance is key to long-term safety. Clean the lint filter after every load, and inspect and clean the entire exhaust duct system at least once a year to prevent lint buildup, which is a leading cause of dryer fires. By following these comprehensive steps, you can confidently and safely enjoy the benefits of having your gas dryer in the garage.

