Driveway Downspout Disaster? Stop Water Damage for Good
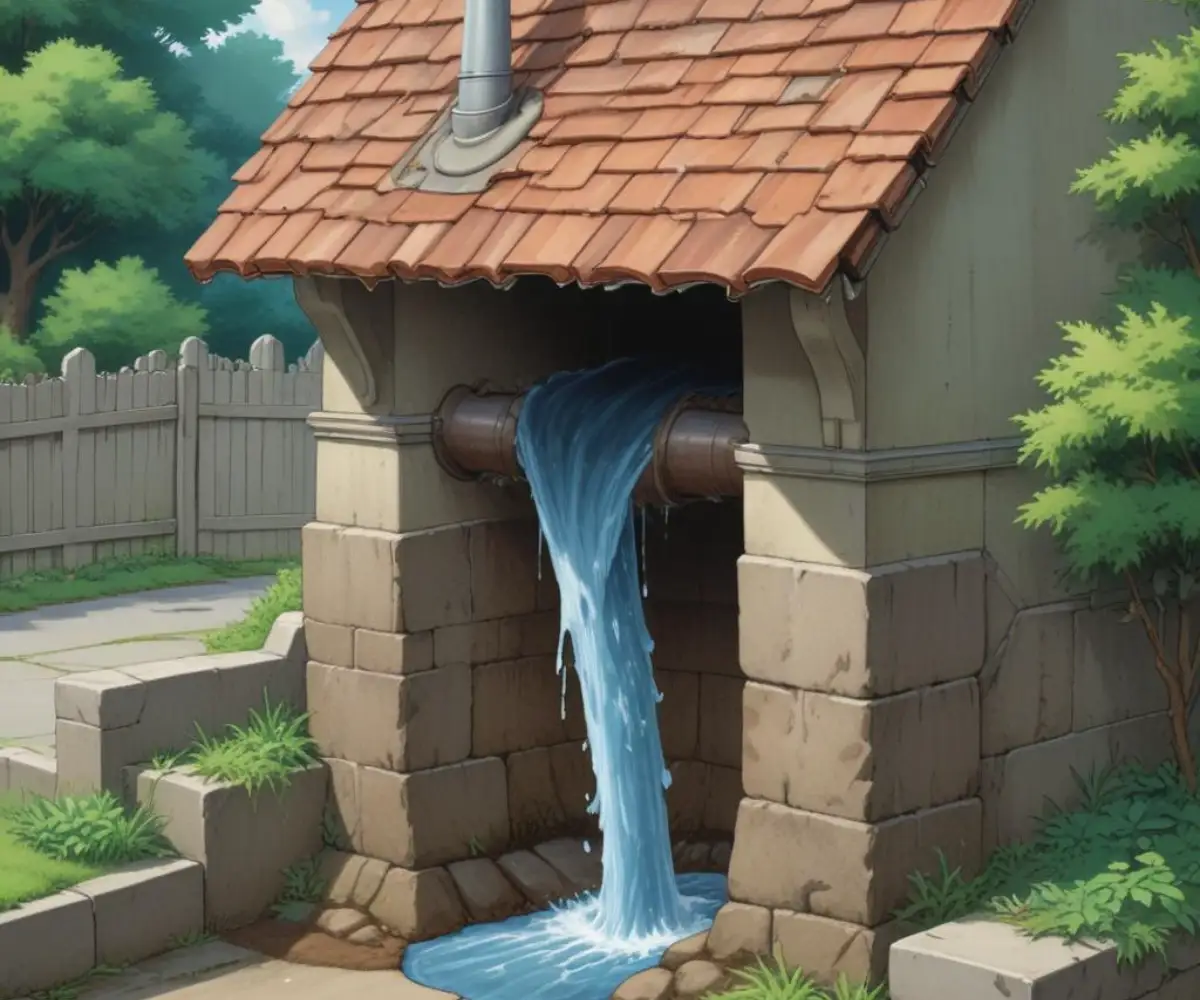
That innocent-looking downspout dumping water onto your driveway is a silent menace. Each rainfall sends hundreds, even thousands, of gallons of water cascading across your pavement. While it may seem harmless at first, this constant flow of water is actively working to destroy your property’s biggest investments: your driveway and your home’s foundation.
Ignoring a driveway downspout problem is a costly mistake. Over time, that water will exploit every tiny crack, wash away the supporting soil, and in winter, create treacherous sheets of ice. The good news is that with the right knowledge and strategy, you can take control of your roof runoff and protect your home for good.
You'll Learn About
Why Your Downspout and Driveway Are a Toxic Combination
Many builders and homeowners overlook the placement of downspouts, often allowing them to discharge directly onto driveways for convenience. This common mistake sets the stage for a host of expensive and dangerous problems. Understanding these risks is the first step toward implementing a permanent solution.
The Silent Destroyer: Water Erosion and Cracking
Water is a powerful erosive force. When concentrated from a downspout, it relentlessly attacks your driveway’s surface, whether it’s asphalt or concrete. The water washes away the essential binding materials and seeps into joints and hairline cracks, leading to significant damage over time. This constant moisture saturation beneath the slab can erode the soil and gravel base that provides crucial support. As this base material washes away, voids can form under the driveway, causing sections to sink, crack, or heave. Eventually, you may notice a significant depression forming, and you’ll need a guide to fix the dip at the end of your driveway that the downspout created.
The Winter Menace: Dangerous Ice Slicks
In colder climates, the danger escalates dramatically. Water from a downspout spreading across a driveway will freeze, creating a slick, hazardous ice patch. This poses a serious slip-and-fall risk for your family and visitors. The repeated freeze-thaw cycles are also incredibly destructive to the driveway itself. Water penetrates the surface, freezes, expands, and breaks the pavement apart from the inside out, a process known as spalling. This issue is just as dangerous as having a downspout over a walkway, turning your property into a liability.
Foundation Under Threat: The Unseen Damage
Perhaps the most critical risk is to your home’s foundation. When a downspout dumps water next to your house, it super-saturates the soil directly against your foundation walls. This creates immense hydrostatic pressure, which can lead to cracks, leaks, and a wet basement or crawl space. Over the long term, this constant moisture can compromise the structural integrity of your entire home, leading to repairs that can cost tens of thousands of dollars.
Assessing Your Driveway Downspout Problem
Before you can choose the right solution, you need to become a detective. A thorough assessment of your specific situation will ensure you choose the most effective and efficient drainage strategy. Don’t skip this crucial step.
Follow the Flow: Observe During a Heavy Rain
The best way to understand your problem is to see it in action. During the next heavy rainstorm, put on a raincoat and go outside. Watch exactly where the water from the downspout flows. Does it pool in one area? Does it run back toward your garage or foundation? Observe how quickly it drains away, or if it drains at all. This direct observation is more valuable than any guesswork.
Understand Your Driveway’s Slope
The slope, or grade, of your driveway plays a huge role in how water behaves. Ideally, your driveway should slope away from your home and garage. If your driveway is flat or, even worse, slopes toward your house, you have a much more serious problem that requires a more robust solution. A simple level can help you determine the direction and steepness of the slope.
The Ultimate Solutions for Driveway Downspout Drainage
Once you’ve assessed the problem, it’s time to explore the solutions. There are several effective methods for managing downspout runoff, ranging from simple rerouting to more involved underground systems. The best choice for you will depend on your budget, property layout, and DIY comfort level.
Solution 1: Go Under – The Buried Drain Pipe (The Permanent Fix)
The most effective and long-lasting solution is to capture the water at the downspout and channel it underneath the driveway through a buried drain pipe. This approach completely removes the water from the driveway surface, eliminating erosion and ice hazards permanently. The pipe then discharges the water safely away from your home, often into a pop-up emitter in the lawn, a dry well, or the street curb.
Installing a buried drain often involves cutting a narrow trench across the driveway, laying a solid PVC or corrugated pipe, and then patching the driveway surface. While it’s the most labor-intensive option, it provides a clean, invisible, and permanent fix to your water problems.
Solution 2: Go Over – Surface Drainage Innovations
If trenching under your driveway isn’t feasible, you can manage the water on the surface. One option is a driveway channel drain. This is a long, narrow grate-covered trench that is installed flush with the driveway’s surface. It intercepts the water as it flows from the downspout and channels it through a pipe to a safe discharge point. This can be an excellent option for driveways that slope towards the garage. Another, simpler approach is to use low-profile gutter extensions that lie flat on the driveway to carry water to the other side, though these can be a tripping hazard and must be moved for driving or snow removal.
Solution 3: Go Around – Simple Rerouting
Sometimes the easiest solution is to avoid the driveway altogether. If your property layout allows, you can use gutter elbows and extensions to reroute the downspout along the side of your house until it clears the driveway. From there, you can direct the water onto a lawn or into a garden bed, as long as the ground slopes away from your foundation. This is often the cheapest and easiest DIY solution, but it’s highly dependent on your home’s architecture and landscaping.
Choosing the Right Materials for Your Project
Selecting the correct materials is critical for the success and longevity of your drainage project, especially for a buried system. The pipe you choose will be underground for decades, so durability is key. Here’s a comparison of the most common options.
| Pipe Material | Pros | Cons | Best For |
|---|---|---|---|
| PVC (Schedule 40 or SDR35) | Extremely durable and crush-resistant. Smooth interior walls prevent debris buildup and allow for maximum water flow. Joints can be glued for a watertight seal. | More rigid, requiring angled fittings for turns. Can be more expensive than corrugated pipe. | The gold standard for buried downspout drains, especially under driveways where strength is critical. |
| Corrugated HDPE Pipe | Flexible, making it easy to navigate around obstacles. Less expensive and lightweight. Resistant to cracking from freezing. | Ridged interior can trap sediment and debris, leading to clogs over time. More susceptible to being crushed under heavy loads. | General yard drainage and simple extensions where it will not be under vehicle traffic. |
| Dual-Wall Corrugated Pipe | Combines the benefits of both: a smooth interior for excellent flow and a corrugated exterior for strength and flexibility. | More expensive and can be harder to find than standard options. | High-end installations under driveways or in areas with challenging soil conditions. |
DIY vs. Hiring a Professional: Making the Call
Deciding whether to tackle your driveway downspout project yourself or hire a professional depends on the complexity of the job and your own skills and tools. Making the wrong choice can lead to a failed system and wasted money.
When You Can DIY
Projects like adding above-ground extensions, rerouting a downspout around a driveway, or even burying a drain pipe in a soft-surface yard are well within the capabilities of a determined DIYer. These tasks require basic tools and careful planning but don’t involve specialized skills like cutting concrete.
When to Call the Experts
You should strongly consider hiring a professional if your solution involves cutting through a concrete or asphalt driveway. This requires specialized tools like a concrete saw and the expertise to patch the surface correctly. Professionals can also assess complex grading issues and ensure your system complies with local building codes, especially if you plan to connect to a municipal storm drain. The average cost to have a professional install a trench drain can range from $30 to $150 per linear foot, depending on the complexity.
Step-by-Step Guide: Installing a Buried Downspout Drain
For those ready to tackle the ultimate solution, here is a simplified guide to installing a buried drain line under your driveway. Always call 811 before you dig to have underground utility lines marked.
- Plan and Mark: Plan the most direct route from the downspout, under the driveway, to a suitable discharge point. The discharge point must be at a lower elevation than the downspout. Mark your planned trench with spray paint.
- Trenching: If your driveway is paver or gravel, you can remove the materials to dig your trench. For asphalt or concrete, you will need to rent a concrete saw to cut two parallel lines for your trench. Dig the trench about 8-10 inches wide and ensure a consistent downward slope of at least 1/8 inch per foot.
- Add a Sleeve (Optional but Recommended): To protect the drain pipe from the weight of the driveway and make future replacement easier, you can install a larger diameter pipe (like a 6-inch PVC pipe) as a sleeve through which your 4-inch drain pipe will run.
- Assemble and Lay the Pipe: Connect your sections of solid PVC pipe using primer and cement. Attach a downspout adapter to the starting end. Lay the assembled pipe in the trench, ensuring the slope is maintained.
- Connect the Outlet: At the discharge end, connect a pop-up emitter or a grate. A pop-up emitter sits flush with the lawn and rises with water pressure to release the water, then closes to prevent debris from entering.
- Backfill and Repair: Backfill around the pipe with gravel and then top with soil. For a paved driveway, fill the trench with a suitable base material and patch with a cold asphalt patch or concrete mix, following the product’s instructions carefully.
Maintaining Your Driveway Drainage System
Your work isn’t done after the installation. A little regular maintenance will ensure your new drainage system functions flawlessly for years to come. Neglecting maintenance is the number one reason even well-designed systems fail.
At least twice a year, especially in the fall, clean your gutters thoroughly. Clogged gutters will prevent water from even reaching your new drain. For broader strategies on managing water, explore these comprehensive gutter downspout solutions for your home. Periodically check your pop-up emitter or drain outlet to ensure it isn’t blocked by grass clippings, leaves, or dirt. Once a year, you can flush the underground line by inserting a garden hose into the downspout opening to clear out any accumulated sediment.
Reclaim Your Driveway and Protect Your Home
A downspout that drains onto your driveway is more than just an annoyance; it’s a direct threat to your property’s value and safety. By identifying the problem, choosing the right solution, and implementing it correctly, you can stop water damage in its tracks. Taking action now will prevent catastrophic damage to your driveway and foundation, saving you from enormous stress and expense in the future.