Can You Drive Over a Drain Pipe? Your Ultimate Guide
You have a drainage problem, and the only solution seems to be running a pipe right under your driveway. This immediately raises a critical question: is it safe to drive over a drain pipe? The short answer is yes, but only if you do it correctly.
An improperly installed pipe can quickly become a crushed, useless piece of plastic, leading to costly repairs. This guide will walk you through the entire process, ensuring your drainage solution is durable and can withstand the weight of daily traffic.
You'll Learn About
The Core Problem: Vehicle Weight vs. Pipe Strength
The primary challenge is simple physics. A standard passenger car weighs thousands of pounds, and that weight is concentrated over the small surface area of its tires. This creates immense pressure on the ground and anything buried beneath it, including your drain pipe.
If the pipe isn’t strong enough or installed correctly, it will collapse. This not only stops the flow of water but can also cause your driveway to sink or crack, creating an even bigger headache.
Why Proper Installation is Non-Negotiable
Simply digging a shallow trench and dropping in a pipe is a recipe for disaster. The pipe needs to be the right type, buried at the correct depth, and supported by the right materials to distribute the load from vehicles above.
Ignoring these factors can lead to a complete system failure. You might face issues ranging from water backing up towards your home’s foundation to having to excavate a brand-new driveway to fix the underlying problem.
Choosing the Right Pipe: Your First and Most Important Decision
Not all drain pipes are created equal. The material and structure of the pipe you choose will have the biggest impact on its ability to survive under a driveway. Let’s break down the common options.
Heavy-Duty Corrugated HDPE Pipe
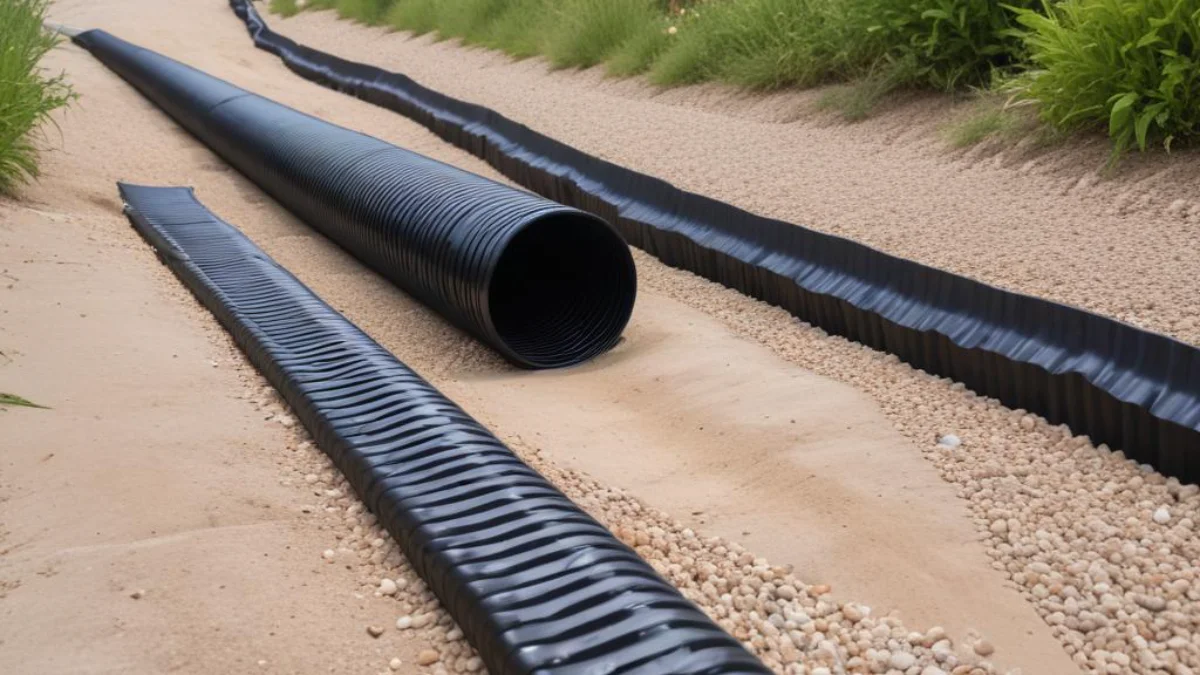
High-Density Polyethylene (HDPE) pipe is a popular choice for its flexibility and durability. For driveway applications, you must use a heavy-duty, dual-wall corrugated version. The smooth interior wall allows for efficient water flow, while the corrugated exterior provides structural strength.
A 6-inch single-wall corrugated pipe is often recommended for areas with vehicle traffic because the larger diameter inherently provides more strength. This type of pipe, when installed correctly, can handle significant weight.
PVC and ABS Pipes
Polyvinyl Chloride (PVC) and Acrylonitrile Butadiene Styrene (ABS) pipes are rigid and strong. When considering PVC, Schedule 40 or even Schedule 80 is recommended for the added wall thickness and crush resistance. These are excellent choices but can be more expensive and less forgiving if the ground settles.
For areas with vehicle traffic, using a solid wall PVC pipe like SDR 35 is a reliable option. It’s crucial to avoid foam core PVC, which is not strong enough for this application.
Metal and Concrete Pipes
For the ultimate in strength, especially for culverts or areas with very heavy vehicle traffic (like commercial trucks), corrugated steel or reinforced concrete pipes are the top choices. While these are the most durable, they are also the most expensive and require heavy equipment for installation, making them less common for typical residential projects.
The Step-by-Step Installation Guide for a Drive-Over Drain Pipe
Proper installation is a multi-step process that requires attention to detail. Rushing through these steps will compromise the integrity of your entire drainage system.
Step 1: Planning and Preparation
Before you dig, always check with your local municipality for any regulations or permits required for installing a driveway culvert or drain. You must also contact utility companies to mark any underground lines for gas, water, or electricity. Accidentally hitting one of these can be dangerous and costly.
Step 2: Digging the Trench
The depth of your trench is critical. A minimum of 12 inches of cover over the top of the pipe is a common recommendation. For heavier vehicles or in colder climates with deep frost lines, burying the pipe even deeper, up to 24 inches, provides better protection.
The trench should be wide enough to allow for at least 6-9 inches of backfill material on either side of the pipe. Ensure the bottom of the trench is smooth and free of any large, sharp rocks that could puncture the pipe.
Step 3: Creating a Stable Bed
Never lay your drain pipe directly on the soil at the bottom of the trench. You need to create a stable bed of bedding material. Use at least 4 inches of crushed stone or pea gravel.
This gravel bed provides a solid, level foundation for the pipe and helps distribute the load. Once the gravel is in place, compact it firmly to prevent settling.
Step 4: Laying and Sloping the Pipe
Carefully place the pipe onto the gravel bed. One of the most critical aspects of any drainage system is ensuring a proper slope for water to flow via gravity. A minimum slope of 1/8 inch per foot is standard, but a 1/4 inch per foot slope is even better to ensure good water flow and prevent debris from settling in the pipe.
For those wondering about the specifics, you can learn more about if can you bury corrugated drain pipe and the best practices involved.
Step 5: Backfilling Around the Pipe (Haunching)
Once the pipe is positioned correctly, you need to backfill the sides, a process known as haunching. Use the same crushed stone or pea gravel and fill the trench up to the top of the pipe. Be sure to compact this material firmly under the “haunches” or curves of the pipe to provide lateral support.
This step is crucial for preventing the pipe from flexing or flattening under weight. Do not use large rocks in your backfill, as their sharp points can press against the pipe and cause damage.
Step 6: Final Backfill and Compaction
After haunching, continue backfilling the trench with soil or more gravel until you have at least 12 inches of cover over the pipe. It is vital to add this material in layers, or “lifts,” of about 6 inches at a time, compacting each layer thoroughly before adding the next. This prevents the soil from settling later and creating a dip in your driveway.
Comparing Pipe Materials for Driveway Applications
Choosing the best pipe involves balancing cost, durability, and ease of installation. The table below provides a quick comparison of the most common materials suitable for use under a driveway.
| Pipe Material | Pros | Cons | Best For |
|---|---|---|---|
| Dual-Wall Corrugated HDPE | Flexible, durable, cost-effective, easy to install. | Can be crushed if not buried deep enough or properly backfilled. | Most residential driveways with standard car and light truck traffic. |
| Schedule 40/80 PVC | Very strong, smooth interior for excellent flow, resistant to chemicals. | Rigid (can crack under shifting soil), more expensive, requires precise installation. | Situations requiring high crush strength and where soil is stable. |
| Corrugated Steel | Extremely strong and durable, can handle very heavy loads. | Can rust over time, especially in acidic soils; heavy and difficult to install. | High-traffic driveways, commercial applications, and culverts. |
| Reinforced Concrete | The strongest option, extremely long lifespan, handles massive loads. | Very heavy, requires professional installation with heavy machinery, most expensive. | Permanent culverts, commercial entrances, and areas with extreme loads. |
Common Mistakes to Avoid
Even with the right materials, simple mistakes can lead to failure. Be sure to avoid these common pitfalls.
Using the Wrong Pipe
Never use standard, single-wall corrugated pipe or thin-walled PVC under a driveway. These products are not designed to withstand the weight and will collapse. It is also important to consider potential blockages from pests; dealing with a squirrel in drain pipe under a driveway is a nightmare you want to avoid.
Not Digging Deep Enough
A shallow trench is the most common cause of a crushed pipe. The 12-inch minimum cover is not just a suggestion; it’s essential for distributing the vehicle’s weight before it reaches the pipe.
Improper Backfilling
Simply dumping dirt back into the trench is a critical error. Without proper bedding and compacted layers of backfill, the pipe is not adequately supported and will fail under load. This principle also applies to internal plumbing, where a washing machine drain pipe leaking in wall can be caused by improper support and movement.
Final Thoughts: Build it Right, Build it Once
Successfully installing a drain pipe that you can drive over is entirely achievable with careful planning and execution. The key is to respect the forces at play and build a system that can handle them.
By selecting a robust, heavy-duty pipe, burying it at the proper depth, and meticulously bedding and backfilling the trench, you can create a durable drainage solution that will last for decades. Don’t cut corners on materials or installation; the effort you put in now will prevent massive headaches and expenses down the road.