DIY Spray Foam Basement Walls: Avoid This #1 Mistake!
That cold, damp feeling in your basement isn’t just unpleasant—it’s a sign of wasted energy and potential moisture problems. For years, homeowners have battled chilly floors and musty smells emanating from their foundation. You’ve considered fiberglass batts, but you’ve heard they can hold moisture, leading to bigger issues down the road.
Now, you’re looking at a modern solution: DIY spray foam insulation. It promises a superior air seal and moisture barrier, transforming your basement into a comfortable, usable space. But this powerful solution comes with a steep learning curve, and one critical mistake can turn your money-saving project into a costly disaster.
You'll Learn About
Why Spray Foam is a Game-Changer for Basements
Before diving into the “how-to,” it’s essential to understand why spray foam is often considered the best choice for below-grade walls. Unlike traditional insulation, spray foam performs two jobs at once: it insulates (resists heat flow) and air seals (stops drafts). This dual function is critical in a basement environment.
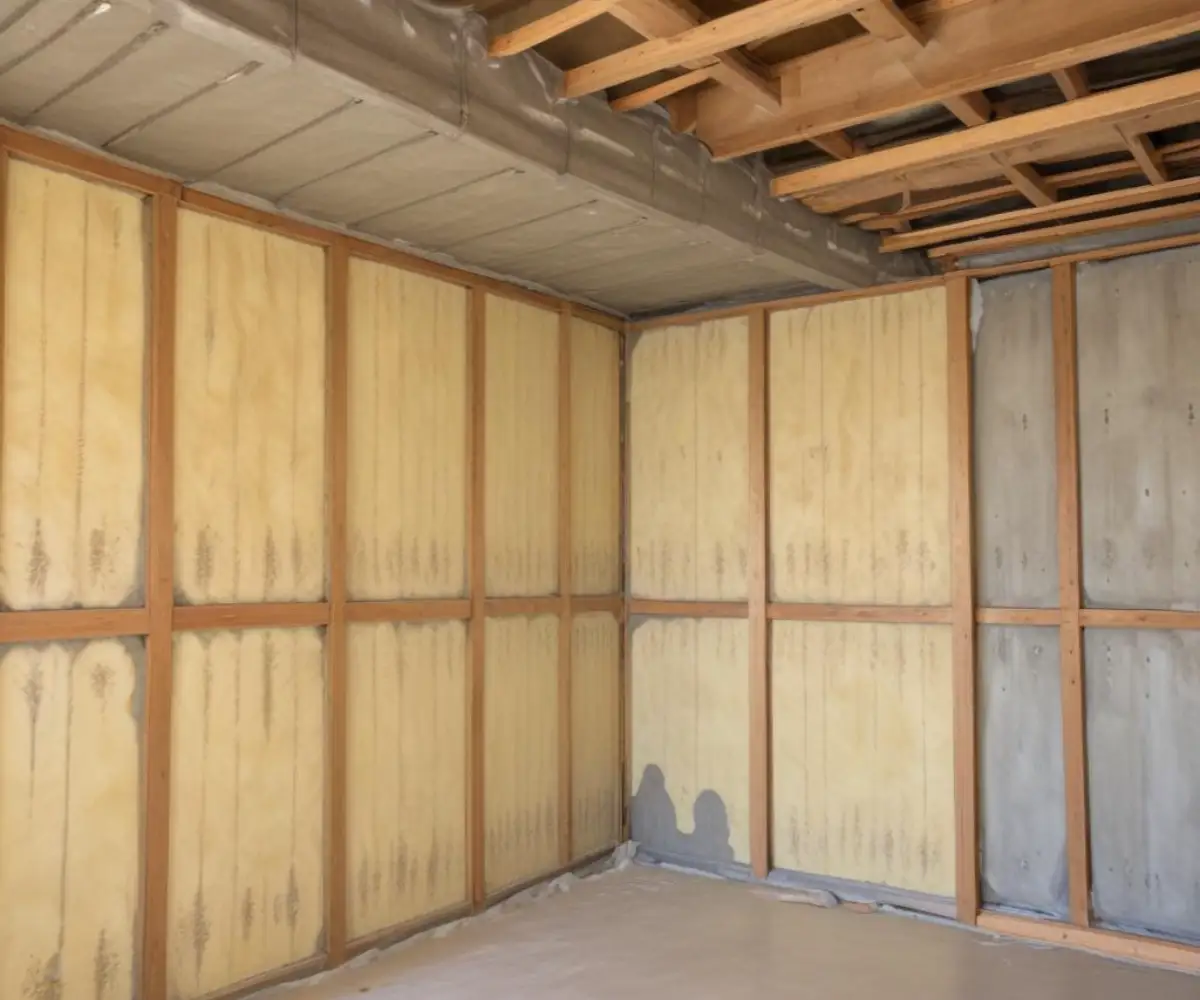
A continuous layer of spray foam creates a monolithic barrier that adheres directly to the concrete. This eliminates the gaps and seams where cold air and moisture can penetrate, which dramatically improves energy efficiency and helps control humidity. The result is a warmer, drier, and more comfortable living space.
The Great Debate: Closed-Cell vs. Open-Cell Foam
The first major decision in your DIY journey is choosing the right type of foam. This choice will significantly impact your project’s cost, performance, and suitability for a basement environment. The two main types are closed-cell and open-cell spray foam.
Closed-cell spray foam is dense, rigid, and has a high R-value (typically R-6 to R-7 per inch). Its cellular structure is compact and filled with a gas that helps block heat transfer. Crucially, closed-cell foam is waterproof and acts as a vapor barrier, making it the ideal choice for concrete basement walls that can wick moisture from the ground.
Open-cell spray foam, on the other hand, is lighter, spongier, and has a lower R-value (around R-3.5 per inch). Its cells are not fully encapsulated, which allows water vapor to pass through. While it’s an excellent air sealer and soundproofer, its permeability to moisture makes it a risky choice for below-grade applications where dampness is a concern.
| Feature | Closed-Cell Spray Foam | Open-Cell Spray Foam |
|---|---|---|
| R-Value per Inch | R-6 to R-7 | ~R-3.5 |
| Vapor Permeability | Impermeable (Vapor Barrier) | Permeable (Not a Vapor Barrier) |
| Structure | Rigid and Dense | Soft and Spongy |
| Best Use in Basement | Directly on concrete walls, rim joists | Not recommended for below-grade walls |
| Cost | Higher | Lower |
Are You REALLY Ready for DIY Spray Foam? A Brutal Self-Assessment
Here’s the unfiltered truth: DIY spray foam is not like painting a room. It is an unforgiving chemical process that requires precision, speed, and an unwavering commitment to safety. Once the two components mix and leave the nozzle, there is no “undo” button.
Before you buy a kit, ask yourself these questions. Do you have the patience for meticulous prep work? Are you comfortable working with chemicals that require full personal protective equipment? Can you work quickly and consistently under pressure? Answering “no” doesn’t mean you can’t have a great insulated basement, but it might mean you should hire a professional.
The Hidden Dangers: Safety is Non-Negotiable
Applying two-component spray foam releases chemical fumes that are hazardous to inhale. Proper personal protective equipment (PPE) is not a suggestion; it is a requirement. Skipping this step is the #1 mistake that can have serious health consequences.
Your minimum safety gear must include a NIOSH-approved respirator with organic vapor cartridges, chemical-resistant gloves, disposable full-body coveralls, and wrap-around safety goggles. You must also ensure the area is extremely well-ventilated during and after application until the foam is fully cured, which can take up to 24 hours.
The Step-by-Step Guide to Flawless DIY Spray Foam Application
If you’ve assessed the risks and are ready to proceed, success lies in the details. A flawless application is 90% preparation and 10% execution. Rushing the prep work is the fastest way to waste hundreds of dollars in materials.
Step 1: The Critical Prep Work (Don’t Skip This!)
First, the concrete walls must be completely clean and dry. Scrape off any loose material, efflorescence, or old paint. Use a shop vacuum to remove all dust and debris. The foam needs a clean surface to adhere to properly.
Next, address any and all moisture issues. If you have active leaks or cracks, they must be repaired before you even think about insulating. Spray foam is not a waterproofing product; trapping water behind it can lead to serious foundation issues. Once dry, check for hidden electrical wiring; consider what you might need for future projects, like learning how to rewire a house with plaster walls, as the foam will permanently encase anything on the wall.
Finally, mask everything you don’t want foam on. This includes the floor, ceiling joists, windows, pipes, and electrical boxes. Overspray is inevitable and difficult to remove, so cover surfaces meticulously with plastic sheeting and painter’s tape.
Step 2: Gearing Up and Kit Preparation
Before you start spraying, get your kit ready. DIY spray foam kits are temperature-sensitive. The chemical tanks must be within the manufacturer’s recommended temperature range (usually 70-80°F) to mix correctly. If the chemicals are too cold, the foam won’t expand properly and may not adhere well.
Put on all your PPE. Ensure your respirator has a tight seal and you have no exposed skin. Assemble the spray gun and hoses according to the kit’s instructions, and perform a quick test spray on a piece of cardboard to ensure the chemicals are mixing properly into a consistent foam.
Step 3: Mastering the Application Technique
The application itself is a race against time. Begin at one end of a wall, at the bottom. Hold the nozzle about 12-16 inches from the surface and apply the foam in a smooth, sweeping motion. Your goal is to apply a thin layer, about 1/3 to 1/2 inch thick.
This initial layer will expand to about 1 inch. Do not try to spray the full desired thickness in one pass. Applying too much foam at once can generate excessive heat, causing it to crack, shrink, or cure improperly. Work in sections, applying a thin layer and letting it rise before moving on.
Step 4: Building Thickness and Curing
After your first pass is complete, you can go back and apply a second layer to build up to your desired thickness (typically 2 inches for basement walls). Allow at least 15 minutes between layers for the foam to cure slightly. This layered approach ensures a stable, effective insulation barrier.
Once you’re finished, leave the area and allow the foam to cure fully for at least 24 hours with continuous ventilation. After it’s cured, you can use a long serrated knife or saw to trim any overspray that extends past the framing studs, creating a flat surface for drywall.
When to Call in the Pros: Recognizing Your Limits
A DIY approach is best for small, straightforward projects. However, you should seriously consider hiring a professional contractor if you face certain challenges. If you discover significant structural problems, such as foundation cracks where the drywall moves when pushed, these must be addressed by an expert first.
Large basements, complex layouts with numerous obstacles, or severe moisture problems are also better left to professionals. They have the high-pressure equipment to apply the foam more efficiently and the experience to handle challenging situations. While the upfront cost is higher, it can save you from a failed DIY attempt that requires costly removal and re-application.
Proper insulation and air sealing are also key to preventing moisture buildup that can lead to other issues. Poorly managed humidity can result in musty odors, and in some cases, you might even find that your drywall smells like urine due to mold or mildew growth from trapped moisture.
Is DIY Spray Foam Your Best Move?
Insulating your basement walls with DIY spray foam is an ambitious but rewarding project. It offers the potential to dramatically improve your home’s comfort and energy efficiency. However, success hinges on meticulous preparation, an absolute commitment to safety, and a realistic understanding of the material’s unforgiving nature.
By avoiding the #1 mistake of inadequate safety and preparation, you can achieve a professional-quality result. You’ll transform your cold, damp basement into a warm, dry, and valuable extension of your living space for years to come.