Dehumidifier Smells Like Burning Plastic? Don’t Panic, Do This!
You rely on your dehumidifier to keep your home comfortable and free from excess moisture. But what happens when the very appliance meant to improve your indoor air quality starts emitting a terrifying smell like burning plastic? It’s an alarming situation that can instantly make you worry about a potential fire hazard.
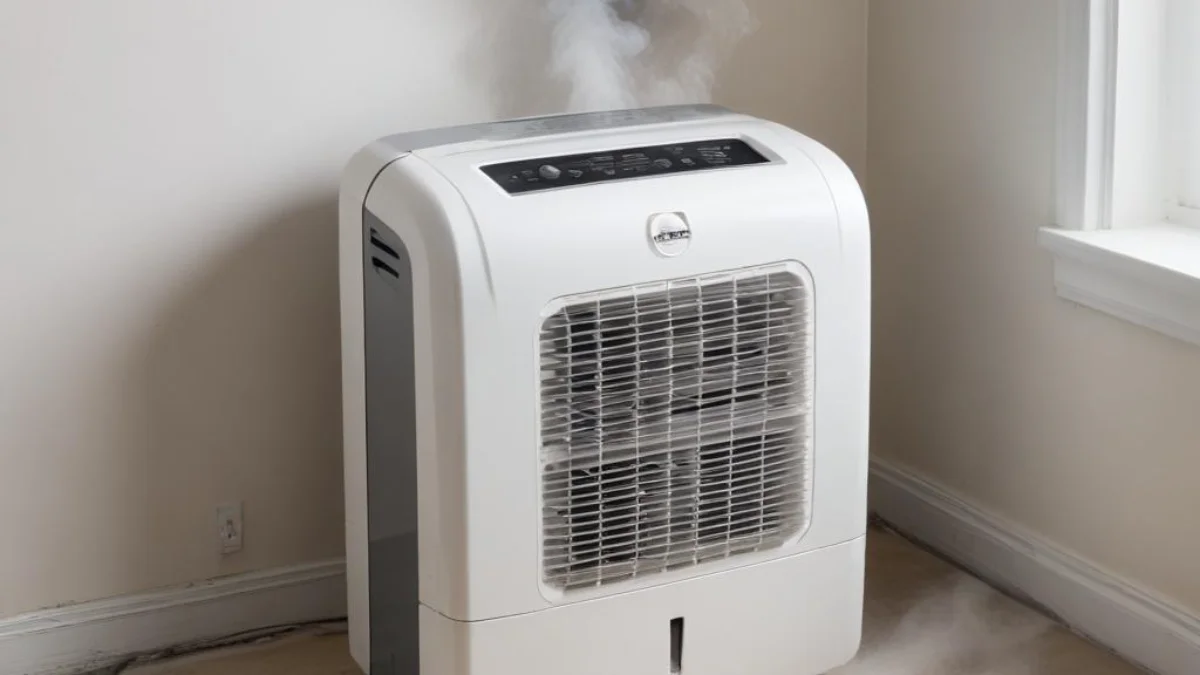
If your dehumidifier smells like burning plastic, unplug it immediately. This odor is a serious warning sign that should never be ignored. Continuing to operate the unit could lead to significant damage or even a fire.
You'll Learn About
Why Your Dehumidifier Smells Like Burning Plastic: The Main Culprits
Understanding the root cause of this dangerous smell is the first step toward a safe resolution. Several internal issues can lead to components overheating and releasing a plastic odor. Let’s break down the most common culprits, from simple maintenance oversights to critical component failures.
1. Severe Dust and Debris Buildup
This is one of the most frequent yet easily preventable causes. Over time, dust, pet hair, and other airborne particles get pulled into your dehumidifier. If the filter isn’t cleaned or replaced regularly, this debris can bypass it and settle on hot internal components.
When dust accumulates on the compressor, motor, or heating elements within a desiccant dehumidifier, it can get hot enough to singe. This process releases a smell that is often mistaken for burning plastic. Regular cleaning is crucial for both safety and efficiency.
2. An Overheating Motor or Compressor
The motor powers the fan, and the compressor is the heart of the refrigeration cycle that removes moisture from the air. Both components generate significant heat during normal operation. However, if they are forced to work too hard, they can overheat.
An overheating motor or compressor can cause nearby plastic components or wire insulation to melt, producing a distinct burning smell. This extra strain is often caused by restricted airflow from a clogged filter or blocked vents. It can also be a sign that the motor or compressor is beginning to fail due to age or a defect.
3. Critical Electrical Malfunctions
Electrical problems are among the most dangerous causes of a burning smell. Issues like frayed wiring, loose connections, or a short circuit can generate intense heat at specific points. This heat can easily melt plastic wire casings and other nearby components, creating a strong and acrid odor.
If you’ve noticed other electrical signs, such as your lights flicker when dehumidifier turns on, it could point to a serious electrical issue within the appliance or your home’s wiring. In such cases, immediate professional inspection is necessary.
4. A Failing or Faulty Capacitor
The capacitor is a small but vital component that gives the motor and compressor the initial jolt of energy they need to start. When a capacitor begins to fail, it can struggle to hold a charge, overheat, and sometimes bulge or leak an oily substance.
A failing capacitor can cause the motor to hum without starting or to run inefficiently, leading to overheating. In some cases, the capacitor itself can get hot enough to melt its plastic housing, which is a direct source of the burning plastic smell.
Immediate Steps to Take for a Burning Smell
The moment you detect a burning plastic odor from your dehumidifier, safety is your top priority. Do not hesitate. Follow these steps immediately to mitigate any potential danger.
First, unplug the dehumidifier from the wall outlet completely. Do not just turn it off using the power button on the unit. Cutting off the electrical supply is the most critical first step to prevent further overheating or a potential fire.
Next, carefully move the unit to an open, well-ventilated area, away from any flammable materials like curtains, furniture, or rugs. Allow it to cool down for at least 30 to 60 minutes before you attempt any inspection. Internal components can become extremely hot and cause burns.
Troubleshooting the Problem: A Step-by-Step Guide
Once the unit has completely cooled, you can begin a systematic inspection to try and identify the source of the smell. You will need a screwdriver and possibly a flashlight. Always ensure the unit is unplugged before you begin.
Step 1: Inspect the Power Cord and Outlet
Start with the simplest external components. Carefully examine the entire length of the power cord for any signs of melting, fraying, or discoloration. Check the prongs on the plug for scorch marks. Also, inspect the wall outlet it was plugged into for any signs of damage or burning.
A faulty power cord or outlet can be a serious fire hazard. If you find any damage, the cord will need to be replaced, and you should have an electrician inspect the outlet.
Step 2: Clean or Replace the Air Filter
A severely clogged air filter is a very common cause of overheating. Remove the filter according to your manufacturer’s instructions. If it is caked with dust and debris, this is likely a major contributor to the problem.
Wash reusable filters with warm, soapy water and allow them to dry completely before reinstalling. If your unit uses disposable filters, replace it with a new one. This simple maintenance task can often resolve overheating issues.
Step 3: Clean the Vents and Internal Coils
With the filter removed, use a vacuum cleaner with a brush attachment to thoroughly clean the air intake and exhaust vents. Dust buildup in these areas restricts airflow and puts a strain on the motor.
If you feel comfortable doing so, you may need to open the unit’s housing to inspect the internal coils and components. Carefully remove the screws holding the casing in place. Use the vacuum brush to gently remove any dust that has accumulated on the evaporator and condenser coils and around the fan motor.
Step 4: Visually Inspect Internal Components
With the housing open, use a flashlight to carefully inspect the internal wiring and components. Look for any melted plastic, burnt-looking wires, or scorch marks on the circuit board. Pay close attention to the area around the compressor and fan motor.
Also, locate the capacitor, which is typically a cylindrical component. Check it for any signs of bulging, swelling, or leaking fluid. A visibly damaged capacitor is a clear sign that it needs to be replaced.
When to Call a Professional (and When to Replace)
DIY troubleshooting can solve simple issues like a clogged filter, but some problems require expert attention. If you find any signs of melted wires, scorch marks, or a damaged capacitor, do not attempt to repair it yourself. These are signs of serious electrical failure, and repair should only be handled by a qualified appliance technician.
Consider the age of your dehumidifier. If it is an older model and requires a major repair, such as a new compressor or motor, it is often more cost-effective to replace the entire unit. Modern dehumidifiers are more energy-efficient and come with enhanced safety features.
It’s also worth noting that unusual noises can signal deeper problems. While a dehumidifier will make some noise, if it ever starts making a sound that resembles your refrigerator sounds like mice, it could indicate a failing fan bearing or compressor, warranting a professional check-up.
Prevention is Better Than Cure: Maintaining Your Dehumidifier
The best way to deal with a burning plastic smell is to prevent it from ever happening. Regular and proper maintenance is key to the safe and efficient operation of your dehumidifier for years to come.
Clean the filter every few weeks, or as recommended by the manufacturer. Provide adequate ventilation by placing the unit at least six to twelve inches away from walls and furniture. Finally, register your product with the manufacturer to stay informed about any safety recalls.
Thinking about humidity control in other areas of your home can also be beneficial. For example, controlling moisture can impact the effectiveness and cost of certain building materials, which might make you wonder why is spray foam insulation so expensive when considering home improvements.
| Potential Cause | Signs and Symptoms | Solution |
|---|---|---|
| Dust Buildup | Visible dust on coils and filter; reduced performance. | Unplug unit, clean filter, vacuum coils and vents. |
| Overheating Motor/Compressor | Unit is hot to the touch; humming or buzzing sounds. | Ensure proper ventilation, clean filter and coils. If smell persists, call a professional. |
| Electrical Fault | Strong acrid smell; visible scorch marks or melted wires. | Unplug immediately. Do not use. Contact a qualified technician for repair. |
| Failing Capacitor | Humming noise but fan/compressor won’t start; visible bulging or leaking from capacitor. | Unplug and have a professional replace the capacitor. |
| Damaged Power Cord | Visible fraying, melting, or burn marks on the cord or plug. | Stop use immediately and replace the power cord. |
Understanding Dehumidifier Safety Recalls
It’s important to be aware that millions of dehumidifiers from various brands have been recalled over the years due to fire hazards. These recalls are often related to faulty components that can overheat, smoke, and catch fire.
You can check if your model has been recalled by visiting the website of the Consumer Product Safety Commission (CPSC) and searching for dehumidifier recalls. If your unit is on a recall list, you should stop using it immediately and follow the manufacturer’s instructions for a refund or replacement.
Final Thoughts on a Burning Dehumidifier Smell
A dehumidifier that smells like burning plastic is a serious issue that signals a significant malfunction and a potential fire risk. Your immediate action of unplugging the unit is crucial. A thorough inspection can help identify simpler causes like dust buildup, but any signs of electrical damage mean it’s time to call a professional.
By prioritizing regular maintenance and understanding the warning signs, you can ensure your dehumidifier operates safely and effectively, keeping your home’s air comfortable and healthy without any alarming surprises.