Deck Around AC Unit: Don’t Make This $5,000 Mistake!
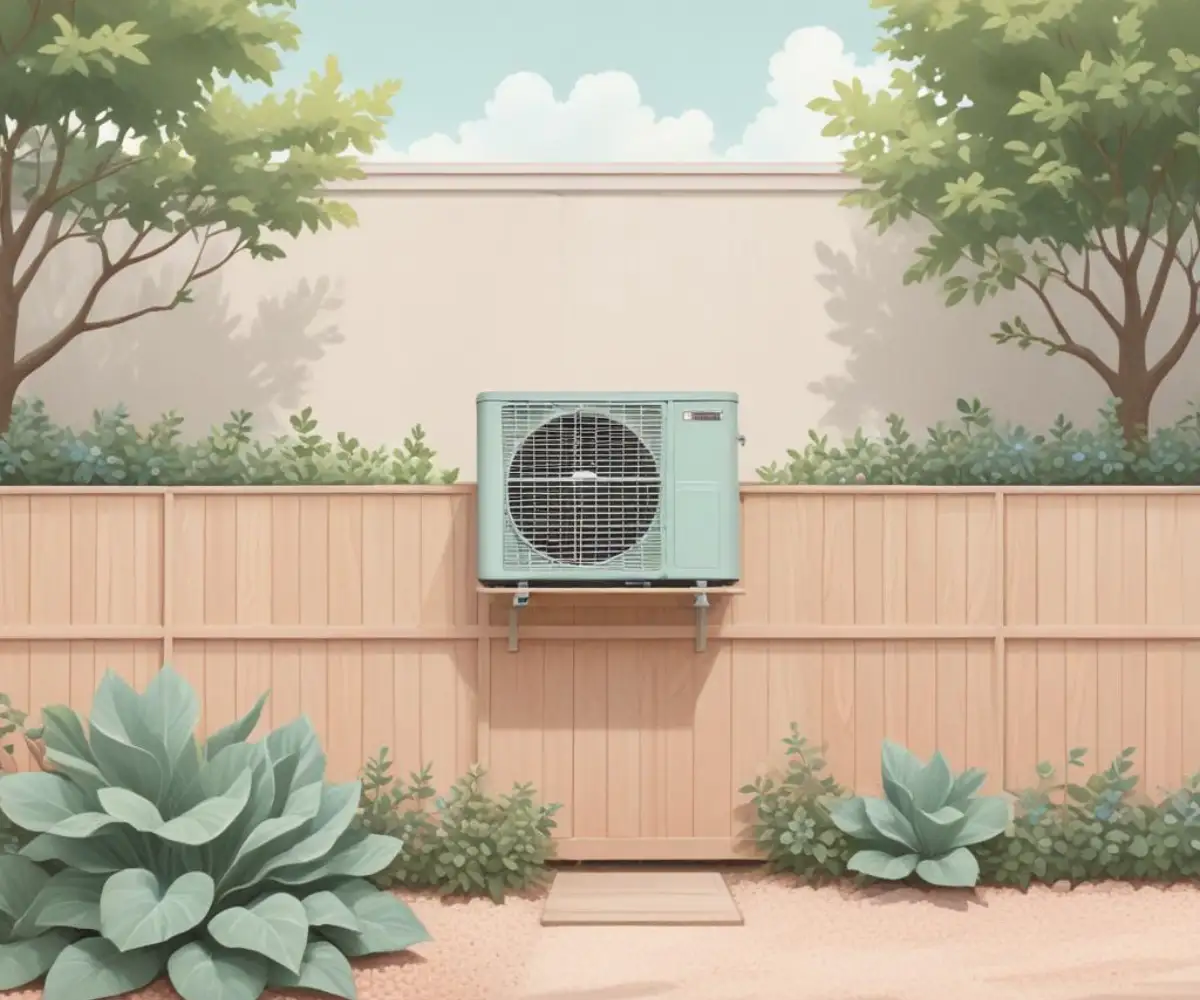
That buzzing metal box next to your house is a hero in the summer, but let’s be honest: it’s an eyesore. The temptation to build a beautiful deck or privacy screen around your AC unit is strong. It seems like a perfect weekend project to boost curb appeal and hide the machinery.
This simple project, however, can quickly turn into a multi-thousand-dollar nightmare if done incorrectly. Suffocating your air conditioner is easier than you think, leading to catastrophic failure of its most expensive parts. Before you cut a single board, understanding the critical needs of your AC unit is non-negotiable.
You'll Learn About
Why Your AC Unit Needs to Breathe: The Critical Role of Airflow
Think of your outdoor AC unit, or condenser, as the lungs of your cooling system. Its job is to expel the heat it has removed from your home. It does this by pulling in ambient air through the side fins and blasting hot air out through the top fan.
When you build a deck or enclosure too close, you obstruct this vital process. The unit can no longer get rid of heat efficiently and starts recycling its own hot exhaust air. This leads to a cascade of problems, including reduced cooling capacity, skyrocketing energy bills, and ultimately, severe damage to the compressor.
The Golden Rule of Clearance: Non-Negotiable Distances
Every AC unit has specific clearance requirements detailed in its manufacturer’s manual. While these can vary slightly, the universal guidelines are crucial for preventing system failure. Ignoring these distances is the single most expensive mistake you can make.
Most manufacturers and HVAC professionals recommend a minimum of 2 to 3 feet (24-36 inches) of open space on all sides of the unit. Even more critical is the overhead clearance; you must maintain at least 5 feet (60 inches) of completely unobstructed space above the unit’s fan. Anything less traps the hot exhaust air, forcing the unit to work much harder and leading to premature failure.
Planning Your Deck Enclosure: Design Before You Dig
A successful project balances aesthetics with the non-negotiable demands of the machine. Proper planning ensures your enclosure is a valuable addition, not a liability. Before buying materials, consider three key factors: airflow, maintenance access, and material longevity.
A poorly planned structure can not only damage the unit but also make routine service impossible. Technicians need room to work, and if they have to dismantle your beautiful deck just to clean the coils, your maintenance bill will reflect that extra labor.
Choosing a Design That Works: From Lattice to Louvers
The design of your enclosure must prioritize ventilation. Solid walls are out of the question as they completely block air intake. Instead, opt for designs with significant open space to allow the unit to breathe freely.
Popular and effective styles include:
- Louvered Walls: Angled slats offer a modern look while directing airflow effectively. They provide excellent privacy without sacrificing ventilation, making them one of the best all-around choices.
- Horizontal Slats: A simple and popular DIY option. Ensure you leave a gap of at least one inch between slats to permit adequate air intake.
- Lattice Screens: Traditional lattice is an affordable and easy-to-install option that provides sufficient airflow. Choose a high-quality, pressure-treated lattice that can withstand the elements.
Regardless of the style, at least one side must be a removable panel or a gate. This provides the essential access for future repairs and maintenance.
Material Matters: Selecting the Right Foundation for Your Project
The materials you choose will determine the look, durability, and maintenance requirements of your AC enclosure. You need something that can withstand constant exposure to weather, moisture, and the hot air exhausted by the unit.
Consider the pros and cons of each option to find the best fit for your budget and climate. A durable material choice now can save you from having to rebuild the structure in just a few years.
| Material | Average Cost (Linear Foot) | Maintenance Level | Lifespan | Best For |
|---|---|---|---|---|
| Pressure-Treated Pine | Low | High (Requires annual sealing) | 10-15 years | Budget-conscious DIY projects. |
| Cedar/Redwood | Moderate | Medium (Requires sealing every 2-3 years) | 15-20 years | Natural beauty and insect resistance. |
| Composite | High | Very Low | 25+ years | Durability and minimal upkeep. |
| Vinyl (PVC) | Moderate-High | Very Low | 20+ years | Easy cleaning and weather resistance. |
When working with wood, especially pressure-treated pine which is susceptible to ground contact issues, be mindful of pests. Just as you might question if a termite warranty is worth it for your home, protecting your outdoor wood structures is equally important. For a low-maintenance alternative, consider composite materials. Their resilience makes them a top choice, similar to their use in creating a rot-proof composite decking shed base.
Step-by-Step: Building a Safe and Stylish AC Unit Deck
Once you have a solid plan, the construction process is straightforward. Accuracy in your initial measurements and a commitment to maintaining clearance are the keys to a successful build that protects your HVAC investment.
Step 1: Measure Twice, Cut Once (And Check Your Manual!)
Begin by confirming the exact clearance requirements in your AC unit’s manual. Measure your unit’s dimensions and add the required clearance (a minimum of 24 inches on the sides, 60 inches above) to determine the minimum interior dimensions of your enclosure. Mark the location for your posts, ensuring they are well outside this safety zone.
Step 2: Setting the Foundation
For a permanent and stable structure, set your 4×4 posts in concrete. Dig post holes below the frost line for your region to prevent heaving. Place the posts in the holes, ensure they are plumb with a level, and fill with fast-setting concrete.
Step 3: Framing Your Enclosure
Once the concrete has cured, you can build the frames for your panels. Use exterior-grade screws to attach horizontal support beams (2x4s) between the posts at the top and bottom. These will serve as the mounting points for your screening material.
Step 4: Attaching the Screening Material
Cut your slats, lattice, or other chosen material to size and attach it to the frame. Work carefully to maintain even spacing between slats. This step defines the final look and, more importantly, the airflow capacity of your enclosure.
Step 5: Don’t Forget the Gate! Ensuring Easy Access
For the access panel or gate, build a separate frame that fits snugly into one of the openings. Attach it using heavy-duty exterior hinges and a latch. This is not an optional step. An HVAC technician must be able to easily access the unit’s service panel and coils.
Beyond the Basics: Advanced Considerations Most Homeowners Miss
Building a truly superior enclosure involves thinking beyond just the basic structure. Certain subtle factors can impact the performance and sound of your unit, and addressing them separates a good project from a great one.
Vibration and Noise: The Unintended Amplifier
A rigidly built wooden structure can sometimes act like a guitar body, amplifying the natural vibrations and noise of the AC compressor. If the enclosure is very close to the unit (but still outside the clearance zone), these vibrations can transfer and create an annoying hum or rattle.
To mitigate this, ensure no part of the deck or screen is physically touching the AC unit itself. You can also use rubber washers or grommets on the screws that hold your panels in place to help dampen any transferred vibrations.
Winter Woes and Debris Management
While a full “cover” for your AC unit in winter is often discouraged because it can trap moisture and cause rust, a well-designed screen is different. An open-slatted design allows the unit to breathe and dry out naturally. However, ensure the top remains completely open to prevent leaves, snow, and ice from accumulating and damaging the fan blades and coils.
Landscaping Synergy: Integrating Your Deck with Nature
To soften the look of your new deck, integrate it with landscaping. Plant shrubs and perennials at least 2-3 feet away from the enclosure to ensure their mature size doesn’t impede airflow. Choose plants that don’t drop a lot of leaves or debris, which could get sucked into the unit and clog the delicate fins.
Common Mistakes That Lead to Costly AC Repairs
Avoiding a few common pitfalls is essential to protecting your air conditioner and your wallet. These simple errors are responsible for the majority of enclosure-related HVAC failures.
Mistake #1: Ignoring Clearance Requirements
This is the cardinal sin. Building any structure—deck, fence, or even dense shrubbery—inside the minimum clearance zone will cause your unit to overheat, work inefficiently, and ultimately fail. Always respect the space your unit needs.
Mistake #2: Forgetting Maintenance Access
Building a beautiful, permanent box around your unit is a future headache waiting to happen. Technicians need to access electrical panels and clean the coils annually. If they can’t get to it easily, you’ll pay for the time it takes them to work around or dismantle your creation.
Mistake #3: A Solid Roof or Top Cover
Never, under any circumstances, build a solid roof or deck directly over the top of the unit without maintaining at least five feet of clearance. The top fan is the primary exhaust, and blocking it is the fastest way to destroy the compressor.
Mistake #4: Using Untreated Materials
Using untreated pine or other interior-grade wood will lead to rot and decay within a few seasons. The constant moisture and temperature fluctuations around an AC unit require durable, weather-resistant materials like pressure-treated lumber, cedar, or composite decking.
Conclusion: A Beautiful Yard and a Healthy AC Unit Can Coexist
Hiding your outdoor air conditioning unit with a well-designed deck or screen is an achievable project that can significantly improve your home’s curb appeal. Success is not just about carpentry skills; it’s about respecting the engineering of your HVAC system.
By prioritizing airflow, guaranteeing service access, and choosing the right materials, you can create a feature that is both beautiful and functional. Plan carefully, build safely, and you’ll enjoy a cooler home and a more attractive backyard for years to come without the fear of an unexpected and expensive repair bill.