Cost to Dry In a House: The Ultimate Price Guide
Understanding the cost to dry in a house is one of the most critical financial hurdles in new construction. Many aspiring homeowners focus on the final finishes, but sealing the building’s exterior envelope is a pivotal and costly stage. Getting this wrong can lead to budget overruns and long-term structural problems.
This guide breaks down the essential costs, reveals hidden expenses, and provides actionable strategies to keep your budget on track. Protecting your investment starts with a weathertight structure, and that begins right here.
You'll Learn About
What Exactly Is “Drying In” a House?
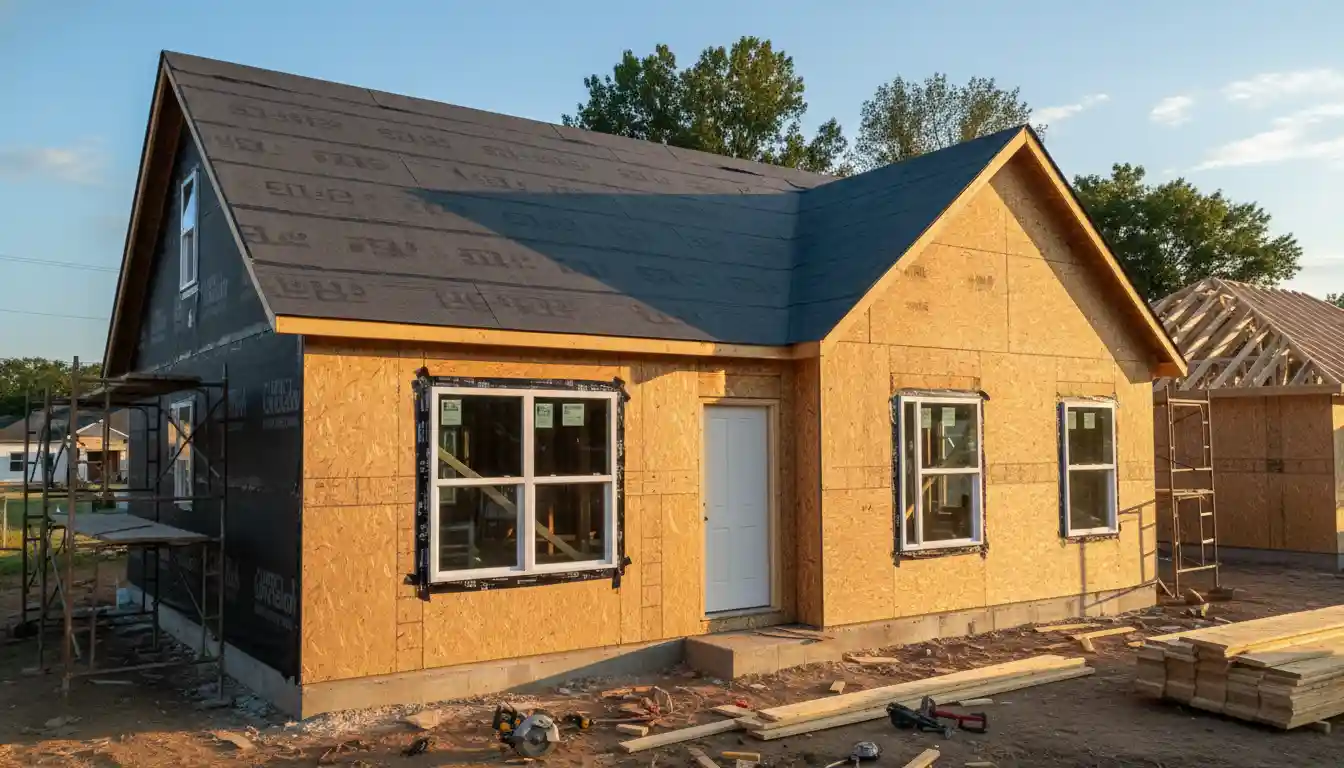
The “dry-in” phase of construction is the milestone where your home’s exterior is sealed from the elements. This is a crucial step that allows interior work like plumbing, electrical, and insulation to begin without risk of weather damage. It transforms an open frame into a protected, secure shell.
Typically, a house is considered “dried-in” when the framing is complete, the roof is sheathed and covered with underlayment, and the walls are wrapped. Additionally, all windows and exterior doors must be installed and properly sealed to complete this stage.
Key Components of the Dry-In Process
Achieving a weathertight seal involves several interconnected components, each with its own costs and considerations. The primary goal is to create a continuous barrier against moisture and air intrusion. Successfully completing this phase is fundamental to the home’s long-term durability and energy efficiency.
The main elements include the roof, exterior wall sheathing, house wrap, windows, and exterior doors. Each part must be installed correctly to ensure the integrity of the building envelope.
Breaking Down the Costs: What to Expect in Your Budget
The total cost to dry in a house can fluctuate significantly based on size, location, and material choices. On average, this phase can account for a substantial portion of your total construction budget. Understanding the individual costs is the first step toward managing them effectively.
Labor is a significant driver of these costs, often making up a large percentage of the total price for each component. Material quality and complexity of the house design also play major roles in the final figures.
Roofing: The First Line of Defense
The roof is arguably the most critical part of the dry-in process. Its primary job is to shield the entire structure from rain and snow. Costs here include trusses, sheathing, underlayment, and the final roofing material.
For a standard 2,000-square-foot house, you can expect roofing costs to be a significant investment. Asphalt shingles are the most common and budget-friendly option, while materials like metal or tile will increase the price considerably.
Exterior Walls: Sheathing and House Wrap
Once the frame is up, it’s covered with exterior sheathing, typically OSB (Oriented Strand Board) or plywood, which adds structural strength. This is then covered by a house wrap, a weather-resistant barrier that prevents rain from getting in while allowing water vapor to escape.
The cost for sheathing and house wrap is calculated per square foot. While materials themselves are relatively inexpensive, labor for proper installation, including taping seams and sealing around openings, adds to the overall cost.
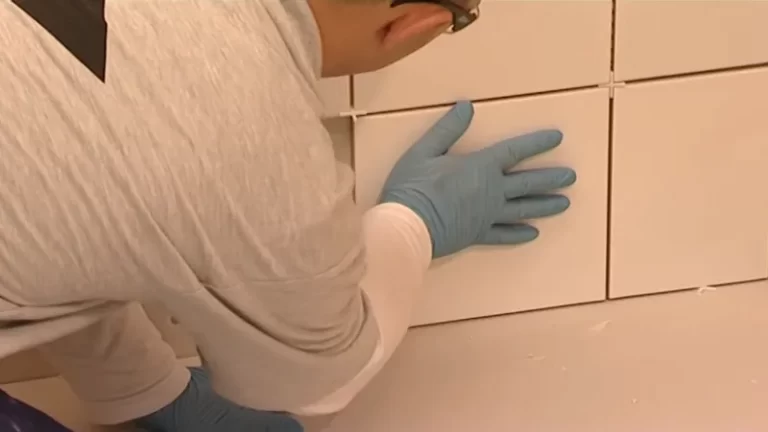
Windows and Exterior Doors: Sealing the Openings
Properly installing windows and exterior doors is vital for a weathertight seal. This is not just about placing the units; it involves careful flashing and sealing to prevent leaks. The cost varies dramatically based on the quality, material, and style of the windows and doors you choose.
Even a standard window installation involves significant labor to ensure it’s plumb, level, and sealed against the elements. If you are considering larger openings, such as an 8-wide window, expect both material and labor costs to rise accordingly due to the increased complexity and structural support required.
The Overlooked Expense: The True Price of Air Sealing
One of the most impactful yet frequently underestimated costs in the dry-in phase is comprehensive air sealing. Beyond simply installing the main components, achieving a truly airtight building envelope requires meticulous attention to detail. This means sealing every joint, penetration, and potential gap where air can leak.
This process involves using specialized tapes, caulks, and spray foams to seal joints between sheathing panels, around windows and doors, and where the foundation meets the wall framing. While the material costs for these sealants are minor, the labor required is intensive and demands a skilled crew, adding a surprising amount to the budget that many homeowners don’t anticipate.
Detailed Cost Breakdown Table
To provide a clearer picture, here is a breakdown of estimated costs for drying in a standard 2,000-square-foot, single-story home. These figures are national averages and can vary significantly based on your location, material choices, and local labor rates.
This table separates material and labor costs to help you understand where your money is going. Always get multiple quotes from local contractors for the most accurate pricing.
| Component | Average Material Cost | Average Labor Cost | Estimated Total Cost |
|---|---|---|---|
| Roofing (Asphalt Shingles) | $4,500 – $7,000 | $4,000 – $6,500 | $8,500 – $13,500 |
| Exterior Wall Sheathing (OSB) | $1,500 – $2,500 | $1,000 – $2,000 | $2,500 – $4,500 |
| House Wrap | $400 – $700 | $500 – $900 | $900 – $1,600 |
| Windows (15 Vinyl Windows) | $6,000 – $9,000 | $2,500 – $4,500 | $8,500 – $13,500 |
| Exterior Doors (2 Doors) | $1,000 – $2,500 | $500 – $1,000 | $1,500 – $3,500 |
| Total Estimated Range | $13,400 – $21,700 | $8,500 – $14,900 | $21,900 – $36,600 |
Factors That Influence the Cost to Dry In a House
Several variables can push your dry-in costs higher or lower. Being aware of these factors can help you make informed decisions and potentially find areas for savings. It’s a balance between upfront investment and long-term performance.
The complexity of your home’s design, the quality of materials, and local labor markets are the three biggest influencers. A simple rectangular house will always be more affordable to dry in than a custom design with multiple rooflines and corners.
Architectural Complexity and House Size
A complex architectural design with multiple gables, dormers, and a non-rectangular footprint increases both material waste and labor hours. Every corner and roof valley adds complexity and cost. The larger the house, the more materials and labor are required, directly scaling the overall price.
Even small design choices can have a ripple effect. Opting for vaulted ceilings, for example, can change the roofing structure and increase framing complexity, adding to the dry-in expense.
Quality and Type of Materials
The difference between standard and premium materials can be substantial. For windows, vinyl is the most affordable, while wood or fiberglass frames are significantly more expensive. Similarly, upgrading from standard asphalt shingles to architectural shingles or a standing seam metal roof will dramatically increase your roofing budget.
While premium materials cost more upfront, they often provide better durability and energy efficiency, potentially saving you money in the long run. It’s crucial to weigh the initial investment against long-term value.
Labor Rates and Location
Labor costs vary widely by region. Urban areas with a higher cost of living and strong demand for construction will have higher labor rates than rural areas. The availability of skilled labor in your specific location will also impact the price.
It’s essential to get quotes from several local, reputable contractors. This will give you a realistic sense of the going rates in your market and help you find a fair price.
DIY vs. Hiring a Professional: A Realistic Look
The idea of a DIY dry-in is tempting for budget-conscious builders, but it’s a phase fraught with risk. While you can save significantly on labor, mistakes made here can lead to catastrophic failures like pervasive leaks, rot, and mold. These issues are far more expensive to fix later than the initial cost of professional installation.
Properly sealing the building envelope requires expertise, especially around tricky areas like window flashing and roof valleys. A professional contractor brings experience, the right tools, and insurance, providing peace of mind and protecting your investment. For most people, hiring a pro for the dry-in is the smarter, safer choice.
The Long-Term Financial Impact of Your Dry-In Choices
The decisions made during the dry-in phase have financial consequences that extend far beyond the initial construction budget. Choosing higher-quality materials, such as more energy-efficient windows or a more durable roofing system, directly impacts your home’s long-term operating costs. A well-sealed, airtight envelope reduces heating and cooling expenses for the life of the home.
Furthermore, superior installation and materials can prevent costly future repairs. A poorly installed window that leaks can cause thousands of dollars in structural damage and mold remediation down the road. Investing in a quality dry-in is not just an expense; it’s a critical investment in your home’s future value and your own financial well-being.
How to Save Money on Your House Dry-In
While cutting corners on quality is a mistake, there are smart ways to manage and reduce the cost of drying in your home. Strategic planning and thoughtful decisions can lead to significant savings without compromising the integrity of your build.
From simplifying your design to sourcing materials wisely, a proactive approach can make a big difference to your bottom line. It’s about spending smart, not spending less.
Simplify Your Home’s Design
The most effective way to reduce costs is to simplify your house plan. A simple rectangular footprint with a straightforward gable or hip roof is the most economical to build. Reducing corners and complex rooflines minimizes material waste and labor time, directly lowering your dry-in costs.
Work with your architect or designer to balance aesthetic appeal with construction efficiency. Sometimes, a small design tweak can result in substantial savings.
Source Materials Yourself or Look for Deals
While contractors often get trade discounts, you can sometimes find better deals by sourcing materials yourself, especially for items like windows and doors. Look for sales, clearance items, or local suppliers who may offer competitive pricing. This approach is also beneficial when considering pre-packaged options like those found in house kits. For instance, understanding the pros and cons through resources like an 84 Lumber house kits review can provide insight into material quality and cost-effectiveness.
Be sure to coordinate closely with your contractor on delivery schedules to avoid project delays. Clear communication is key to making this strategy work.
Get Multiple, Detailed Bids
Never settle for the first quote. Obtain at least three detailed bids from reputable local contractors. Ensure each bid is comprehensive and itemized, covering the same scope of work and materials so you can make an accurate comparison.
Don’t just look at the bottom-line price. Consider the contractor’s experience, references, and the quality of the materials they propose to use. The cheapest bid is not always the best value.