Can’t Drill Through Wall? This Is the Shocking Reason Why
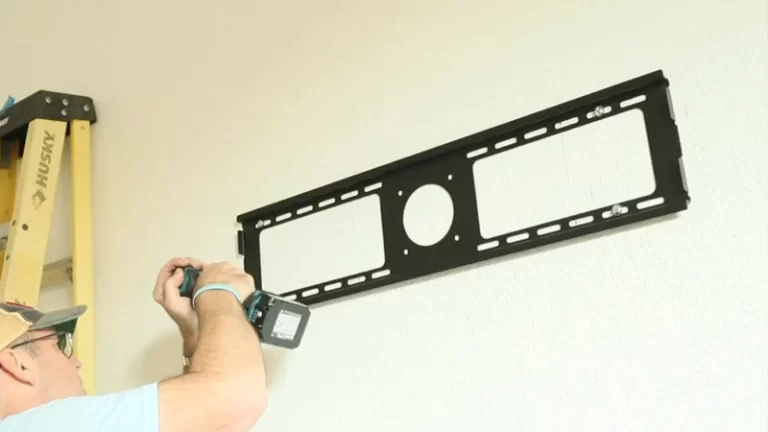
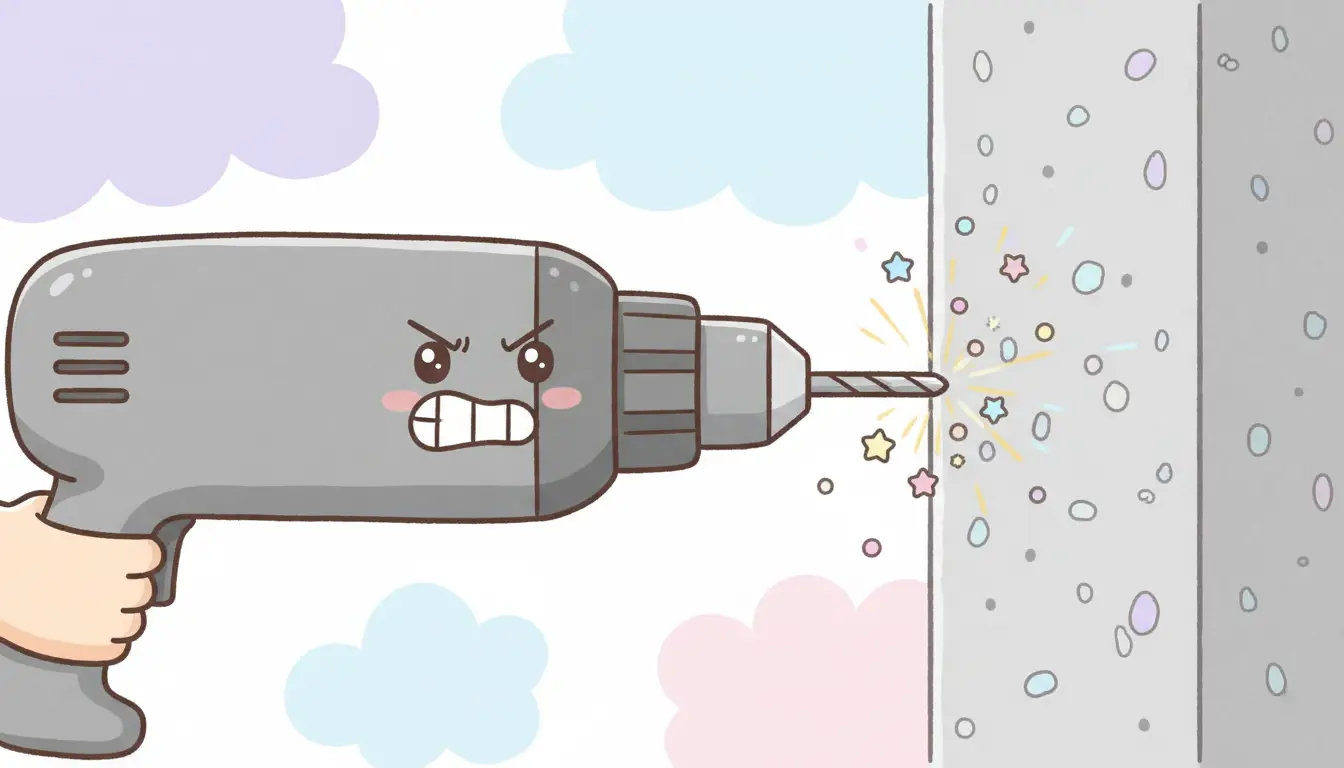
There are few home improvement moments more frustrating than this: you have the perfect spot picked out, the drill is fully charged, and you’re ready to hang that new shelf or piece of art. You press the trigger, the bit spins, bites into the drywall, and then… nothing. The drill screams, but it goes nowhere, leaving you with nothing but a small dimple and a cloud of dust.
This maddening experience is universal, but the solution isn’t to push harder. When you can’t drill through a wall, it’s because the wall is telling you something important. Pushing forward without understanding the message can lead to broken drill bits, significant wall damage, or even a dangerous encounter with hidden pipes or wiring.
You'll Learn About
Why Your Power Drill Suddenly Feels Powerless
Before blaming the wall itself, the first place to look is at the tools in your hands. A surprising number of drilling failures stem from simple equipment mismatches or incorrect settings. Ensuring your gear is right for the job can often solve the problem instantly.
Are You Using the Right Drill and Bit?
The most common culprit is a mismatch between the drill bit and the wall material. A standard wood bit will skate uselessly across concrete, while a masonry bit will tear through drywall too aggressively. It’s critical to match your bit to the material you intend to drill.
Equally important is the condition of the bit. A dull or damaged bit will struggle to cut into any material, generating more heat than progress. If you’ve been using the same bit for multiple projects, it might be time for a replacement. Even a high-quality bit can be ruined by attempting to drill into a material it wasn’t designed for, like trying to force a wood bit through metal.
Check Your Drill’s Settings
Modern drills come with a variety of settings that can make or break your project. First, ensure the drill is rotating in the correct direction—clockwise to drill in. It sounds simple, but it’s an easy mistake to make.
Additionally, many drills have a hammer function, which adds a rapid percussive action to the rotation. This setting is essential for drilling into hard materials like brick or concrete but should be turned off for softer materials like wood or drywall to avoid causing unnecessary damage.
The Hidden Obstacles Inside Your Wall
If your tools are correct and your drill still won’t penetrate, you’ve likely hit an unexpected obstruction. Walls are not empty voids; they are complex structures containing framing, utilities, and protective elements designed specifically to stop you from drilling in the wrong place.
The Unyielding Barrier: Metal Protector Plates
If your drill goes through the drywall and then stops dead with a grinding metallic sound, you’ve probably hit a nail protector plate. These are thick steel plates installed over studs to protect electrical wires and plumbing pipes from being punctured by nails or screws. They are doing their job by stopping your drill bit.
Under no circumstances should you try to force your drill through a metal plate. The plate is a warning that drilling further could lead to electrocution or a serious water leak. The only safe solution is to move your hole location up, down, or to the side.
Hitting the Foundation: Concrete and Steel Lintels
Are you trying to drill above a window or doorway? You’ve likely encountered a lintel, a structural support beam made of concrete or steel. These are incredibly dense and will stop a standard drill instantly. Successfully drilling into a lintel requires a powerful hammer drill and a masonry bit, but proceed with caution to avoid compromising the structure.
Older Homes, Tougher Materials: Plaster and Lath
Homes built before the 1950s often feature plaster and lath walls instead of modern drywall. While plaster itself is brittle, the underlying wooden lath can be surprisingly tough and hard to penetrate, especially if it’s made from old-growth hardwood. Drilling through this type of wall requires patience and a sharp bit.
Successfully navigating these older materials is key to many home projects. For instance, if you’re thinking about a major update, understanding how to rewire a house with plaster walls can save you from significant and costly damage.
Your Step-by-Step Guide to Safely Breaking Through
When you hit an obstacle, the worst thing you can do is keep drilling. The correct approach is to stop, investigate what you’ve hit, and then formulate a new plan based on that information. This methodical approach prioritizes safety and prevents damage.
Step 1: Stop Drilling and Investigate
The moment you feel resistance, release the trigger. Pushing harder will only burn out your drill’s motor or break the bit. Take a moment to examine the dust coming out of the hole. Is it white (drywall), reddish (brick), gray (concrete), or are there shiny metal shavings?
Next, use a stud finder with a built-in metal detector to scan the area. This can help you determine if you’ve hit a stud, a metal pipe, or a protector plate. For a low-tech option, a strong rare-earth magnet can often detect the steel screws in a stud or the presence of a metal plate.
Step 2: Choose the Right Tools for the Obstacle
Once you have a better idea of what you’re up against, you can select the proper equipment. For concrete, brick, or a lintel, you will need a hammer drill. A regular drill simply doesn’t have the power to penetrate dense masonry effectively.
Matching the drill bit to the material is just as crucial. The right bit not only makes the job easier but also ensures a clean hole and prevents unnecessary wear on your tools. Using the wrong bit is a common reason why a previously reliable setup like a closet wire shelf fell out of the wall; the initial anchor point was likely compromised by incorrect drilling.
Step 3: Master Your Drilling Technique
For hard materials, start by drilling a smaller “pilot” hole. This creates a guide for the larger bit and reduces the amount of material you need to remove at once. Apply firm, steady pressure, but don’t force the drill. Let the tool do the work.
A technique professionals use is the “pecking” method. Drill for a few seconds, then pull the bit out to clear dust and debris from the hole. This reduces friction and heat, which helps the bit stay sharp and effective for longer.
A Deeper Dive: Unconventional Wisdom for Stubborn Walls
Sometimes, even with the right tools and technique, a wall can seem impenetrable. This is where advanced knowledge about your equipment can make a difference. The problem may lie in subtle details that most guides overlook.
The Hidden Enemy: Drill Bit Temper
When a drill bit gets too hot, its metal “loses its temper.” This means the heat has altered the molecular structure of the steel, making it softer. A bit that has lost its temper will be useless for drilling hard materials, even if it still looks sharp to the naked eye. Signs of an overheated bit include a blue or straw-colored discoloration.
To prevent this, use cutting fluid or even just a bit of water to keep the bit cool when drilling into metal or very hard masonry. This simple step, often skipped by DIYers, can dramatically extend the life and effectiveness of your drill bits.
What to Do When Drilling is Not an Option
There will be times when you simply cannot drill in your desired location. It might be a protector plate, a critical pipe, or a structural element you can’t disturb. In these cases, it’s time to consider alternatives.
If you’re hanging something heavy, specialized anchors can provide a secure hold without needing to hit a stud. Learning about toggle bolts for shelves can open up new possibilities for mounting heavy items securely on hollow drywall.
| Drill Bit Type | Primary Use | Hammer Drill Required? |
|---|---|---|
| Twist Bit (HSS) | Wood, Plastic, Soft Metals | No |
| Masonry Bit | Brick, Concrete Block, Mortar | Yes (Recommended) |
| Tile/Glass Bit | Ceramic Tile, Glass, Porcelain | No (Use low speed) |
| Spade Bit | Boring large holes in wood | No |
| Cobalt Bit | Hardened Steel, Stainless Steel | No (Use low speed, cutting fluid) |
Prioritizing Safety: When to Call a Professional
Your safety is more important than any home project. If you suspect you’ve hit electrical wiring or a gas line, the risk is too great to continue. A potential gas line in the wall is a serious hazard that requires expert attention.
Similarly, complex jobs that involve moving major utilities, like a project to move your washer and dryer to the other side of the wall, should always be handled by licensed professionals who understand building codes and safety requirements.
Ultimately, a wall that won’t allow you to drill is a puzzle to be solved, not a battle to be won. By stopping to understand the cause—whether it’s your tools, an hidden obstacle, or the material itself—you can approach the problem with the right strategy and equipment. This thoughtful approach will not only lead to success but will also ensure your home and your safety remain intact.