Can You Double Up Insulation? The Surprising Truth
You’re staring at your energy bills, and the numbers just keep climbing. You know your home’s insulation is the first line of defense against brutal winters and scorching summers, but is it enough? This leads to a common question for homeowners: can you double up insulation to bolster your home’s thermal shield and finally get some relief on your utility costs? The short answer is yes, but the long answer is far more complex and crucial to get right.
Simply throwing a second layer of insulation over your existing material can, in some cases, do more harm than good. From trapping moisture to creating ventilation nightmares, a poorly executed insulation top-up can lead to mold, mildew, and even structural damage. But don’t be discouraged. When done correctly, adding more insulation is one of the most effective ways to improve your home’s comfort and energy efficiency.
This comprehensive guide will walk you through the problem of inadequate insulation, the potential pitfalls of doubling up incorrectly, and the expert-approved solutions to ensure you get it right. We’ll cover everything from assessing your current insulation to understanding the critical role of vapor barriers and proper ventilation.
You'll Learn About
The Problem: Why Your Single Layer of Insulation Might Not Be Enough
The insulation in your home has a specific job: to resist the flow of heat. This resistance is measured by its R-value—the higher the R-value, the better the insulation’s performance. Over time, however, several factors can compromise your insulation’s effectiveness, leaving your home under-protected.
Older homes are often the biggest culprits of under-insulation. Building codes and standards have evolved significantly, and what was considered adequate insulation decades ago is likely far below today’s recommendations. Even if your home isn’t that old, your existing insulation may have settled, become compressed, or suffered from moisture damage, all of which drastically reduce its R-value.
If you’re noticing drafty rooms, inconsistent temperatures throughout your house, and shockingly high energy bills, it’s a strong sign that your current insulation isn’t pulling its weight. The problem isn’t just about comfort; it’s about the financial drain of an inefficient home. You’re essentially paying to heat or cool the outdoors.
Signs Your Home is Under-Insulated
Before you decide to add more insulation, it’s important to confirm that under-insulation is the root cause of your problems. Look for these common red flags:
- High Energy Bills: Consistently high heating and cooling costs are the most obvious indicator.
- Inconsistent Temperatures: Are some rooms noticeably colder or hotter than others? This points to uneven or inadequate insulation.
- Ice Dams in Winter: If you notice large icicles forming on your eaves, it’s a sign that heat is escaping through your attic and melting the snow on your roof.
- A Hot Second Floor in Summer: Heat rises, and if your attic isn’t properly insulated, your upper floors will feel like an oven during the summer months.

The Risks of Doubling Up Insulation Incorrectly
Now that you’ve identified the problem, your first instinct might be to simply roll out another layer of insulation in your attic. While the intention is good, the execution is critical. Making a few common mistakes can lead to significant problems down the road.
The most significant risk involves moisture. If you place a new layer of faced insulation (insulation with a paper or foil vapor barrier) on top of your existing insulation, you’re creating a “vapor sandwich.” This traps moisture between the two layers, which can lead to mold, mildew, and rot in your home’s structural components.
Another common error is blocking ventilation. Your attic needs to breathe. Soffit vents, ridge vents, and gable vents allow for proper airflow, which helps to regulate temperature and moisture levels. If you cover these vents with new insulation, you’re cutting off this vital airflow, which can exacerbate moisture problems and lead to a host of other issues.
Key Mistakes to Avoid
- Using Faced Insulation as a Top Layer: Never place faced insulation on top of existing insulation. The vapor barrier must always face the conditioned (warm-in-winter) side of the home.
- Blocking Soffit Vents: Ensure that your new insulation doesn’t block the vents at the eaves of your roof. Baffles can be installed to maintain a clear path for air to flow.
- Compressing the Insulation: Insulation works by trapping air in tiny pockets. If you compress it, you reduce its ability to insulate effectively.
- Ignoring Existing Issues: Before adding new insulation, inspect your current insulation for signs of moisture, mold, or pest infestations. These issues must be addressed before you add another layer.
The Solution: How to Properly Double Up Your Insulation
With a clear understanding of the potential pitfalls, you can now move forward with confidence. Doubling up your insulation is a highly effective way to improve your home’s energy efficiency, but it must be done with care and attention to detail.
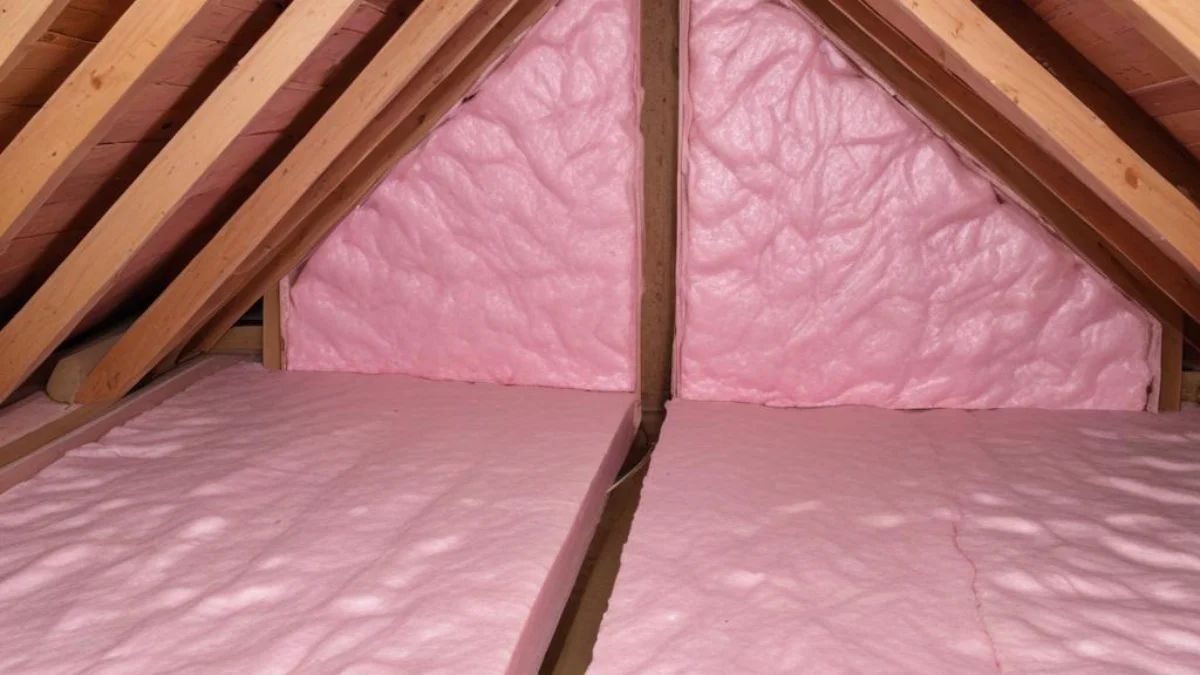
The first step is to assess your existing insulation. Determine the type (fiberglass, cellulose, etc.), its current depth, and its condition. If the insulation is wet, moldy, or heavily compacted, it should be removed before adding new material. If it’s in good condition, you can proceed with adding a new layer on top.
When adding a second layer of batt or roll insulation, always use unfaced insulation. This will prevent the moisture-trapping issues associated with a double vapor barrier. Lay the new batts perpendicular to the direction of the joists. This will help to cover the tops of the joists, which can be a source of thermal bridging (heat loss through the framing).
Step-by-Step Guide to Adding a Second Layer of Insulation
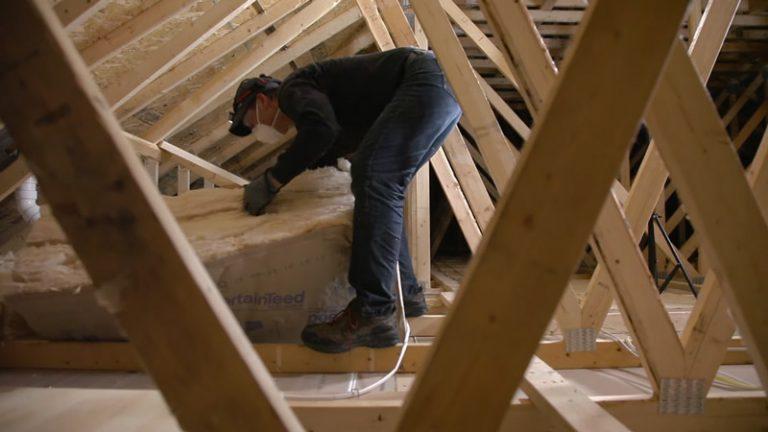
- Prepare the Area: Clear your attic of any stored items and ensure you have adequate lighting and a safe place to work. Air sealing any gaps or cracks in your attic floor before insulating will significantly boost the effectiveness of your efforts.
- Inspect and Address Issues: Carefully inspect your existing insulation. If you find any wet spots, identify and repair the source of the leak before proceeding. Remove any damaged insulation.
- Install Baffles: If necessary, install rafter vents (baffles) to ensure that your soffit vents remain clear and that air can flow freely from the eaves to the peak of your roof.
- Lay the New Insulation: Starting from the furthest point and working your way back to the attic access, lay your new, unfaced insulation batts perpendicular to the joists. Be careful not to compress the insulation.
- Insulate the Attic Access: Don’t forget to insulate your attic hatch or pull-down stairs. This is a common source of heat loss that is often overlooked.
For those dealing with unique insulating challenges, such as figuring out how to insulate glass block windows, the principles of creating a thermal barrier remain the same, though the materials and techniques will differ.
Choosing the Right Type of Insulation
While fiberglass batts are a popular choice for DIY projects, you have other options. Blown-in insulation, such as cellulose or fiberglass, can be an excellent choice for adding insulation on top of existing material, as it fills gaps and creates a seamless thermal blanket. You can even add blown-in insulation over existing batts.
When considering insulation in other areas of your home, like a bathroom, the choice between faced or unfaced insulation behind a shower becomes critical due to the high moisture environment. In such cases, a properly installed vapor barrier is non-negotiable.
| Insulation Type | Pros | Cons | Best For |
|---|---|---|---|
| Fiberglass Batts | Inexpensive, easy for DIY installation. | Can leave gaps, requires careful handling. | Standard joist spacing, DIY top-up projects. |
| Blown-in Cellulose | Excellent coverage, fills irregular spaces, eco-friendly. | Requires a blowing machine, can settle over time. | Attics with many obstructions, topping up existing insulation. |
| Blown-in Fiberglass | Good coverage, won’t settle, moisture-resistant. | Requires a blowing machine for installation. | Irregularly shaped attics, covering existing batts. |
| Spray Foam | Superior R-value, air seals and insulates. | Expensive, requires professional installation. | Sealing leaks, insulating tight spaces. |
Achieving the Right Insulation Depth
So, how much insulation is enough? The recommended R-value for your attic depends on your climate zone. The U.S. Department of Energy provides guidelines to help homeowners determine the appropriate level of insulation for their region. For most parts of the country, this translates to an R-value between R-38 and R-60.
To determine your current R-value, you’ll need to measure the depth of your existing insulation and multiply it by the R-value per inch of that specific material (typically around R-3 per inch for fiberglass). For example, if you have 6 inches of fiberglass insulation, your current R-value is approximately R-18. To reach an R-38, you would need to add about 6-7 more inches of insulation.
In some construction scenarios, you may encounter obstacles like plumbing. Learning how to properly drywall over a protruding pipe is another skill that goes hand-in-hand with home improvement projects like insulation upgrades.
The Law of Diminishing Returns
It’s important to understand that there is a point of diminishing returns when it comes to adding insulation. While going from R-19 to R-38 will make a significant difference in your energy bills, going from R-49 to R-60 will yield a much smaller percentage of savings. The key is to find the sweet spot for your climate zone that provides the best return on your investment.
Over-insulating can also lead to problems if it’s not done correctly. As mentioned earlier, blocking ventilation is a major concern. It’s not just about the depth of the insulation, but also about maintaining the overall health of your attic system.
Conclusion: A Smarter Approach to a Cozier Home
So, can you double up insulation? Absolutely, and in many cases, you should. Adding a second layer of insulation is a powerful way to enhance your home’s comfort, reduce your energy consumption, and save money in the long run. The key is to approach the project with a clear understanding of the principles of heat flow, moisture control, and ventilation.
By assessing your existing insulation, choosing the right materials, and following the proper installation techniques, you can avoid the common pitfalls and reap all the benefits of a well-insulated home. Remember to prioritize safety, address any existing issues before you begin, and never compromise on proper ventilation.
A well-executed insulation upgrade is an investment in your home’s value and your family’s comfort. With the right knowledge and a little bit of effort, you can transform your drafty, inefficient house into a cozy, energy-saving haven.


