That Builder’s White Paint So Bad? Here’s Your Pro Upgrade Plan
You’ve just moved into your new construction home. The smell of fresh lumber and possibility fills the air. But as you walk through the rooms, you can’t escape the sea of flat, sterile white on every wall. Before you’ve even unpacked, you notice it: a dark scuff from a moving box, a fingerprint by a light switch, a mysterious smudge in the hallway. When you try to wipe it clean, the mark stays and the paint comes off. This is the frustrating reality of builder’s white paint.
This isn’t just any paint; it’s a specific category of low-cost, low-quality coating designed for speed and budget, not for living. But you don’t have to live with walls that look perpetually dirty and worn. Understanding what this paint is and why it fails is the first step toward a durable, beautiful finish that transforms your house into a home. This guide provides a professional-level plan to permanently solve the builder’s white problem.
You'll Learn About
What Exactly Is Builder’s White Paint (And Why Do They Use It)?
Builder’s white, or contractor-grade paint, is almost always the cheapest flat latex paint available. Builders buy it in bulk to minimize costs and expedite construction timelines. The primary goal is to deliver a visually clean, uniform, and move-in-ready house as quickly and inexpensively as possible. Its flat finish is excellent at hiding drywall imperfections, like seams and patches, which saves significant time on surface preparation. Essentially, it is a business decision, not a design choice.
These paints contain fewer quality binders and pigments, the ingredients that give premium paints their durability, washability, and rich color. Instead, they are high in fillers, which creates a porous and delicate surface. Builders also apply it quickly, often with a sprayer in one thin coat, which is just enough to cover the drywall but not enough to provide any real protection. It’s a temporary solution meant to get the house sold, leaving the new homeowner to deal with the inevitable shortcomings.
The Hidden Problems Lurking on Your Walls
The issues with builder’s white go far beyond its bland appearance. The fundamental problem lies in its composition, leading to a cascade of frustrating maintenance challenges for homeowners. These aren’t just cosmetic annoyances; they are signs of a surface that is failing to perform its basic protective function.
Zero Durability and Instant Scuffing
The most common complaint is its complete lack of durability. The low concentration of quality binders means the paint particles are not held tightly together. The slightest friction from furniture, clothing, or even hands can break this weak bond, leaving behind a permanent scuff or mark. Because the surface is so porous, dirt and oils don’t sit on top; they soak in, making stains impossible to remove without scrubbing off the paint itself.
The “Chalky” Finish and Porous Nature
If you brush against a wall painted with builder’s white, you might notice a fine, dusty powder on your clothes. This phenomenon, known as chalking, occurs as the paint’s binders break down, releasing the pigment particles. This chalky residue is a clear sign of paint failure. More importantly, this porous surface acts like a sponge, absorbing moisture from the air, cooking grease, and any liquid that touches it. This makes it a poor choice for any room, especially kitchens and bathrooms.
It’s Essentially a Temporary Primer
Perhaps the most accurate way to think of builder’s white paint is as a cheap, inefficient primer disguised as a final coat. It seals the raw drywall just enough to look finished for the final walkthrough, but it lacks the protective shell of a quality topcoat. Any attempt to clean it or paint directly over it without proper preparation will lead to disappointing results, such as uneven sheen, poor adhesion, and color inconsistency. You’re not starting with a finished wall; you’re starting with a poorly primed one.
Your Game Plan: The Right Way to Paint Over Builder’s White
Simply painting over builder’s white is a recipe for failure. To achieve a lasting, professional-quality finish, you must treat the existing surface as a compromised foundation that needs to be properly prepared. Following these steps ensures your new paint will adhere correctly and deliver the beauty and durability you expect.
Step 1: The Critical Cleaning Process Most People Skip
New construction walls are covered in fine drywall dust and other residues, even if you can’t see them. Painting over this dust will prevent the new paint from adhering properly. Start by thoroughly cleaning every wall from top to bottom. Use a solution of a TSP (trisodium phosphate) substitute or a mild degreaser mixed with warm water.
Wipe down the walls with a damp sponge, rinsing the sponge frequently in a separate bucket of clean water. This two-bucket method prevents you from spreading dirt around. After washing, rinse the walls with a clean, damp sponge to remove any cleaning residue and let them dry completely.
Step 2: To Prime or Not to Prime? The Definitive Answer
Priming is not optional when dealing with builder’s white. The porous, chalky surface will unevenly absorb a new topcoat, leading to a blotchy, inconsistent finish known as “flashing.” A high-quality acrylic (latex) primer is essential to seal the surface and create a uniform, non-porous base. This crucial step ensures your topcoat will have an even sheen, better adhesion, and truer color. Applying a good primer will actually save you money, as it prevents the more expensive topcoat from soaking into the wall, requiring fewer coats. If you notice issues like paint cracking around door frames, it’s often a sign that poor prep work was done initially.
Step 3: Choosing Your Perfect White (And Sheen)
Upgrading from builder’s white is an opportunity to choose a more sophisticated and intentional white. Not all whites are the same; they have undertones (warm, cool, or neutral) that can dramatically affect the feel of a room. For example, a warm white like Benjamin Moore’s White Dove creates a cozy, inviting atmosphere, while a cool white like Sherwin-Williams’ Extra White offers a crisp, modern look. It’s always best to test samples on your walls, as the color will change with your home’s unique lighting.
The paint’s sheen, or finish, is just as important as the color. Sheen affects durability, washability, and how much imperfections are hidden or highlighted. For most living areas and bedrooms, an eggshell or satin finish offers the perfect balance of a soft, elegant look with good cleanability. For a deeper dive into which paint is worth your money, comparing products like those in the Behr Pro i100 vs i300 lines can reveal the differences in quality.
Choosing the right sheen can make or break your project. Higher-traffic areas demand more durable, washable finishes, while low-traffic areas can accommodate less reflective, more forgiving sheens.
| Sheen | Best For | Durability/Washability | Pro Tip |
|---|---|---|---|
| Flat / Matte | Ceilings, low-traffic adult bedrooms | Low | Excellent for hiding surface imperfections but should be avoided for walls in most living spaces. |
| Eggshell | Living rooms, dining rooms, hallways, most bedrooms | Good | Offers a soft, low-sheen finish that is much easier to clean than flat paint. It’s the go-to for most walls. |
| Satin | High-traffic areas, kitchens, bathrooms, kids’ rooms | Very Good | Has a subtle glow and stands up well to moisture and scrubbing. It may highlight wall imperfections slightly more than eggshell. |
| Semi-Gloss | Trim, doors, cabinetry, bathrooms | Excellent | Highly durable and moisture-resistant, making it perfect for surfaces that require frequent, vigorous cleaning. The higher shine will highlight every flaw. |
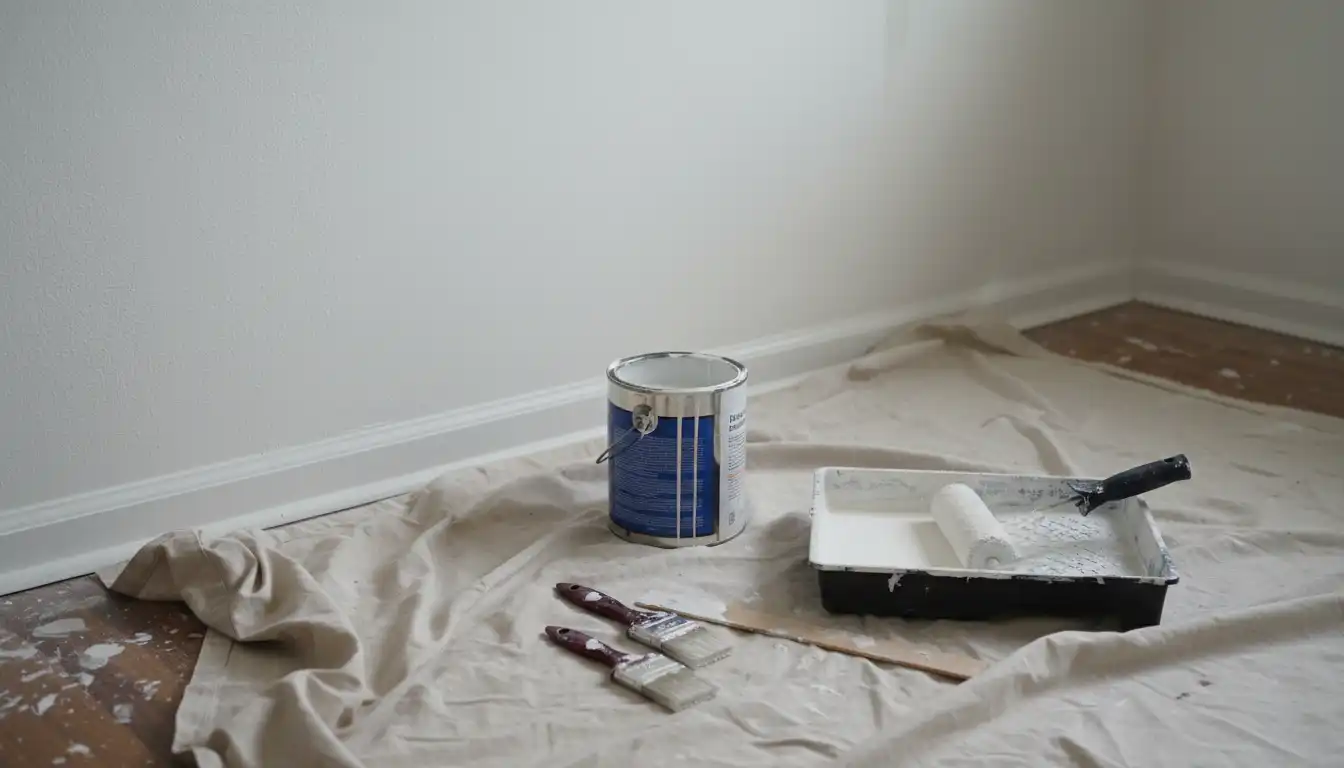
Step 4: Application for a Flawless, Professional Finish
With your walls cleaned and primed, you are ready for the topcoat. For the best results, apply two full coats of your chosen paint. Using a high-quality roller and brush will make a significant difference in the final appearance. Start by “cutting in” the edges along the ceiling, baseboards, and corners with a brush. Then, use a roller to paint the main wall areas in a “W” pattern to ensure even coverage without leaving roller marks. Allow the first coat to dry completely according to the manufacturer’s instructions before applying the second.
Is Keeping Builder’s White Ever a Good Idea?
While upgrading is almost always the best long-term solution, there are a few scenarios where keeping the builder’s white temporarily makes sense. If your budget is tight after moving in, it can serve as a stopgap. It’s also generally acceptable for ceilings in low-moisture rooms, as they don’t experience the wear and tear that walls do. Closets and garage interiors are other areas where its low cost might outweigh its lack of durability.
However, for the main living areas of your home, treating builder’s white as anything other than a temporary coating is a mistake. Investing the time and resources to properly clean, prime, and repaint your walls with a high-quality product will not only enhance the beauty of your home but also save you years of frustration. It’s a foundational upgrade that elevates everything else in your space.
Conclusion
Transitioning away from builder’s grade flat paint is an investment in both the durability and the soul of your new home. While that initial coat served its purpose during construction, it lacks the resins and pigments necessary to withstand the friction of daily life. By choosing a high-quality finish—such as a washable matte or a sophisticated eggshell—you gain a surface that repels stains and welcomes light. This upgrade does more than just simplify your cleaning routine; it provides the depth and richness of color that builder’s white simply cannot offer. Transforming your walls is the final step in the construction journey, turning a sterile structure into a resilient, vibrant sanctuary that truly reflects your style.