Ariens Snowblower Auger Keeps Turning? Here’s The Fix!
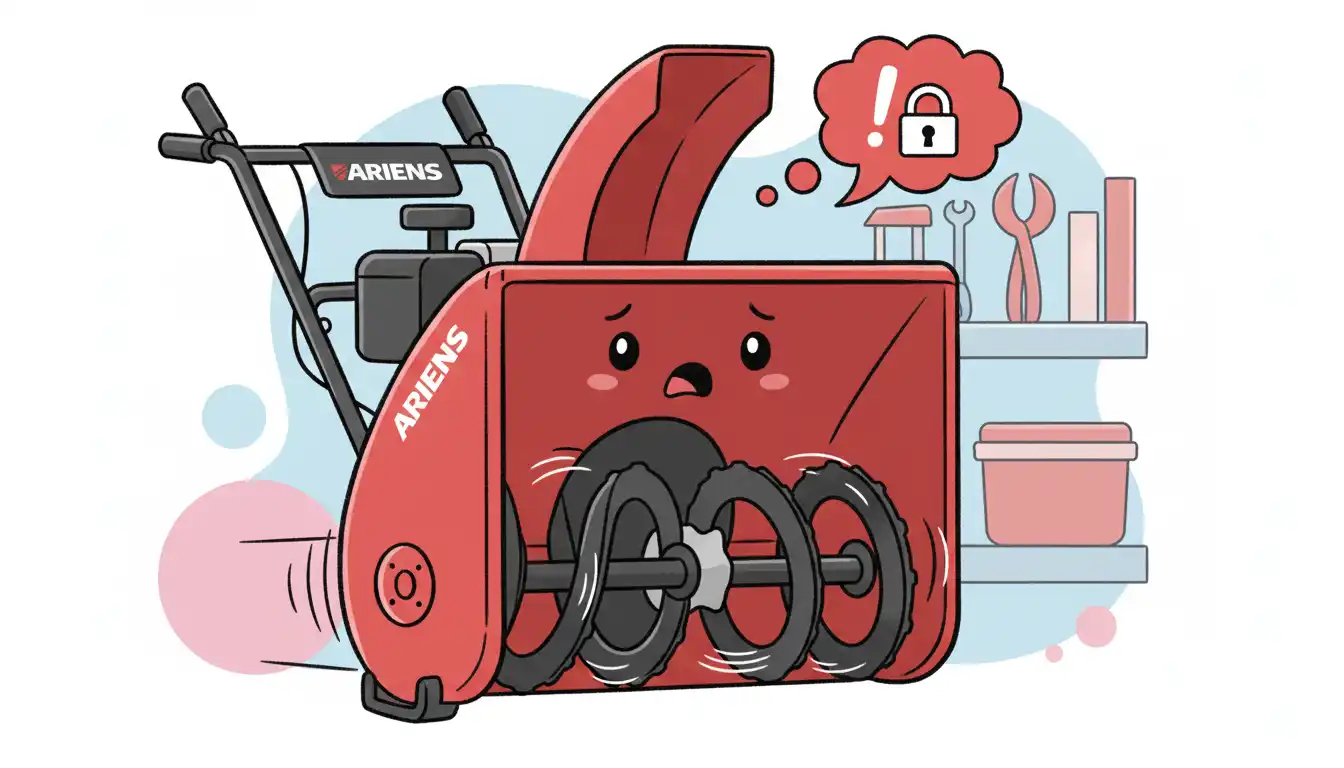
You release the auger control lever, but the powerful augers on your Ariens snowblower keep churning. It’s a common and potentially dangerous problem that leaves many owners frustrated and concerned. An auger that won’t disengage is not just a mechanical glitch; it’s a significant safety hazard that demands immediate attention.
Understanding why your Ariens snowblower auger keeps turning is the first step toward a safe and effective solution. This issue typically points to a problem within the clutch and brake system, which is responsible for engaging and, more importantly, stopping the auger rotation. When you release the lever, a brake pad should immediately contact the auger belt or pulley, halting its movement within seconds.
Failure to stop indicates that something in this intricate dance of parts has gone wrong. From a simple cable adjustment to a worn-out brake pad or a sticking idler pulley, several culprits could be behind this persistent spinning. Ignoring the problem can lead to excessive wear on belts and pulleys and poses a serious risk of injury. This guide will walk you through the diagnostic and repair process, ensuring your machine operates safely and reliably all winter.
You'll Learn About
Understanding the Auger Engagement and Brake System
Before diving into troubleshooting, it’s crucial to grasp how the auger system functions. When you engage the auger lever on the handlebar, you are applying tension to the auger drive belt. This tension is created by an idler pulley that presses against the belt, causing it to grip the engine and auger pulleys, thus transferring power and spinning the augers.
Conversely, when you release the lever, the tension on the belt is supposed to be released. Simultaneously, a small brake pad connected to the idler arm assembly should press against the auger pulley or belt, bringing the augers to a complete stop within five seconds. If the auger continues to spin, it means the system is failing at one or both of these actions: either the belt tension isn’t being fully released, or the brake is not engaging properly.
Safety First: Preparing Your Snowblower for Repair
Before you begin any inspection or repair, safety is paramount. Always perform these preliminary steps to prevent accidental startups and ensure your well-being.
First, move the snowblower to a well-lit, flat, and dry area like a garage or workshop. Turn the machine completely off and remove the ignition key to prevent any chance of an accidental start. For an extra layer of safety, disconnect the spark plug wire. This is a critical step that guarantees the engine cannot turn over while you are working on it. Finally, allow the engine to cool down completely if it has been recently used to avoid burns from hot components.
Diagnosing the Problem: Why Your Auger Won’t Stop
With safety precautions in place, you can now investigate the potential causes. The most common issues are related to the auger control cable, the auger brake, and the idler pulley assembly. Start with the simplest potential problems and work your way to the more complex ones.
You will need to remove the belt cover to access these components. This is typically held in place by a few bolts or screws. Once removed, you will have a clear view of the belts, pulleys, and engagement mechanism, allowing for a thorough inspection.
Issue 1: Improper Auger Cable Tension
The most frequent reason an auger fails to disengage is incorrect tension in the auger control cable. This cable connects the handlebar lever to the idler arm assembly. If the cable is too tight, it will keep the idler pulley engaged with the belt, preventing it from fully disengaging and stopping the auger.
An over-adjusted or stretched cable can be the root cause. A cable that is too tight won’t allow the idler arm to pivot back to its resting position, meaning the auger belt remains under constant, albeit slight, tension. This partial engagement is enough to keep the augers slowly turning even when the lever is released.
Solution: Adjusting the Auger Cable
Adjusting the auger cable is a straightforward process. Locate the cable adjustment barrel, which is usually found where the cable connects to the frame near the handlebars or down near the engine. It consists of a threaded barrel and one or two jam nuts.
To decrease tension, first loosen the jam nut. Then, turn the adjustment barrel to introduce more slack into the cable. The goal is to have the idler arm lightly touch the frame when the auger clutch is disengaged. After adjusting, engage and disengage the auger lever a few times to ensure the mechanism moves freely and the cable isn’t binding. Once satisfied, tighten the jam nut against the adjustment barrel to secure the setting.
Issue 2: Worn or Malfunctioning Auger Brake
The auger brake is a small but vital component designed to stop the auger’s rotation quickly. It’s typically a small pad of friction material on the idler arm that presses against the auger pulley. Over time, this brake pad can wear down, become glazed with oil or belt residue, or the spring that applies it can weaken.
When the brake pad is worn, it can no longer create enough friction to stop the pulley’s rotation. Similarly, a weak or broken spring won’t provide the necessary force to apply the brake effectively. A visual inspection will often reveal the condition of the brake pad. If it looks thin, worn, or contaminated, it needs attention.
Solution: Inspecting and Replacing the Auger Brake Pad
With the belt cover off, observe the auger brake as you disengage the clutch lever. The brake pad should make firm contact with the auger pulley. If the pad is worn down to the metal or is soaked in oil, it must be replaced. This usually involves removing the idler arm assembly, which may be held by a single bolt or pin.
If the pad looks fine, check the return spring. It should be intact and provide noticeable tension. A stretched or broken spring is a common failure point and is typically an easy and inexpensive part to replace. Ensure the brake arm itself moves freely and isn’t rusted or stuck in place.
Advanced Troubleshooting for Persistent Rotation
If adjusting the cable and inspecting the brake doesn’t solve the problem, the issue may lie deeper within the mechanical components of the engagement system. These problems might require more disassembly and a closer look at how the parts interact.
Issues like a sticking idler arm, a worn auger belt, or even debris lodged in the mechanism can all contribute to an auger that refuses to stop. Each of these requires a specific approach to diagnose and fix.
Issue 3: Sticking Idler Pulley or Arm Assembly
The idler arm, which holds the idler pulley, must pivot freely to apply and release tension on the auger belt. Rust, dirt, or old, hardened grease can cause this arm to stick or move sluggishly. When this happens, it may not retract fully when you release the auger lever, leaving residual tension on the belt.
To check for this, manually move the idler arm with your hands (ensure the machine is off and the spark plug is disconnected). It should move smoothly throughout its range of motion and snap back into its resting position thanks to the return spring. Any binding or hesitation indicates a problem.
Solution: Cleaning and Lubricating the Pivot Point
If the idler arm is sticking, you will need to disassemble it. Make a note or take pictures of how the components fit together. Remove the arm and clean the pivot bolt or shaft thoroughly with a wire brush and a degreaser. Also, clean out the hole on the arm itself.
Once clean and dry, apply a light coat of high-quality waterproof grease to the pivot shaft before reassembling. This will ensure smooth operation and protect against future corrosion. After reassembly, verify that the arm moves freely and returns to its resting position without assistance.
Issue 4: Incorrect or Worn Auger Belt
An auger belt that is the wrong size—either too short or too narrow—can cause continuous engagement. A belt that’s too short will remain under tension even when the idler pulley is disengaged. A belt that is too narrow can sit too low in the pulley grooves, causing it to grab and turn the auger.
Additionally, an old belt can become stiff and may not fully slacken when tension is released. Residue from a worn belt can also build up on the pulleys, creating a sticky surface that causes the belt to grab when it shouldn’t.
Solution: Verifying and Replacing the Auger Belt
Always use the genuine Ariens OEM (Original Equipment Manufacturer) belt specified for your model. You can find this information in your owner’s manual or on the Ariens website. Wondering about your snowblower’s specifics? You might find clues by determining its age with our guide on what year is my Ariens snowblower.
Before installing a new belt, clean the pulleys thoroughly to remove any old belt residue or grime. Ensure the new belt is routed correctly around all pulleys and through any belt keepers. Belt keepers are small metal tabs or rods designed to prevent the belt from jumping off the pulley, and if they are bent or missing, they must be repaired or replaced.
Issue 5: Belt Keeper and Belt Cover Interference
Often overlooked, the belt keepers and the inside of the belt cover itself play a role in disengagement. Belt keepers must be positioned correctly to guide the belt away from the pulley when slack. If a keeper is bent inward, it can push the belt against the pulley, causing it to grab.
Some Ariens models, especially on models like the Ariens Deluxe 24 or 28, have guides built into the belt cover. Running the machine without the cover properly installed can cause the auger to spin continuously because these guides are not in place to help manage the slack in the belt. Always ensure the cover is installed and secured before starting the engine.
Solution: Inspect and Adjust Belt Keepers
Examine the small metal fingers or rods located near the engine pulley. These are the belt keepers. There should be a small gap, typically about 1/8th of an inch, between the keeper and the belt when it is disengaged. If a keeper is bent and touching the belt, gently bend it back into the correct position. If the belt cover has integrated guides, ensure it is not cracked or warped and that it fits snugly when installed.
| Potential Cause | Symptoms | Solution | Difficulty Level |
|---|---|---|---|
| Auger Cable Too Tight | Auger turns slowly but constantly when lever is released. Handle has very little free play. | Loosen the cable via the adjustment barrel to create more slack. | Easy |
| Worn Auger Brake Pad | Auger takes longer than 5 seconds to stop, or doesn’t stop at all. A grinding noise may be present. | Inspect and replace the brake pad on the idler arm. | Moderate |
| Sticking Idler Arm | Idler arm does not pivot back smoothly to its resting position. Auger disengagement is intermittent. | Disassemble, clean, and lubricate the idler arm pivot point. | Moderate |
| Incorrect/Worn Belt | Problem started after a belt replacement. Belt appears glazed, cracked, or is the wrong size. | Replace with the correct OEM Ariens belt for your model. | Moderate |
| Bent Belt Keeper/Missing Cover | Auger spins when belt cover is off, but may stop when installed. A rattling noise near the belt is heard. | Adjust bent belt keepers and ensure the belt cover is always installed. | Easy |
Preventative Maintenance: Keeping Your Auger System Healthy
Regular maintenance can prevent most issues with the auger engagement system. At the beginning of each winter season, take the time to perform a few simple checks. This proactive approach ensures reliability when you need it most, much like understanding the long history of other reliable machines such as the John Deere 826 snowblower.
Start by removing the belt cover and cleaning out any debris, such as grass clippings or mouse nests, that may have accumulated during the off-season. Inspect the condition of the auger belt for signs of cracking, glazing, or excessive wear. Check the auger brake pad and the tension of the return springs. A few drops of oil on pivot points and a quick check of the cable tension can save you from a major headache during a snowstorm.
The Importance of Proper Adjustment and OEM Parts
Using genuine Ariens parts and adhering to the adjustment specifications in your owner’s manual is critical. Aftermarket belts may be cheaper, but they often differ slightly in length or width, which can lead to engagement problems. The engineers at Ariens designed each component to work in harmony.
Proper adjustment ensures that belts are tensioned enough to work effectively without slipping, but not so tight that they cause premature wear on bearings and other components. An improperly adjusted system not only performs poorly but can also be a significant safety risk. Taking the time to do it right guarantees performance and peace of mind.