Yard Machine 10.5 HP 28 Snowblower Problems? Here’s the Fix
Facing a mountain of snow with a malfunctioning snowblower is beyond frustrating. The Yard Machine 10.5 HP 28-inch model, a workhorse for many homeowners, can develop specific issues over time that prevent it from clearing snow effectively.
These problems often stem from fuel system degradation, wear and tear on mechanical parts, or improper maintenance. Understanding the root cause is the first step toward a reliable machine that starts on the first pull every time winter strikes.
You'll Learn About
Decoding the Yard Machine 10.5 HP 28″: A Nostalgic Powerhouse
The Yard Machine 10.5 HP 28″ snowblower, often manufactured by MTD, represents a category of robust, no-frills snow removal equipment. Built with powerful engines, often from Tecumseh, these machines were designed for heavy snowfall in residential areas.
They lack the complex electronics of modern blowers, which makes them simpler to troubleshoot and repair for the mechanically inclined owner. Their straightforward design is a double-edged sword: durable but requiring diligent, hands-on maintenance to remain dependable.
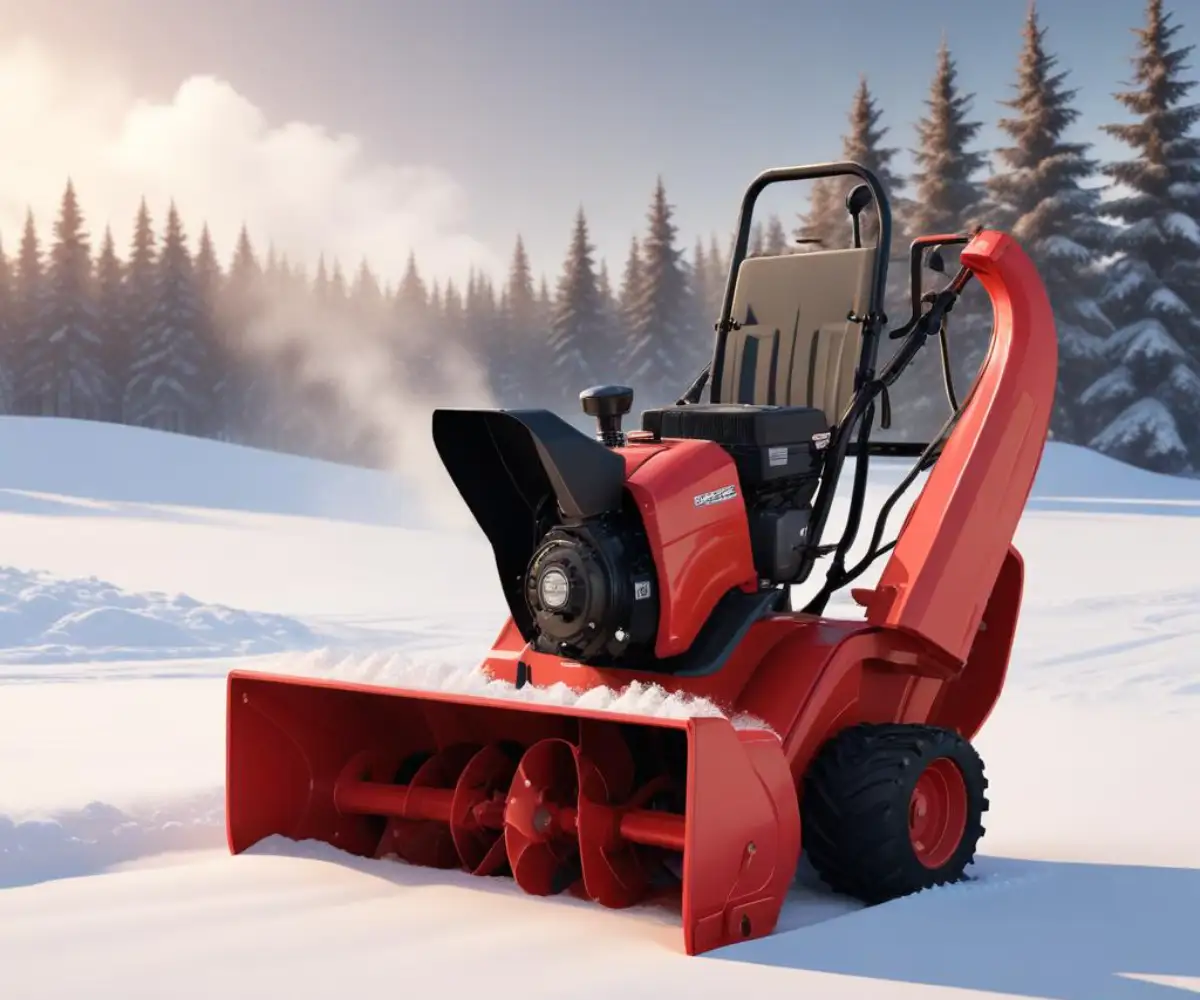
The core appeal of this machine is its raw power combined with a wide 28-inch clearing path. This combination allows it to move significant amounts of snow quickly. However, its age means that owners must be proactive about upkeep.
Key Specifications and Features
Understanding the original specifications can help in sourcing parts and appreciating the machine’s capabilities. While exact specs vary slightly by model year, they generally follow a consistent framework. Knowing these details is crucial when diagnosing performance issues.
The table below outlines the typical specifications for a Yard Machine snowblower of this class. Use the model number from your machine’s data plate to find exact part numbers when needed.
| Feature | Specification | Impact on Performance |
|---|---|---|
| Engine Power | 10.5 Horsepower | Provides sufficient torque to break up heavy, wet, or icy snow without stalling. |
| Clearing Width | 28 Inches | Allows for fewer passes to clear driveways and sidewalks, saving time. |
| Intake Height | ~21 Inches | Determines the maximum snow depth the machine can handle in a single pass. |
| Drive System | Friction Disc Drive | Offers multiple forward and reverse speeds but the disc is a common wear item. |
| Staging | Two-Stage | Uses an auger to collect snow and an impeller to discharge it, ideal for heavy snow. |
| Engine Type | 4-Cycle OHV (Often Tecumseh Snow King) | Requires no mixing of oil and gas but necessitates regular oil changes. |
Most Common Failure Points on the 10.5 HP 28″ Model
Years of service expose common vulnerabilities in these machines. From the engine to the auger housing, certain parts are more prone to failure than others. Addressing these weak points proactively can prevent a breakdown during a major snowstorm.
Most issues fall into three categories: fuel system problems, drive and auger engagement failures, and structural wear. Identifying your specific issue is the first step toward an effective repair.
Engine Refuses to Start or Runs Poorly
The most frequent complaint is a non-starting engine. After sitting in storage for months, the fuel system is the primary suspect. Modern ethanol-blended gasoline can wreak havoc on older carburetors, leaving behind a gummy varnish that clogs tiny fuel passages.
A weak or fouled spark plug, a clogged fuel filter, or stale gas are other common culprits. Without proper fuel flow and a strong spark, the engine simply cannot start, or it will run rough and stall under load.
Auger Fails to Turn or Throw Snow
You might have the engine running perfectly, but the machine still won’t move snow. This points to a problem between the engine and the augers. The most common cause is a broken or stretched auger belt.
Another critical component is the set of shear pins (or shear bolts) on the auger shaft. These small pins are designed to break if the auger hits a hard object, protecting the much more expensive gearbox from damage. Once sheared, the auger will not spin.
Drive System Malfunctions and Wheel Slippage
If the snowblower’s wheels won’t engage or slip under load, the problem lies within the drive system. The rubber friction disc, which presses against a metal plate to transfer power, wears down over time. A glazed or worn-out disc is a very common reason for a loss of propulsion.
Improper tire pressure or worn-out tire treads can also lead to poor traction, especially on icy surfaces. Additionally, the engagement cable may have stretched, preventing the friction disc from making firm contact.
Your Step-by-Step Repair and Troubleshooting Guide
Now that we’ve identified the problems, let’s walk through the solutions. These steps are designed to be performed with basic hand tools and can save you a costly trip to the repair shop. Always ensure the engine is off and the spark plug is disconnected before performing any service.
Follow these guides methodically. Often, what seems like a major failure is a simple fix that can be completed in under an hour.
Reviving a Dead Engine: Fuel System and Spark
First, drain all the old fuel from the tank and carburetor bowl. Refill with fresh, high-octane gasoline treated with a fuel stabilizer. Fuel stabilizer is not optional for small engines; it prevents the fuel from degrading and gumming up the system.
Next, remove the spark plug and inspect it. If it’s black, oily, or the electrode is worn, replace it. If it’s just dirty, you can clean it with a wire brush and check the gap. With the plug removed, you can check for spark by grounding it against the engine block while pulling the starter rope (use insulated pliers to hold it).
If you have fresh fuel and a good spark, the carburetor is the likely issue. A thorough cleaning is required. This involves removing the carburetor, disassembling it, cleaning all jets and passages with carburetor cleaner, and reassembling with new gaskets.
Restoring Snow-Throwing Power: Belts and Shear Pins
To inspect the auger belt, you will need to remove the plastic belt cover. Look for cracks, glazing, or excessive slack in the belt. If it’s damaged, you must replace it. This typically involves loosening the engine mounting bolts to create slack for removal and installation.
To check the shear pins, look at the auger shaft itself. You will see holes on each side where a bolt and nut should be. If a pin is missing or sheared in half, the auger will spin freely on the shaft. Always replace shear pins with the exact OEM part; using a standard bolt can cause severe gearbox damage.
A clogged chute can also stop snow from being thrown. It’s a frustrating situation, much like dealing with toilet paper in a shower drain, where a blockage brings everything to a halt. Always use the provided clean-out tool to clear obstructions, never your hands.
Fixing the Drive System: Friction Disc and Adjustments
To inspect the friction disc, you’ll need to stand the snowblower up on its housing or split the frame, depending on the model. The friction disc is a rubber-rimmed wheel. If the rubber is worn down to the metal or is cracked and hard, it must be replaced.
Replacing the friction disc is an involved but achievable job that requires removing the lower frame cover. While you are in there, inspect the drive plate for any oil or grease contamination, which can cause slipping. Clean it thoroughly with brake cleaner.
Proactive Maintenance: The Key to Winter Readiness
The best repair is the one you never have to make. A consistent maintenance schedule will ensure your Yard Machine is ready to go when the first flakes fall. This routine also extends the life of the machine significantly.
Think of it like home maintenance. Just as you might consider a project to replace a central AC with a mini-split for better efficiency, regular tune-ups make your snowblower more reliable and effective.
Essential End-of-Season Storage Steps
When winter ends, don’t just push the snowblower into a corner. Run the engine until it is completely out of fuel. This prevents the carburetor from getting gummed up during storage. An even better method is to add fuel stabilizer to the last tank of gas and run it for a few minutes to circulate the treated fuel.
Change the engine oil while the engine is still warm, as this allows impurities to drain out with the old oil. Finally, store the machine in a clean, dry place like a garage or shed. Securing your storage space is also wise; using one of the best rekey kits on your shed door can deter theft of your valuable equipment.
Pre-Winter Tune-Up Checklist
Before the first predicted snowfall, perform a pre-season check. Install a new spark plug and check the gap. Inspect the scraper bar and skid shoes at the front of the auger housing; if they are heavily worn, flip or replace them to ensure the machine clears down to the pavement.
Check the tire pressure and adjust it to the manufacturer’s recommendation. Finally, check the operation of all cables and levers. Lubricate any moving parts and confirm that the auger and drive engage smoothly.
Is a Used Yard Machine 10.5 HP 28″ a Smart Buy Today?
You may see these models for sale online or at garage sales for a very attractive price. If you are mechanically inclined and comfortable with performing the maintenance described above, they can offer tremendous value. Their simple mechanics make them far easier to work on than modern, computer-controlled machines.
However, be aware of parts availability. While common engine parts, belts, and friction discs are often available as aftermarket replacements, model-specific components like cables or brackets can be difficult to source. Always get the full model and serial number before purchasing a used machine to research parts availability first.
Conclusion: Taming the Beast for Winter Battle
The Yard Machine 10.5 HP 28-inch snowblower is a powerful and capable machine that, with proper care, can serve you for many winters. Its common problems are well-documented and typically straightforward to resolve with basic tools and a little patience.
By focusing on a clean fuel system, maintaining the drive and auger components, and performing regular preventative maintenance, you can ensure your snowblower is a reliable partner in your fight against winter weather, ready to clear even the deepest drifts with ease.