Wood Look Tile No Grout: The Pro Guide to a Seamless Floor
The dream of a flawless wood floor is timeless. But the reality of scratches, water damage, and constant maintenance sends many searching for a better alternative. Wood look porcelain tile offers that perfect blend of rustic beauty and modern durability, but one detail often shatters the illusion: the grout lines.
Many homeowners ask a simple question: can you install wood look tile with no grout for a truly seamless, authentic wood appearance? It’s a question born from a desire for perfection, but the answer is more complex than a simple yes or no. The truth is, pursuing a “no grout” installation is a critical mistake that can lead to catastrophic floor failure.
This guide will expose the myth of groutless tile, explain the non-negotiable reasons why grout is essential, and then reveal the professional techniques to achieve that coveted, nearly invisible “no grout” look without compromising the integrity of your floor. We will explore the critical role of tile selection, grout spacing, color matching, and installation methods that separate an amateur job from a stunning, professional-grade floor that lasts a lifetime.
You'll Learn About
The Problem: Why Grout Lines Ruin the Wood Floor Illusion
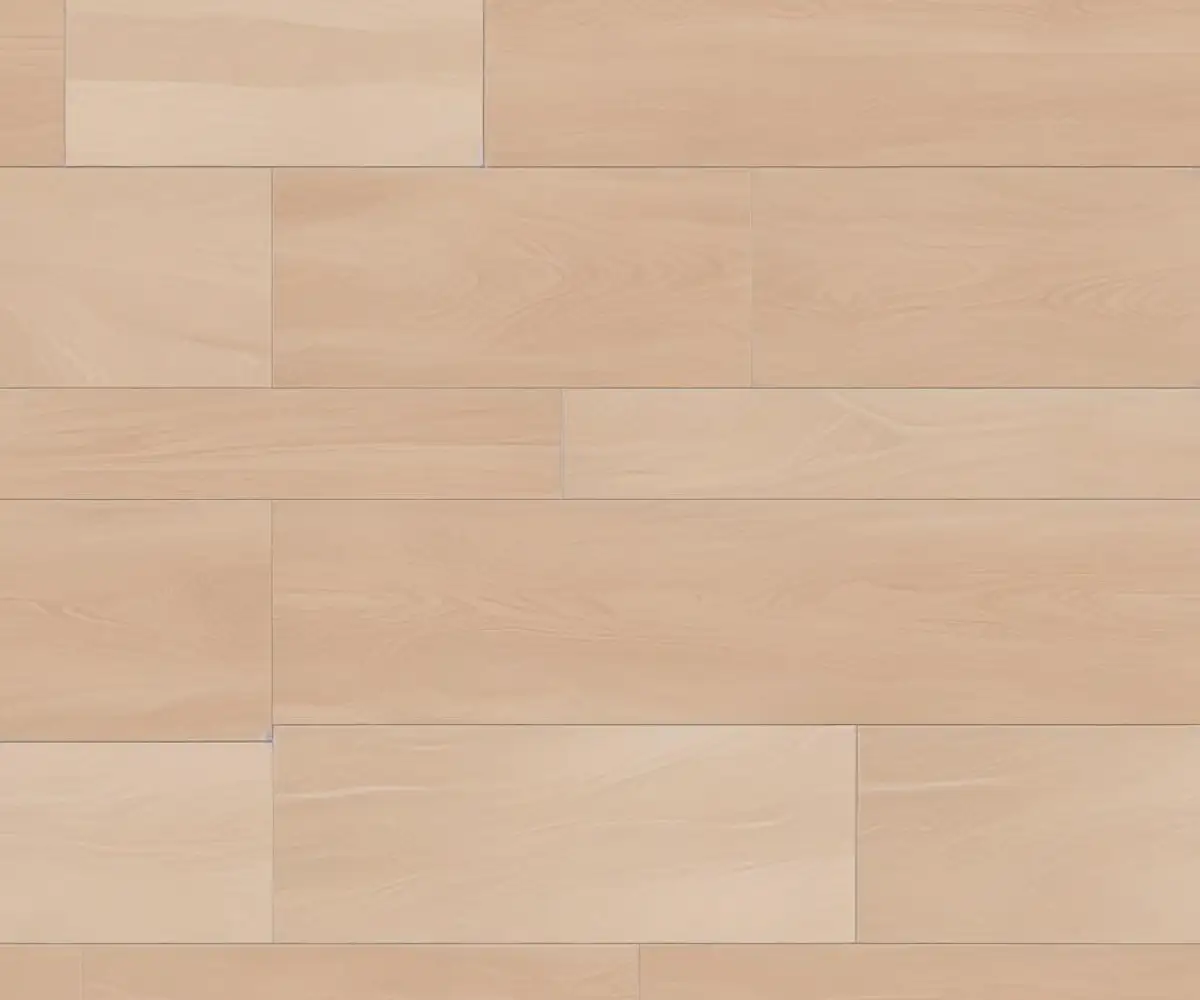
The core appeal of wood look tile is its ability to mimic natural hardwood. Real hardwood floors feature planks fitted tightly together, creating a continuous, uninterrupted surface. Grout lines, by their very nature, introduce a grid-like pattern that immediately signals the floor is tile, not wood.
This visual disruption is the primary problem homeowners want to solve. A contrasting or wide grout line can make an expensive, high-quality tile look cheap and artificial. The goal is to eliminate this grid and create a monolithic surface where one tile plank flows seamlessly into the next, preserving the natural wood illusion.
Can You Actually Install Wood Look Tile With No Grout? The Hard Truth
In short, no. Installing any porcelain or ceramic tile without grout is a recipe for disaster. While the term “groutless tile” is often used, it’s a misnomer. Professionals understand this to mean an installation with the smallest possible grout line, not the complete absence of grout.
Attempting to install tiles by butting them directly against each other, known as “butt-jointing,” ignores the fundamental physics of building materials and will lead to predictable and costly failures. Grout is not just a cosmetic filler; it’s a crucial structural component of a tile assembly.
The Structural Risk: Why Grout is Non-Negotiable
Every tile installation needs grout for several critical reasons. Grout provides a buffer for tiles to expand and contract with temperature and humidity changes. Without this space, tiles will press against each other, leading to chipping, cracking, and even “tenting,” where tiles buckle and lift off the subfloor.
Furthermore, grout locks the individual tiles together, distributing weight and stress across the entire floor. It also serves as a barrier, preventing water, dirt, and debris from seeping into the joints and compromising the thinset mortar beneath. An installation without grout is structurally weak and prone to failure.
The Lippage Nightmare: A Perfectly Flat Illusion
Even with perfectly manufactured tiles, creating a completely flat surface without grout is nearly impossible. Minor variations in the subfloor or the tiles themselves will result in “lippage,” where one tile edge is higher than its neighbor. These uneven edges are trip hazards, difficult to clean, and cast unsightly shadows that highlight the imperfections of the installation.
Grout lines, even very narrow ones, help to mask these minute height differences, creating a visually smoother and more forgiving surface. This is especially important for the long, plank-style formats of wood look tile, which are more susceptible to bowing and lippage.
The Solution: How to Get a Nearly Seamless “No Grout” Look
The secret to achieving the wood look tile no grout aesthetic is not to eliminate grout, but to make it virtually disappear. This requires a systematic approach involving the right materials and meticulous installation techniques. Following these steps will give you a floor that is both stunningly seamless and structurally sound.
From selecting the right type of tile to using advanced installation aids, every detail matters. This is how you bridge the gap between the dream of a groutless floor and the technical requirements of a durable, long-lasting installation.
Step 1: Start with High-Quality Rectified Tile
The single most important material for achieving a minimal grout line is rectified tile. Rectified tiles are porcelain or ceramic tiles that have been mechanically ground and polished after firing to create perfectly straight, precise edges and exact 90-degree corners. This manufacturing process ensures exceptional dimensional consistency from tile to tile.
Non-rectified, or pressed, tiles have slightly rounded, natural edges that vary in size. Attempting to set them with a very thin grout line will result in uneven spacing and an unprofessional finish. Always insist on rectified tile for any installation where a minimal grout joint is the goal.
Step 2: Insist on the Smallest Possible Grout Line
With rectified tile, you can achieve incredibly tight grout lines. The industry standard minimum is typically 1/16 inch (1.5mm). While some expert installers might go as low as 1/32 inch with a perfect subfloor, a 1/16-inch or 1/8-inch joint is the most common and recommended size for a “no grout” look that remains structurally sound.
Never butt tiles directly together. This lack of spacing prevents grout from properly penetrating the joint, leading to a weak bond and inevitable failure. Using the correct size tile spacers is non-negotiable to ensure consistent spacing throughout the installation.
Step 3: Master the Art of Color-Matched Grout
Choosing the right grout color is just as important as the size of the joint. The goal is to select a grout color that blends perfectly with the dominant color of your wood look tile. When the grout color matches the tile, the eye is no longer drawn to the lines between the tiles, creating a continuous, seamless effect.
To find the perfect match, take a sample of your tile to the store and compare it directly with grout color charts. The best approach is often to match the main background color of the tile, not the darkest or lightest graining detail. A grout color that is two shades darker than the tile can also create a natural-looking shadow line that mimics real wood planks.
Step 4: Demand a Tile Leveling System
Even with a perfectly flat subfloor and rectified tiles, lippage can occur, especially with long wood-look planks. A tile leveling system is a critical tool that ensures a perfectly flush surface. These systems use clips and wedges to lock adjacent tiles together, holding them flat and even while the mortar cures.
The clips are placed under the tiles during installation, and the wedges are inserted to apply pressure and create a level plane. After the mortar has dried, the clips are easily snapped off, leaving a perfectly flat floor. For any wood look tile installation with minimal grout lines, a leveling system is not a luxury; it is a necessity for a professional result.
The Foundation of Success: Subfloor Preparation
No amount of skill or high-quality material can compensate for a poor subfloor. For large format and wood plank tiles, the subfloor must be exceptionally flat and rigid. Industry standards require a maximum deviation of only 1/8 inch over a 10-foot span. An uneven subfloor is the primary cause of lippage and cracked tiles.
Before installation, the subfloor must be thoroughly cleaned, leveled with a self-leveling compound if necessary, and checked for any deflection or bounce. Addressing subfloor issues, including the removal of old or unstable materials like certain types of asphalt impregnated plywood that may be found in older homes, is the most critical first step to ensuring a flawless and durable tile floor.
Choosing the Right Grout: Epoxy vs. Urethane vs. Cementitious
The type of grout you choose impacts both the final look and the long-term maintenance of your floor. While standard cement-based grout is common, premium options offer significant advantages for maintaining the “no grout” look.
High-performance grouts are less porous, making them highly resistant to stains, mold, and mildew. This is crucial for thin grout lines, as any discoloration will become immediately obvious and ruin the seamless effect. Investing in a superior grout will protect the aesthetic of your floor for years to come.
| Grout Type | Key Characteristics | Best For | Considerations |
|---|---|---|---|
| Cementitious (Sanded/Unsanded) | Traditional, affordable, widely available. Porous and requires sealing. | Budget-conscious projects where regular maintenance and sealing are acceptable. | Prone to staining and discoloration over time, which can compromise the seamless look. |
| Epoxy | Extremely durable, non-porous, and highly resistant to stains, chemicals, and water. Color is very consistent. | High-traffic areas, kitchens, bathrooms, and any space where ultimate stain resistance is desired. | More expensive and has a faster setting time, requiring a more experienced installer. |
| Urethane / Single-Component | Pre-mixed, flexible, and stain-resistant without sealing. Good color consistency. | DIY-friendly projects and areas that may experience slight movement. Offers a balance of performance and ease of use. | Can have a longer cure time before being exposed to water compared to epoxy. |
Integrating With Other Flooring
The seamless aesthetic is especially powerful in open-concept homes where different flooring types meet. Creating a clean transition is key. Achieving the nearly invisible grout line is paramount when you have wood look tile next to hardwood, as it helps the two distinct materials feel more cohesive and intentional in the design.
A flawless tile installation enhances the entire space, making transitions less jarring and contributing to a unified, high-end feel throughout the home.
Final Verdict: Is the “No Grout” Look Worth It?
Absolutely. When executed correctly, a wood look tile floor with minimal, color-matched grout lines is the pinnacle of flooring design. It delivers the stunning, uninterrupted beauty of natural hardwood without any of the drawbacks. It is a sophisticated, durable, and low-maintenance solution that elevates the look of any space.
However, it is not a project for amateurs. It demands precision, the right materials, and a deep understanding of proper installation techniques. Do not attempt to install tile without any grout space. Instead, invest in rectified tile, a premium color-matched grout, a reliable tile leveling system, and most importantly, a skilled installer who understands how to bring these elements together to create a truly seamless and lasting floor.