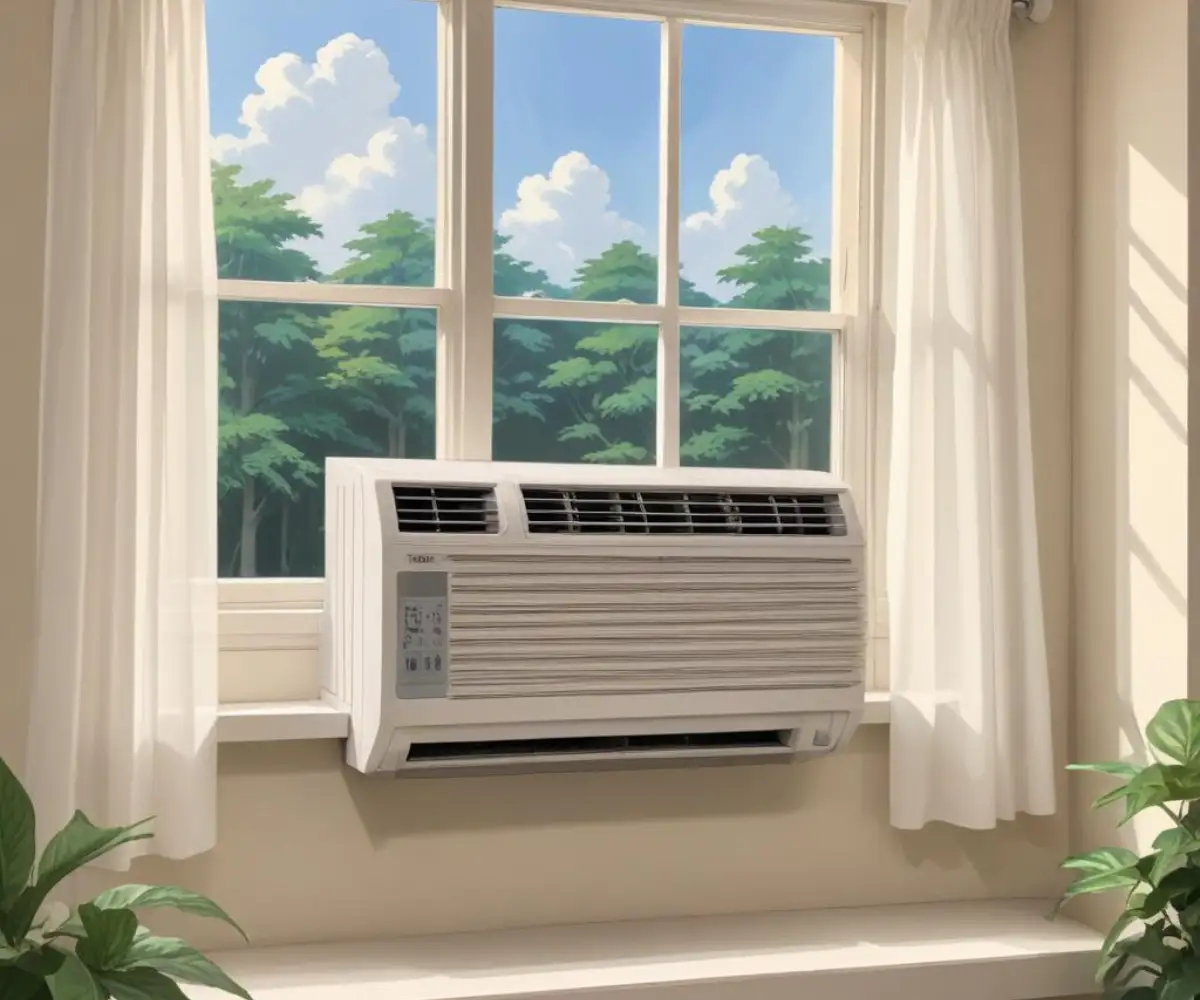
Window AC Top Panel Sagging? Stop Leaks & Drafts Now!
It’s the silent problem lurking above your window air conditioner. You ignore it all season, but that sagging, cracked, or missing top panel is more than just an eyesore. It’s a welcome mat for rainwater, a superhighway for pests, and a massive drain on your energy bill.
Many homeowners overlook this crucial component, assuming the flimsy accordion side panels are doing all the work. That’s a costly mistake. That top gap is a primary source of water leaks that can rot your window sill, damage drywall, and lead to mold.
You'll Learn About
Why Your Window AC’s Top Panel is More Important Than You Think
Think of the top panel as the roof for your window AC installation. Its job is to create a weatherproof seal between the top of the unit and the window sash. Without a solid, well-sealed panel, you’re leaving your home vulnerable to a host of expensive and frustrating problems.
A compromised top panel allows hot, humid summer air to pour back into the room you’re trying to cool. This forces your AC to work harder, run longer, and consume more electricity, driving up your utility bills. It completely defeats the purpose of having an energy-efficient appliance.
The Unsung Hero of a Good Seal
A properly installed top panel serves four critical functions. It is your primary barrier against rain, preventing water from seeping behind the unit and causing structural damage to your window frame and walls. It also acts as a crucial insulation barrier, keeping cooled air in and hot air out.
Furthermore, it provides structural stability for the entire installation, helping to hold the side accordion panels firmly in place. Finally, it seals a large, inviting gap that insects, spiders, and even rodents would love to use to enter your home. Ignoring it is like leaving a small window open all summer long.
What Causes a Window AC Top Panel to Fail?
The number one enemy of the standard plastic top panel is the sun. Constant exposure to UV rays makes the plastic brittle, weak, and prone to cracking and discoloration over a surprisingly short amount of time. One bad hailstorm or a falling branch can easily shatter an already weakened panel.
Improper installation is another major culprit. If the panel isn’t secured correctly or if gaps are left unsealed, it can vibrate, warp, and eventually fail. Many units come with thin, low-quality panels that are simply not designed to last more than a season or two under harsh weather conditions.
The Ultimate Fix: Replacing Your Window AC Top Panel
The good news is that replacing a failed top panel is a straightforward DIY project that can be completed in under an hour. With the right materials and a little attention to detail, you can create a seal that is far superior to the original manufacturer’s setup. This ensures a leak-proof, efficient, and long-lasting solution.
Before you begin, the most critical step is getting accurate measurements. Measure the width of the air conditioner from edge to edge and the depth from the front face of the window sash to the back of the unit. Do not measure the old, warped panel; measure the actual gap you need to fill.
Choosing the Right Material: The Big Decision
You have several options when it comes to a replacement panel, each with its own pros and cons. Moving beyond the standard, flimsy plastic can provide a much more durable and effective long-term solution. Consider your budget, local climate, and DIY comfort level when making your choice.
Many hardware stores offer plexiglass or polycarbonate sheets and will often cut them to your exact dimensions for a small fee. This can save you time and ensure a perfect, clean edge for a professional-looking finish.
| Material | Pros | Cons |
|---|---|---|
| Standard Plastic (ABS/Styrene) | Inexpensive, easy to find, simple to cut. | Becomes brittle from UV exposure, short lifespan. |
| Plexiglass (Acrylic) | Clear for more light, good UV resistance, durable. | Can crack if drilled improperly without a pilot hole. |
| Polycarbonate | Extremely durable, virtually unbreakable, high impact resistance. | More expensive than other options. |
| Treated Plywood (DIY) | Highly customizable, can be painted to match trim. | Requires thorough sealing and painting to prevent water damage and rot. |
Step-by-Step Installation for a Perfect Seal
First, safely remove the old, cracked panel and any leftover sealant or debris. Use a putty knife and an adhesive remover if necessary. Thoroughly clean the top of the air conditioner and the bottom of the window sash to ensure a strong bond with the new sealant.
Next, carefully cut your new panel to the measurements you took. For a truly weatherproof seal, apply a continuous bead of high-quality, outdoor-rated silicone caulk on the top surface of the AC unit where the panel will sit. Firmly press your new panel into the caulk.
To finish, apply another bead of caulk along the seam where the front of the panel meets the window sash. For an extra layer of protection, use foam weatherstripping tape along the top edge of the panel before closing the window down onto it. This creates a tight, insulated, and waterproof barrier.
Pro-Level Tips for a Bulletproof Installation
For maximum energy efficiency, consider adding a piece of rigid foam insulation board directly underneath your new top panel. Cut the foam board slightly smaller than the panel and place it on the AC unit before you lay down the panel and sealant. This adds a significant insulating layer.
Another professional trick is to install the panel with a very slight downward slope away from the window. This encourages any water to run off immediately, rather than pooling against the window sash. A couple of small shims placed at the front edge before sealing can achieve this easily.
Don’t Forget the Side Panels
While you are focused on the top, take a moment to inspect the accordion side panels. They are often made of the same flimsy material and can crack or develop gaps. A perfect top seal won’t matter if drafts and rain are coming in the sides. The process of maintaining these panels is crucial, much like ensuring sunroom replacement panels are in good condition to protect the larger space.
Common Mistakes to Avoid at All Costs
The most frequent mistake is using the wrong materials for the job. Never use cardboard, duct tape, or interior-grade sealants. They will fail within weeks, leaving you back where you started. Always choose materials specifically designed for outdoor, weatherproof applications.
Another common error is failing to properly clean the surfaces before applying caulk. Sealant applied to a dirty, dusty surface will not create a strong bond and will peel away, allowing leaks. Preparation is just as vital as the installation itself, a principle that holds true whether you are replacing sunroom wall panels or sealing a small gap.
What if My Window Frame is the Problem?
Occasionally, the issue isn’t the panel but the window frame itself. If your wooden sill is soft and rotten or the vinyl channels are cracked, the new panel won’t have a solid surface to seal against. A secure installation requires a sound foundation.
Addressing these foundational issues first is critical. It’s similar to how using the incorrect J-channel at the bottom of siding can compromise the entire wall; the supporting elements must be in good repair for the whole system to function correctly.
Frequently Asked Questions
What is the purpose of the top panel on a window AC unit?
The top panel, often a sliding or accordion-style piece, helps to seal the gap between the air conditioner and the window sash. This prevents outside air, insects, and debris from entering the room. Proper sealing with the top panel also improves the unit’s cooling efficiency.
How do I seal the gap above my window AC unit?
To seal the gap above your window air conditioner, you can use foam insulation strips, weather-sealing tape, or a custom-cut piece of plexiglass. For larger gaps, styrofoam sheets can be cut to size and fitted into the space. Ensure the sealant creates a tight barrier to prevent air leakage.
Can I use plexiglass for the top panel of my window AC?
Yes, plexiglass is a durable and clear material that can be custom-cut to fit the space above your window AC unit. It provides a weather-tight seal and is more aesthetically pleasing than plywood or cardboard. Using plexiglass can improve energy efficiency by preventing cool air from escaping.
What should I do if my window AC’s side panels are broken?
If the side panels of your window AC are cracked or damaged, you can purchase replacement vinyl or foam panels. These kits are typically adjustable and can be cut to fit your window opening. Properly installed side panels are crucial for insulating the window and preventing drafts.
How do I clean the panels of my window air conditioner?
To clean the panels, first, unplug the unit and remove the front grille cover. The panels can be wiped down with a cloth and warm, soapy water. For a deeper clean, you can remove the panels and rinse them with water, allowing them to dry completely before reinstalling.
Are the side panels necessary for a window AC installation?
While not strictly essential for the unit to function, the side panels are highly recommended to ensure proper insulation and to prevent outside air from entering. They help to hold the unit securely in the window and improve cooling efficiency by sealing the gaps. If you choose not to use them, ensure the side vents of the AC unit are not blocked.
Conclusion: A Small Fix for a Big Problem
That neglected window AC top panel is a serious liability for your home. It’s a direct entry point for water, pests, and efficiency-killing drafts. However, the solution is a simple, inexpensive, and satisfying DIY project that pays for itself in lower energy bills and peace of mind.
Don’t wait for water damage to force your hand. Take an hour this weekend to inspect the top panel on your window AC unit. With the right materials and the steps outlined above, you can create a permanent, weatherproof seal that protects your home and your wallet for years to come.