Why Are There Water Drops on the Bottom of My Gutter? Uncover the Hidden Causes and Fixes!
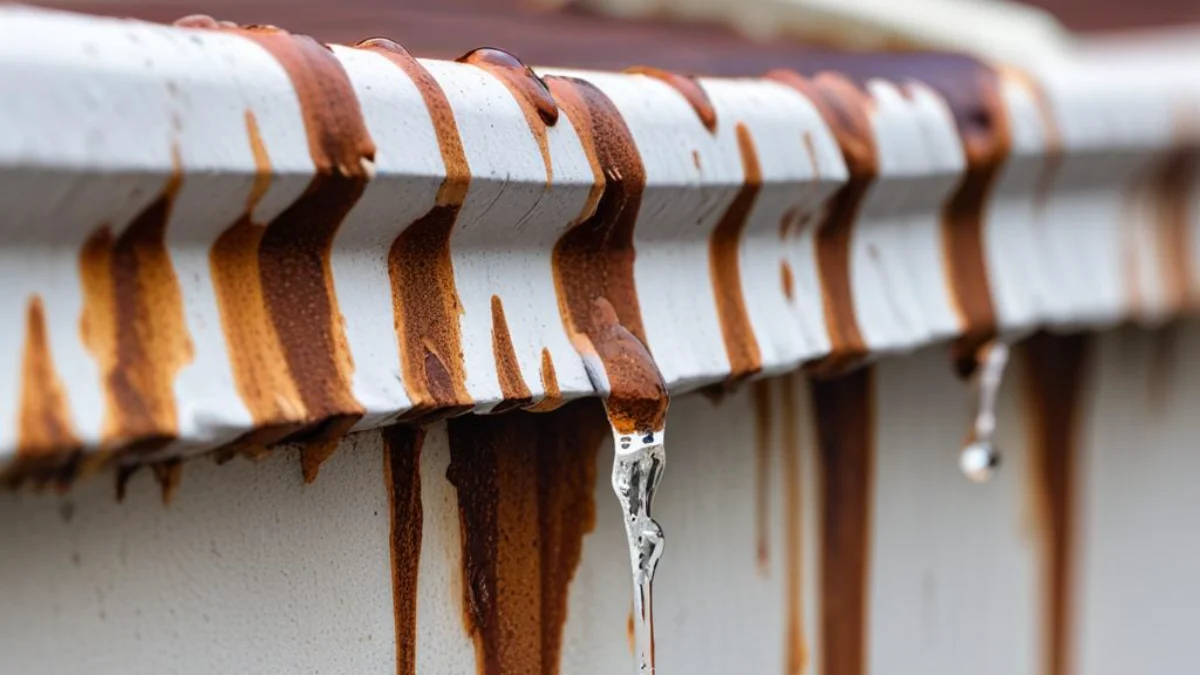
You’ve seen them after a rain shower, or maybe even on a dry, humid morning: mysterious water drops clinging to the underside of your gutters. It’s a common sight that leaves many homeowners scratching their heads. Is it a major problem, or just a harmless quirk of your home’s drainage system? While it might seem minor, those persistent drips can be a red flag for underlying issues that could lead to costly water damage to your fascia, siding, and even your home’s foundation.
Understanding why water is appearing where it shouldn’t is the first step toward a solution. Ignoring it can allow small problems to escalate, turning a simple fix into a major repair project. This comprehensive guide will delve into the various reasons you’re seeing water drops on the bottom of your gutter, from simple clogs to more complex installation errors, and provide you with actionable, easy-to-understand solutions to protect your home.
You'll Learn About
Decoding the Drips: Top 5 Reasons for Water Under Your Gutters
Water should flow through your gutters, not cling to the bottom of them. When you see droplets forming on the underside, it’s a clear sign that something is amiss. Let’s break down the most common culprits behind this frustrating and potentially damaging issue.
1. The Most Common Culprit: Clogged Gutters and Downspouts
The number one reason for water dripping from the bottom of gutters is a blockage. When leaves, twigs, shingle grit, and other debris accumulate, they create dams that prevent water from flowing freely to the downspout. As water backs up, it has nowhere to go but over the edges, often running down the gutter’s exterior face and collecting as drips underneath.
A blockage near the downspout is particularly problematic. This is the primary exit point for rainwater, and if it’s clogged, the entire gutter section can fill up, forcing water to escape from seams, joints, or over the top. This overflow is a sure sign that your gutters are in desperate need of a cleaning.
2. Leaks, Holes, and Failing Seams
Gutters are not indestructible. Over time, they are exposed to harsh weather, falling branches, and the general wear and tear of aging. This can lead to the development of small cracks, pinholes from rust, or larger holes from impacts. Any breach in the gutter’s channel will allow water to escape and drip from the bottom.
Seams where two sections of guttering are joined are especially vulnerable. The sealant used to waterproof these joints can degrade and crack over time due to sun exposure and temperature fluctuations. When the sealant fails, water will seep through the gap, running down the outside of the joint and dripping from below. This is a common issue in older, sectional gutter systems.
3. The Sneaky Issue of Improper Gutter Slope
For a gutter system to function correctly, it needs to be installed with a slight, precise slope towards the downspout. The recommended pitch is typically a ¼ to ½ inch drop for every 10 feet of gutter. This gentle angle uses gravity to ensure water flows efficiently and doesn’t pool.
If the slope is incorrect—either too flat or, worse, angled away from the downspout—water will collect and become stagnant. This standing water not only adds weight that can cause gutters to sag but can also find its way out through tiny holes or weak seams. In some cases, water pooling at the “high end” opposite the downspout is a tell-tale sign of improper pitch.
4. Condensation: The Less Obvious Cause
Sometimes, the water drops on the bottom of your gutter aren’t from a leak at all but are the result of condensation. This is more common in certain climates and seasons. It occurs when the metal of the gutter becomes colder than the surrounding dew point, causing moisture from the air to condense on its surface, much like a cold glass of water on a summer day.
Condensation can also happen if there is standing water inside the gutter from a clog or improper slope. The cool water inside the gutter lowers the temperature of the metal, leading to condensation forming on the underside. While typically less damaging than a leak, persistent condensation can still contribute to mildew growth and staining on your fascia boards.
5. Installation Flaws and Gaps
Even a brand-new gutter system can drip if it wasn’t installed correctly. A common installation error is a gap between the back of the gutter and the fascia board. This can happen if the hangers are loose or improperly spaced. Water can then run off the roof, behind the gutter, and down the fascia, dripping as it goes.
Another issue relates to the roof’s drip edge, a metal flashing that should direct water from the shingles directly into the gutter. If the drip edge is missing, damaged, or installed incorrectly behind the gutter, water can cling to the fascia board and create drips. Proper caulking between the gutter and fascia can sometimes resolve minor gaps, but significant installation flaws may require professional adjustment.
Your Action Plan: How to Stop the Drips for Good
Now that you understand the potential causes, it’s time to roll up your sleeves and address the problem. Following these steps will help you diagnose the exact issue and implement the right solution to protect your home from water damage.
Step 1: The All-Important Gutter Cleaning
Before you do anything else, you must thoroughly clean your gutters and downspouts. This is the most likely solution and is essential for diagnosing other problems. From a secure ladder, use a trowel or gutter scoop to remove all leaves, dirt, and debris from the gutter channels.
After scooping out the large debris, use a garden hose to flush the gutters and downspouts. Watch the water flow carefully. This will not only clear out any remaining grime but will also help you pinpoint the exact location of any leaks. If water gushes out of a downspout, it’s clear. If it backs up, you have a clog that needs to be dislodged, possibly with a plumber’s snake.
Step 2: Inspect and Seal Leaks and Holes
With the gutters clean, perform a close visual inspection of the entire system. Look for obvious cracks, holes, or signs of rust. Pay close attention to the seams and end caps, as these are common failure points.
For small holes or cracked seams, the fix is straightforward. First, clean the area around the leak with a wire brush to remove any rust or old sealant. Then, apply a generous bead of waterproof gutter sealant or caulk to the inside of the gutter over the affected area. For larger holes, you may need to use a metal patch secured with roofing cement or sealant for a more durable repair.
Step 3: Check and Correct the Gutter Slope
To check the slope, you’ll need a level. Place the level inside the clean gutter. For a long gutter run, you can use a string line stretched from the high end to the low end to check the pitch. The bubble on the level should show a slight downward tilt towards the downspout.
If you discover an improper slope, the fix involves adjusting the gutter hangers. You may need to loosen the hangers, reposition the gutter to the correct pitch, and then re-secure them. This can be a tricky job, and if you’re not comfortable on a ladder or unsure of the process, it’s often best to call a professional for this adjustment.
Troubleshooting Your Gutter Problems
To help you quickly identify the likely cause of your dripping gutters, here’s a handy troubleshooting table:
| Symptom | Likely Cause | Recommended Solution |
|---|---|---|
| Water spilling over the sides of the gutter during rain. | Clogged Gutters or Downspouts | Thoroughly clean all debris from gutters and flush downspouts. |
| Dripping from a specific joint or seam, even in light rain. | Failed Sealant at Seam | Clean the area and apply new waterproof gutter sealant on the inside of the joint. |
| Standing water in the gutter long after it has rained. | Improper Slope or Pitch | Check the slope with a level and adjust gutter hangers as needed to ensure proper drainage. |
| Small, consistent drips from a solid section of the gutter. | Hole or Crack in Gutter | Locate the hole, clean the surrounding area, and patch it with sealant or a metal patch kit. |
| Water dripping behind the gutter, staining the fascia board. | Installation Issue or Missing Drip Edge | Check for gaps between the gutter and fascia. Ensure the roof’s drip edge is properly installed over the gutter. |
| Moisture on the underside of the gutter on humid days with no rain. | Condensation | Ensure gutters are clean and free of standing water. Improve attic ventilation to reduce temperature differences. |
Preventative Maintenance: The Key to Drip-Free Gutters
The best way to deal with dripping gutters is to prevent the problems from starting in the first place. Regular maintenance is crucial for the longevity and proper function of your home’s drainage system. Aim to clean your gutters at least twice a year—once in the late spring and again in the late fall after most leaves have fallen.
Consider installing gutter guards to minimize the amount of debris that can enter your gutters. While not a completely maintenance-free solution, they can significantly reduce the frequency of cleanings. Finally, perform an annual inspection of your entire gutter system, checking for loose hangers, failing sealant, and signs of rust or damage. Catching these issues early can save you from the headache and expense of water damage down the line.
Whether you need to know about a gutter wrap-around corner installation or are dealing with specific materials like 3.25 OD PVC pipe, proactive care is your best defense against drips.