Whitewashed Brown Brick: Your Guide to a Flawless, Modern Finish
That classic brown brick fireplace or exterior wall can feel like a defining feature of a home, exuding a sense of timeless warmth. However, it can also make a space feel dated, dark, and heavy. This common design dilemma leaves many homeowners searching for a way to brighten their living areas without losing the essential character and texture that only brick can provide.
The core problem isn’t the brick itself, but rather its overpowering color in a modern design context. A full, opaque coat of paint can look harsh, peel over time, and can trap moisture within the brick, potentially leading to long-term damage. The ideal solution is one that lightens the mood, enhances the texture, and works with the nature of the brick, not against it.
You'll Learn About
Unlocking a Brighter Look: What is Whitewashing?
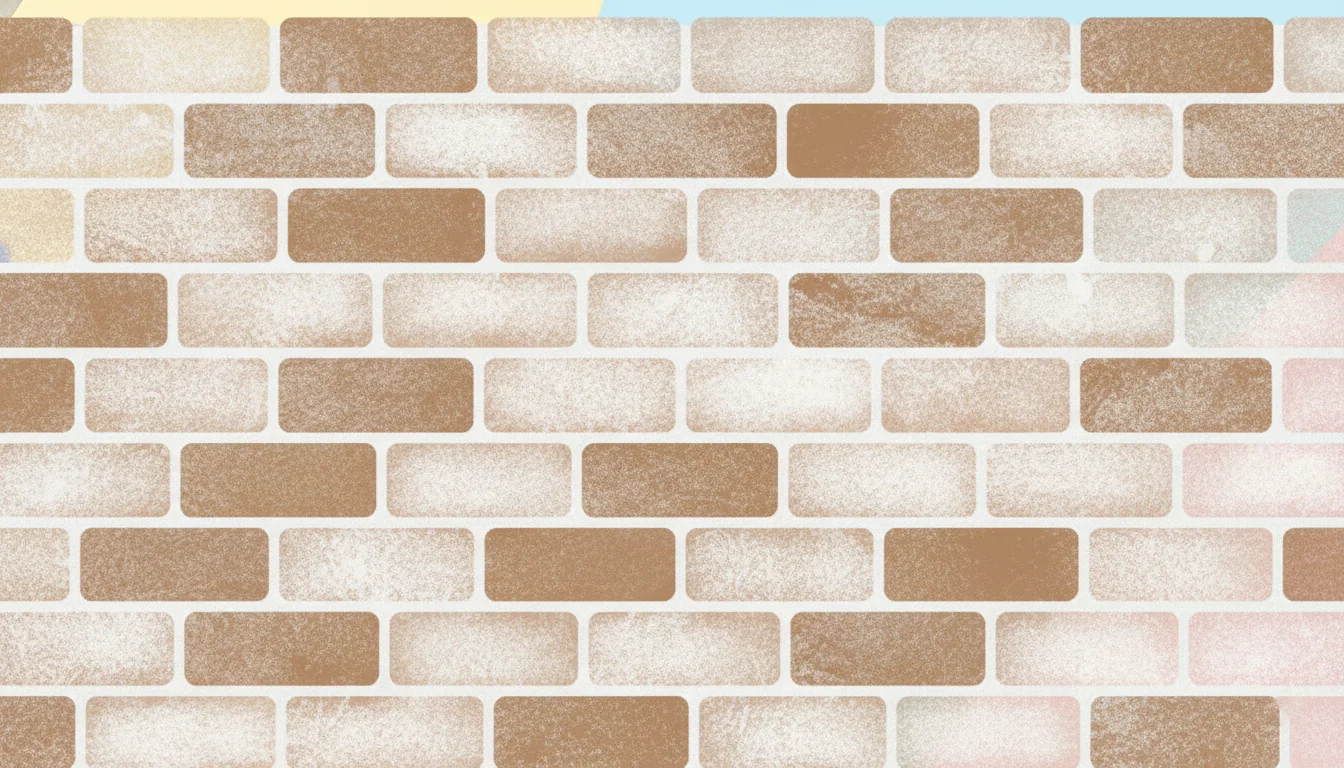
Whitewashing is a time-honored technique that involves applying a thinned-out paint solution to brick surfaces. Unlike a solid coat of paint that completely covers the brick, a whitewash is semi-transparent, allowing the original color and texture of the brown brick to subtly show through. This method creates a soft, weathered, and rustic finish that instantly modernizes and brightens a space.
The key difference between whitewashing and painting lies in both the material and the result. Standard exterior or interior paint forms a film on top of the brick. A proper whitewash, especially a traditional limewash, soaks into the porous brick surface, creating a more durable and breathable finish.
The Critical Importance of Breathability
One of the most significant, yet often overlooked, advantages of whitewashing over painting is breathability. Brick is a porous material, meaning it absorbs and releases moisture. Applying a non-breathable sealant or a thick layer of latex paint can trap this moisture inside the brick.
Trapped moisture is a serious issue, potentially leading to the paint blistering, chipping, and peeling. In colder climates, this moisture can freeze and expand, causing the face of the brick to spall or crumble. Techniques like limewashing are highly breathable, allowing moisture to escape naturally and protecting the brick’s structural integrity for the long term.
A Step-by-Step Guide to Whitewashing Brown Brick
Transforming your brown brick is an achievable DIY project that can be completed in a weekend with the right preparation and technique. The process can be broken down into four key stages: preparation, mixing, application, and sealing. Following these steps carefully will ensure a professional-looking and long-lasting finish.

Step 1: Essential Preparation for a Perfect Finish
Proper preparation is the most critical step and should never be rushed or skipped. A clean, sound surface is paramount for the whitewash to adhere correctly and evenly. Inadequate prep is the leading cause of a blotchy finish and premature flaking.
Begin by thoroughly cleaning the brick surface. For interior brick, like a fireplace, use a stiff-bristled brush and a cleaning solution of mild soap and water to scrub away any dust, dirt, or soot. For exterior walls, a pressure washer on a low setting can effectively remove grime, but be gentle to avoid damaging older mortar.
Once clean, inspect the brick and mortar joints for any cracks or damage. Issues that could compromise your home’s exterior, such as those that might arise if you are wondering can falling acorns damage a roof, should be addressed by a professional. Repair any significant gaps with an appropriate acrylic caulk or fresh mortar and allow it to cure completely before proceeding.
Step 2: Mixing Your Whitewash Solution
You have two primary options for your whitewash mixture: a modern diluted paint solution or a traditional limewash. A DIY whitewash is typically made by mixing white water-based (latex) paint with water. The ratio determines the opacity of the finish.
A 50/50 ratio of paint to water is a common starting point for a balanced, semi-transparent look. For a more transparent effect where more brown brick shows through, you might use a 1:2 ratio (one part paint to two parts water). Conversely, for a more opaque finish, a 2:1 ratio would be suitable. It is crucial to test your mixture on a small, inconspicuous area of the brick to see how it looks once dry before committing to the entire wall.
| Mixture Type | Composition | Best For | Finish Texture | Breathability |
|---|---|---|---|---|
| Diluted Latex Paint | Water-based paint and water | Easy DIY projects, interior fireplaces, consistent color | Smooth, uniform | Moderate |
| Traditional Limewash | Slaked lime, water, and natural pigments | Historic homes, exterior brick, achieving a classic patina | Chalky, matte, variegated | High |
| German Schmear | Wet mortar and water | Creating a heavy, rustic, old-world texture | Thick, textured, irregular | High |
Step 3: Application Techniques for Your Desired Look
The application method you choose will significantly impact the final appearance of your whitewashed brick. Before you begin, lightly mist a small section of the brick with a spray bottle of water. This helps the whitewash absorb more evenly and prevents it from drying too quickly.
Work in small, manageable sections (e.g., three feet by three feet). Apply the whitewash mixture with a large paintbrush, making sure to work it into the mortar joints. Immediately after application, use a clean, lint-free rag or a sponge to dab, wipe, and blot the wet whitewash. This “distressing” process is where the artistry happens—the more you wipe away, the more of the original brown brick will show through.
For a more uniform look, apply the wash and lightly dab it. For a more rustic, weathered appearance, vary the pressure and wipe away more of the mixture in random spots. Step back frequently to assess your work and ensure you are achieving a consistent overall effect.
Common Whitewashing Problems and How to Avoid Them
Even with careful planning, issues can arise. Understanding common pain points can help you troubleshoot them effectively and avoid frustration. The most frequent problems include an uneven or blotchy finish, the whitewash being too opaque or too transparent, and premature flaking.
An uneven finish often results from inconsistent application or failing to keep the mixture stirred. Because the paint and water can separate, you must stir your whitewash frequently. If a section dries too opaque, you can sometimes remove some of the finish by spraying it with water and scrubbing with a stiff brush shortly after application. If the finish is too transparent, simply apply a second coat after the first has dried completely.
Flaking or peeling is almost always a sign of inadequate surface preparation. Applying whitewash to a dirty, dusty, or overly damp surface will prevent proper adhesion. Ensure the brick is completely clean and dry before you begin to guarantee a long-lasting bond.
Long-Term Care for Your Whitewashed Brick
One of the benefits of whitewashed brick is its low maintenance requirements. For interior surfaces, occasional dusting is usually sufficient. For exterior applications, a gentle rinse with a garden hose once a year can remove accumulated dirt.
A properly applied whitewash, particularly a limewash, can last for many years. Unlike paint, it tends to fade gracefully over time rather than peel, which contributes to its rustic charm. Touch-ups can be done as needed by applying a light coat to any worn areas.
Proper exterior maintenance is key to preserving any finish. Just as you would maintain other parts of your home’s exterior, such as servicing your equipment after a long winter with a reliable machine like a John Deere 524 snowblower, keeping your brick clean and in good repair will extend the life of the whitewash.
Interior vs. Exterior: Key Differences to Consider
While the fundamental process is the same, there are unique considerations for interior and exterior projects. For an interior brick fireplace or accent wall, you are primarily focused on aesthetics. The choice between a diluted paint mix and limewash is less critical from a moisture-management perspective, though limewash is often preferred for its unique, chalky texture.
For exterior brick, breathability is non-negotiable. Using a traditional limewash or a high-quality mineral-based paint is highly recommended over a standard latex paint mixture to prevent moisture-related damage. Exterior surfaces are also exposed to the elements, so ensuring the brick is sealed with a breathable masonry sealer after whitewashing can provide an extra layer of protection and prolong the life of the finish.
When updating an interior space with whitewashed brick, consider how it pairs with other elements like flooring. For example, in a basement setting, the brightened walls would pair well with durable flooring options. In cases of potential dampness, exploring solutions like vinyl plank flooring after basement flooding can provide a stylish and resilient foundation for the room.
Beyond Whitewashing: Exploring the German Schmear
If you desire a more textured, rustic, and dramatic effect, a technique known as the German schmear (or mortar wash) is an excellent alternative. Instead of a thinned paint, this method involves applying a thin layer of wet mortar over the brick and then removing some of it to expose parts of the brick face.
The German schmear creates an irregular, old-world texture that is thicker and more pronounced than a standard whitewash. It is more labor-intensive and permanent, but it is incredibly durable and effective at hiding imperfections in the brick. This technique offers a distinct style that evokes the charm of historic European cottages.
Is Whitewashing Brown Brick the Right Choice for Your Home?
Whitewashing is a fantastic solution for homeowners looking to modernize and brighten a space without erasing the character of their brown brick. It offers a customizable, textured finish that is more forgiving and breathable than a solid coat of paint. By carefully preparing the surface, testing your mixture, and applying it with a strategic, artistic touch, you can dramatically transform the look and feel of your home.
This technique bridges the gap between the dark, dated look of old brown brick and the stark, flat appearance of painted brick. It provides a soft, luminous, and timeless finish that honors the material’s natural texture while breathing new life and light into your home.

