Ice on Your Freezer Floor? Here’s the Real Reason Why
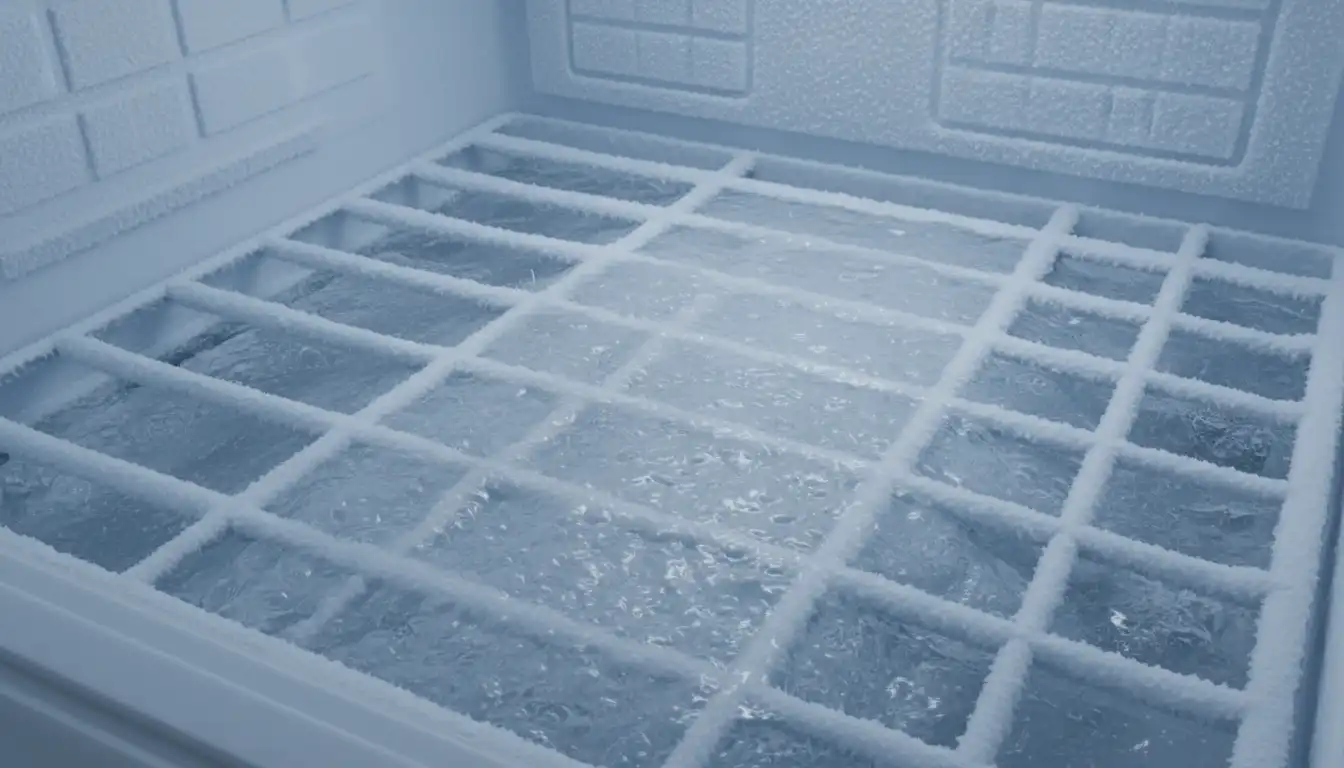
There are few home appliance frustrations quite as puzzling as opening your freezer drawer to find a solid sheet of ice covering the bottom. Not only does this ice sheet steal valuable storage space, but it often signals an underlying issue that, if ignored, can lead to bigger problems and costly repairs. The good news is that this common problem, especially in Whirlpool refrigerators, is often something you can diagnose and fix yourself with a little guidance.
Understanding the root cause is the first step toward a permanent solution. That layer of ice is not random; it’s the result of a specific malfunction within your refrigerator’s sophisticated cooling and defrosting system. Before you reach for an ice pick, let’s explore why this happens and how to resolve it for good.
You'll Learn About
Why Is There a Sheet of Ice on My Freezer Floor? Uncovering the Culprits
When you see a solid layer of ice on the bottom of your freezer, your first thought might be a faulty door seal. While a bad gasket can cause frost buildup, a solid sheet of ice on the floor almost always points to a problem with the defrost system. This system is designed to melt frost off the cooling coils periodically, and when it can’t drain properly, you get a frozen pond where your frozen vegetables should be.
This automated process is crucial for the health of your appliance. Without it, the evaporator coils would become encased in ice, blocking airflow and preventing the refrigerator from cooling effectively. When the system works correctly, you never even know it’s happening. When it fails, the evidence is impossible to ignore.
The Most Common Offender: A Clogged Defrost Drain
The single most frequent cause of ice on the freezer floor is a clogged or frozen defrost drain line. Every frost-free refrigerator has a defrost cycle that runs automatically. During this cycle, a small heater turns on and melts the frost that has accumulated on the evaporator coils, which are typically hidden behind a panel at the back of your freezer.
This melted water is then channeled into a small drain hole and through a tube to a shallow pan underneath the refrigerator, where it safely evaporates. However, if this drain hole or tube becomes blocked with food crumbs, ice shards, or other debris, the water has nowhere to go. It overflows the drain trough, runs down to the lowest point—the freezer floor—and refreezes into a solid sheet.
Beyond the Clog: Other Potential Causes
While a clog is the leading suspect, other component failures within the defrost system can also lead to excessive ice. A faulty defrost heater might not turn on, preventing the frost from melting in the first place. Similarly, a defective defrost thermostat, which regulates the temperature of the coils, can fail to signal the heater to activate, disrupting the entire cycle.
In some cases, issues with the ice maker’s water line can introduce excess water into the freezer compartment. A cracked fill tube or a malfunctioning water inlet valve can create slow leaks that contribute to the ice buildup. However, these issues are less common than a simple clogged drain.
Your Step-by-Step Guide to Fixing a Frozen Freezer Floor
Tackling this icy issue is well within the capabilities of most homeowners. With a few basic tools and a bit of patience, you can clear the blockage and restore your freezer to proper working order. Remember to always prioritize safety when working on any appliance.
This process involves manually defrosting the freezer and clearing the obstruction that is preventing water from draining. Once clear, your refrigerator’s automatic defrost cycle can take over once again, keeping the freezer floor dry and ice-free.
Safety First: Preparation is Key
Before you begin any work, unplug your refrigerator from the wall outlet. This is a critical safety step that eliminates the risk of electric shock. Once the appliance is safely disconnected, it’s time to empty the freezer completely.
Transfer all frozen goods to a cooler to keep them preserved while you work. You may also want to lay down some old towels around the base of the refrigerator to catch any water that spills during the thawing process.
Step 1: Accessing the Defrost Drain
The defrost drain hole is located inside the freezer, typically at the bottom of the back panel, right below the evaporator coils. To access it, you will likely need to remove the freezer baskets or drawers and then unscrew the interior back panel. The screws are usually quarter-inch or 5/16-inch hex heads, so a small socket set or nut driver will be useful.
Once the panel is removed, you will see the evaporator coils and, beneath them, a V-shaped trough that funnels water toward the drain hole in the center. This entire area may be encased in ice, which you will need to melt.
Step 2: Clearing the Ice and Clog (The Thaw-Out)
Your primary goal is to melt the ice on the freezer floor and, more importantly, clear the ice plug that is blocking the drain hole itself. Using a hairdryer on a low to medium heat setting is an effective way to speed up this process. Keep the hairdryer moving to avoid concentrating heat on any one spot, which could warp or melt the plastic liner of the freezer.
As the ice melts, use a sponge or towels to soak up the water. Once you can see the drain hole, focus the warm air there. To clear the internal clog, use a turkey baster or a small funnel to pour hot (not boiling) water directly into the drain opening. This will melt any residual ice that is trapped deep inside the tube.
For stubborn clogs, a piece of stiff but flexible wire or a small tube brush can be gently inserted into the drain to dislodge debris. Be careful not to puncture the drain tube. Continue flushing with hot water until it flows freely.
Step 3: Verifying the Drain is Clear
To confirm the clog is gone, pour a small cup of water into the drain trough. It should now flow quickly down the drain. To be absolutely sure, locate the drain pan under the refrigerator (you may need to remove the front kick plate or access a rear panel) and check to see that the water has drained into it. If it has, your work is done.
Proactive Measures: How to Prevent Future Ice Buildup
Fixing the problem is great, but preventing it from happening again is even better. A few simple maintenance habits and environmental considerations can help ensure your freezer’s defrost system runs smoothly for years to come, saving you from future headaches and potential food spoilage.
These preventative steps are simple and focus on maintaining clear pathways for both air and water within your appliance. Proper care can significantly extend the life and efficiency of your refrigerator.
Regular Maintenance is Your Best Defense
Keep the interior of your freezer clean and free of loose food particles. Crumbs and other small debris are the primary culprits behind drain clogs. Periodically wipe down the bottom of the freezer and ensure that no food wrappers or bags are blocking the drain hole or any air vents.
It’s also a good practice to flush the drain line annually. Mix a solution of one tablespoon of baking soda in two cups of warm water and use a turkey baster to pour it down the defrost drain. This helps dissolve any buildup and keeps the drain path clear.
The Hidden Culprit: Your Kitchen’s Humidity
High ambient humidity can force your refrigerator’s defrost system to work overtime. When you open the freezer door, moist air rushes in, condenses, and freezes on the coils, creating more frost for the system to melt. A kitchen with poor ventilation from frequent boiling or steaming can contribute to this problem.
Using an exhaust fan while cooking can help manage humidity levels. Interestingly, poor home ventilation can sometimes manifest in unexpected ways, such as a wall that is hot to the touch near appliances, which could indicate a need for better overall airflow in your home, benefiting all your appliances.
Leveling Your Refrigerator for Optimal Drainage
An often-overlooked factor is the level of the refrigerator itself. Most refrigerators are designed to have a slight backward tilt. This uses gravity to help the doors swing shut and, just as importantly, encourages water to flow properly toward the defrost drain at the back of the unit.
Check your appliance’s user manual for instructions on how to adjust the leveling feet at the front. A small adjustment to raise the front of the refrigerator can make a significant difference in ensuring proper drainage and preventing water from pooling and freezing.
When to Call a Professional Appliance Technician
While a clogged drain is a common DIY fix, some issues require professional expertise. If you’ve thoroughly cleared the drain line and the ice returns within a few weeks, it likely indicates a failure in another part of the defrost system, such as the heater or thermostat. These repairs are more complex and are best left to a trained technician.
Recognizing the signs that point to a more serious problem can save you time and prevent further damage to your appliance. It’s important to know when a problem is beyond a simple cleaning and requires a professional diagnosis.
| Symptom | Possible Cause | Recommended Action |
|---|---|---|
| Ice sheet on freezer floor (first occurrence) | Clogged or frozen defrost drain | DIY Fix: Thaw and flush the drain line. |
| Ice returns quickly after clearing the drain | Persistent clog or failing defrost component | Consider Professional: Re-clean drain; if problem persists, call a technician. |
| Heavy frost buildup on evaporator coils | Faulty defrost heater or thermostat | Professional Repair: These components require testing and replacement by a pro. |
| Freezer is not cooling properly | Frosted-over coils blocking airflow | Professional Repair: Indicates a significant defrost system failure. |
| Loud or unusual buzzing/clicking noises | Failing defrost timer or other electrical component | Professional Repair: Electrical issues should be handled by an expert. |
Deeper System Checks for the Advanced DIYer
For those comfortable with more technical repairs, further investigation can pinpoint the exact faulty component. This often involves using a multimeter to test for electrical continuity in parts like the defrost heater and thermostat. Always ensure the refrigerator is unplugged before attempting these checks.
Properly functioning components are essential for the overall health of your refrigerator. A failure in one area can put stress on another, much like how a blockage in a dishwasher’s macerator can impact its cleaning performance. Ensuring each part works correctly is key to a long-lasting appliance.
Inspecting the Defrost System Components
The defrost heater, a delicate tube located along the evaporator coils, can be visually inspected for black marks or breaks in the filament. The defrost thermostat, a small disc-shaped device clipped to the coils, can be tested with a multimeter for continuity when it is cold. A lack of continuity indicates it needs to be replaced.
These components are critical for the automatic defrost process. Their failure is a common reason for professional service calls, but replacement parts are often readily available for those willing to perform the repair.
Checking the Condenser Coils and Fan
While not directly related to the defrost drain, dirty condenser coils can make your refrigerator work harder and less efficiently, which can sometimes aggravate other underlying issues. The condenser coils, located either on the back or underneath the unit, should be cleaned of dust and pet hair annually.
Maintaining all systems in your home, from your refrigerator’s coils to ensuring you properly seal an open attic, contributes to an efficient and well-functioning living space. A holistic approach to home maintenance prevents small issues from becoming large ones.
Conclusion: A Frost-Free Future for Your Freezer
Discovering a sheet of ice on your Whirlpool refrigerator’s freezer floor is an inconvenience, but it’s rarely a sign of a catastrophic failure. More often than not, the culprit is a simple clog in the defrost drain—a problem that can be resolved with basic tools and a bit of effort. By following a methodical approach to thaw the ice, clear the drain, and take simple preventative measures, you can restore your freezer’s proper function.
Taking the time to understand and address this issue not only saves you the cost of a service call but also empowers you as a homeowner. A well-maintained appliance is an efficient appliance, and keeping your freezer’s drainage system clear is a crucial step in ensuring it serves you reliably for years to come.