Where to Buy Clivia Potting Mix: Unlock Blooms & Stop Root Rot
You have a stunning Clivia plant, a true gem in your home garden. The problem is, you’re living in constant fear of a single mistake causing its vibrant green leaves to yellow and its fleshy roots to turn to mush. Finding the right soil feels like a quest with no clear destination.
Most garden centers don’t carry a bag specifically labeled “Clivia Potting Mix.” This uncertainty leads to inaction or, worse, choosing the wrong soil, which is the fastest way to kill these magnificent plants. The secret isn’t finding a magic bag, but understanding what your Clivia’s roots truly crave.
You'll Learn About
Why Your Clivia Hates Standard Potting Soil
To solve the soil puzzle, you must first understand the nature of the Clivia. In their native environment in Southern Africa, they don’t grow in deep, dense soil. They are often found in shaded, rocky areas or growing in the humus-rich leaf litter on the forest floor.
Their roots are thick, fleshy, and designed for anchoring and storing water, but they absolutely require oxygen to thrive. Standard potting mixes, which are typically heavy on peat moss, become dense and compacted when watered. This suffocates the roots, cutting off their air supply and creating a breeding ground for fungal diseases.
This is the direct cause of root rot, the number one killer of Clivias. When the soil stays wet for too long, the roots can no longer absorb water or nutrients, and the plant slowly dies from the bottom up, no matter how much you care for it.
The Anatomy of a Clivia Root System
Unlike plants with fine, fibrous roots that seek out moisture, Clivia roots are built for resilience and aeration. They are closer in nature to orchid roots than to the roots of a typical houseplant. They need to be surrounded by air pockets within their potting medium.
This structure is why they are so susceptible to overwatering and poor drainage. Dense, soggy soil is their worst enemy. The goal is to replicate their natural, airy, and fast-draining environment within the confines of a pot.
The Search for the Perfect Pre-Made Clivia Mix
While a dedicated “Clivia Mix” is rare, you can find suitable pre-made options if you know exactly what to look for. The key is to ignore the name on the front of the bag and instead focus on the ingredients and texture described. You are looking for something chunky, airy, and fast-draining.
Big Box Stores vs. Specialty Nurseries
At large home improvement stores, you will likely not find a perfect match off the shelf. However, you can find good base mixes to amend. Look in the orchid or succulent sections for bags of orchid bark mix or cactus and succulent soil.
Orchid mix is often an excellent starting point because it’s primarily bark, which provides the structure and air pockets Clivias need. Cactus mix is designed for sharp drainage, but can sometimes be too fine. A blend of both can work well in a pinch.
Specialty nurseries or local garden centers are often a better bet. Their staff may have more specific knowledge and carry higher-quality, chunkier mixes designed for epiphytes or aroids, which share similar soil needs to Clivias.
Top Online Retailers and What to Look For
The internet is your best resource for high-quality, specialized potting media. Look for retailers that cater to orchid, bonsai, or rare plant enthusiasts. When purchasing from new vendors, it’s always wise to ensure their credibility, much like one might ask is supplyhouse com legit before placing a large order for home supplies.
Search for terms like “chunky aroid mix,” “epiphyte potting mix,” or “premium orchid potting media.” These mixes typically contain a balanced blend of bark, perlite, charcoal, and other amendments that are perfect for Clivias.
Decoding Product Labels: What to Avoid
Be wary of any mix that lists “peat moss” or “coir” as its first ingredient without also listing significant chunky amendments like bark or pumice. Avoid products described as “moisture-retaining” or “water-absorbent.” These are the opposite of what your Clivia needs to thrive.
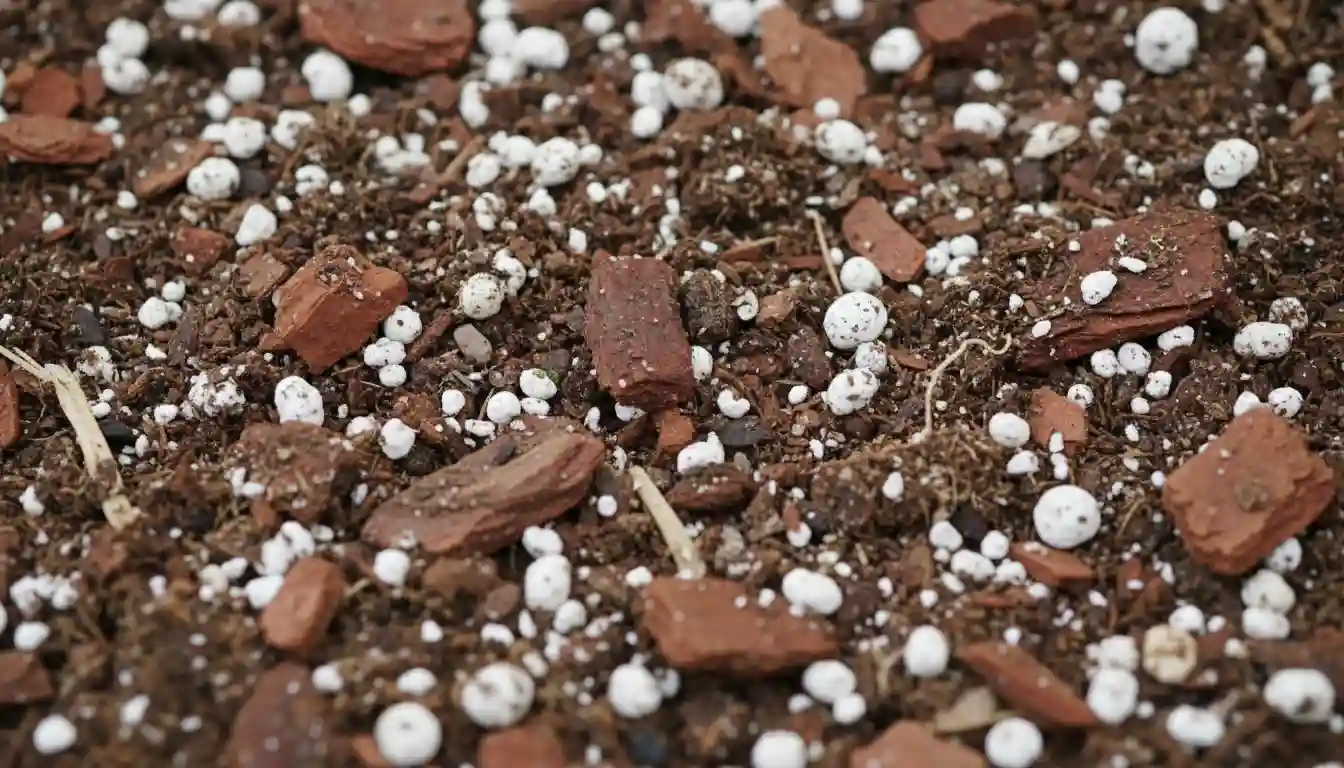
A good label will highlight ingredients like fir bark, perlite, pumice, horticultural charcoal, or coco husk chips. These are all signs of a well-aerated and appropriate mix for your plant.
The Superior Solution: Crafting Your Own Custom Clivia Potting Mix
The most effective way to guarantee your Clivia’s health and promote spectacular blooms is to create your own potting medium. This approach allows you to control every component, ensuring optimal drainage, aeration, and moisture balance. It is far less intimidating than it sounds and is the preferred method of experienced growers.
By making your own mix, you move from being a plant keeper to a true plant cultivator, fine-tuning the environment to perfection. This control is the key to unlocking the full potential of your Clivia.
The Essential Building Blocks of a Clivia-Friendly Mix
A successful Clivia mix is a simple combination of a few key ingredients, each serving a critical purpose. You are balancing physical structure with slight moisture retention and maximum airflow.
The primary component should always be a structural element like bark. This provides the large air pockets that the fleshy roots need to breathe and prevents compaction over time.
Next, you need inorganic materials for aeration and drainage. These components don’t break down and ensure the mix remains light and airy for years. Finally, a small amount of an organic, moisture-retentive element can be added to prevent the mix from drying out too quickly.
Proven Clivia Potting Mix Recipes for Success
Starting with a proven recipe removes the guesswork. The table below offers several trusted formulas tailored to different environments and levels of grower experience. You can adjust the ratios slightly based on the availability of ingredients and your specific home conditions.
| Recipe Name | Best For | Structural Base (Bark) | Aeration Amendment | Organic Binder | Notes |
|---|---|---|---|---|---|
| The Classic Clivia Mix | Beginners & General Use | 5 parts Medium Orchid Bark | 3 parts Coarse Perlite or Pumice | 1 part Coco Coir or Peat Moss | A reliable, all-purpose blend that balances drainage and moisture perfectly. |
| The Air-Flow Maximizer | Over-waterers or Humid Climates | 6 parts Medium Orchid Bark | 2 parts Coarse Perlite & 2 parts Horticultural Charcoal | None | This ultra-chunky mix is almost impossible to overwater. Charcoal helps to purify the mix. |
| The Moisture-Retentive Blend | Dry Climates or Under-waterers | 4 parts Medium Orchid Bark | 3 parts Coarse Perlite or Pumice | 2 parts High-Quality Potting Soil | Provides a bit more water retention without sacrificing essential airflow. |
| The Epiphyte Enthusiast Mix | Advanced Growers | 5 parts Fir Bark | 2 parts Pumice | 1 part Sphagnum Moss & 1 part Charcoal | Mimics the natural detritus Clivias grow in, offering complex texture and nutrients. |
Where to Source Your DIY Ingredients
Finding the individual components for your custom mix is easier than you might think. Local garden centers and nurseries are a great starting point for orchid bark, perlite, and potting soil. For harder-to-find items like coarse pumice or horticultural charcoal, you may need to look at specialty stores.
Hydroponics shops, bonsai supply stores, and even some high-end pet stores (in the reptile section) are excellent sources for these amendments. Online retailers that specialize in rare plants or orchid supplies will have everything you need in various sizes and grades.
Step-by-Step Guide to Repotting Your Clivia
Repotting can be a source of anxiety, but it is a necessary step for the long-term health of your plant. Clivias prefer to be slightly root-bound and do not need frequent repotting, typically only every two to three years. Approaching the process with a gentle hand and a clear plan ensures success.
When and Why to Repot
The most obvious sign that a Clivia needs a new pot is when you see a significant number of roots emerging from the drainage holes. Other indicators include water running straight through the pot without seeming to wet the soil, or the plant physically pushing itself up and out of the pot.
The ideal time to repot is in the spring or early summer, right after the plant has finished its blooming cycle. This gives it the entire growing season to establish itself in its new home before its winter rest period.
The Repotting Process: A Gentle Approach
First, gather your materials: your new potting mix, a pot that is only one to two inches wider in diameter than the current one, and a clean workspace. Having everything ready minimizes the time the plant’s roots are exposed to the air.
Gently turn the current pot on its side and slide the plant out. If it is stuck, you can tap the sides of the pot to loosen it. Avoid pulling on the leaves; instead, support the base of the plant as you guide it out.
Next, carefully inspect the roots. Healthy Clivia roots are white and firm. Using sterile snips or scissors, trim away any roots that are brown, black, or mushy. Gently tease apart any circling roots at the bottom of the root ball.
Add a small layer of your new mix to the bottom of the new pot. Place the plant inside, ensuring the base of the leaves is at the same level it was in the old pot. This is critical for plant health, just as careful planning for things like the placement of mulch against a brick house is vital to prevent moisture damage outdoors.
Finally, backfill around the root ball with your fresh mix, gently tapping the pot to help the mix settle around the roots. Do not pack it down tightly. Most growers recommend waiting a few days before watering to allow any trimmed roots to heal, which further prevents the risk of rot.
Beyond the Soil: Critical Clivia Care Tips
The perfect potting mix is the foundation of good Clivia care, but it is not the entire structure. To ensure your plant thrives and produces its signature spectacular flowers, you must also provide the right light, water, and nutrients. These elements work in concert with the soil to create a healthy plant.
Watering Wisdom: The #1 Clivia Killer
Improper watering is the most common mistake. Clivias must be allowed to dry out thoroughly between waterings. The best method is to drench the pot completely until water runs freely from the drainage holes, then do not water again until the top two to three inches of the potting mix are bone dry.
You can test this by inserting your finger into the mix or by learning the weight of the pot when it is fully dry versus fully watered. When in doubt, wait another day. A convenient setup with a deep basin makes this drenching process easier; ensuring the proper laundry sink rough in height can make this chore more comfortable and prevent back strain.
Light and Temperature Requirements
Clivias thrive in bright, indirect light. A spot near an east-facing window is often perfect, providing gentle morning sun. Direct, hot afternoon sun will scorch their leaves, leaving permanent burn marks.
To encourage blooming, Clivias need a winter rest period. Starting in the fall, move the plant to a cooler location (around 50-55°F or 10-13°C) and reduce watering significantly for about 10-12 weeks. This cool, dry rest is the trigger that initiates flower stalk development.
Fertilizing for Fabulous Flowers
During the active growing season (spring and summer), feed your Clivia with a balanced liquid fertilizer, diluted to half-strength, every two to four weeks. Look for a fertilizer where the N-P-K numbers are relatively even, such as 10-10-10 or 20-20-20.
Stop fertilizing during the fall and the winter rest period. Resume feeding only after you see a new flower stalk beginning to emerge from the base of the leaves in late winter or early spring.
Your Path to a Thriving Clivia
The journey to finding the perfect Clivia potting mix ends not with a specific brand, but with a new understanding. The health and beauty of your plant are directly tied to the airy, well-draining environment you create for its roots. It is a simple need that is too often overlooked.
You are now equipped with the knowledge to either confidently select a suitable pre-made mix or, even better, to craft a bespoke blend tailored to your plant’s exact needs. By prioritizing aeration and proper drainage, you are no longer just hoping your Clivia survives; you are setting the stage for it to flourish for decades to come, producing its breathtaking display of flowers year after year.