Floor Drain Dilemma? Ultimate Guide to Finishing a Basement
You’re transforming your basement into a beautiful, functional living space, but a cast-iron circle in the middle of the floor threatens to ruin the aesthetic: the floor drain. This single feature presents a major roadblock for many homeowners. What do you do with a floor drain when finishing a basement?
Ignoring it isn’t an option, and the wrong choice can lead to catastrophic water damage, mold growth, and even dangerous sewer gas leaks. This guide provides a definitive plan for handling your basement floor drain, ensuring your renovation is safe, compliant, and built to last.
You'll Learn About
First Things First: Why You Can’t Just Cover It
It’s tempting to simply lay your new flooring directly over the drain and forget it exists. This is a critical mistake. That drain is your basement’s primary defense against unexpected water. Its purpose is to safely channel away water from plumbing leaks, appliance failures (like a water heater), or external flooding.
Permanently sealing a floor drain is not only dangerous but often violates local building codes. Without a functional drain, any water that enters your newly finished basement has nowhere to go. The result is costly damage to flooring, drywall, and furniture, creating the perfect environment for mold and mildew to thrive.
Assess Your Risk: Understanding Your Drain’s Job
Before deciding on a course of action, understand why the drain was installed. Most basement floor drains serve one of two purposes: to manage potential indoor water spills or to relieve hydrostatic pressure from groundwater. If you notice signs of moisture on the walls or see water coming through floorboards during heavy rain, your drain is likely essential for groundwater management.
Any water accumulation can lead to problems, even with waterproof flooring. Homeowners often ask why there is water under Lifeproof flooring, and the answer is often condensation or a leak with no escape route. Keeping the drain functional provides that crucial escape path.
The Smart Solutions: Integrating Your Floor Drain Seamlessly
You don’t have to choose between a functional drain and a beautiful floor. Modern solutions allow you to have both. Here are the best professional-approved strategies for managing your basement floor drain.
Option 1: Keep and Integrate the Drain (Highly Recommended)
This is the safest and most common approach. The goal is to keep the drain fully functional while making it blend in with your new floor. This involves a few key steps.
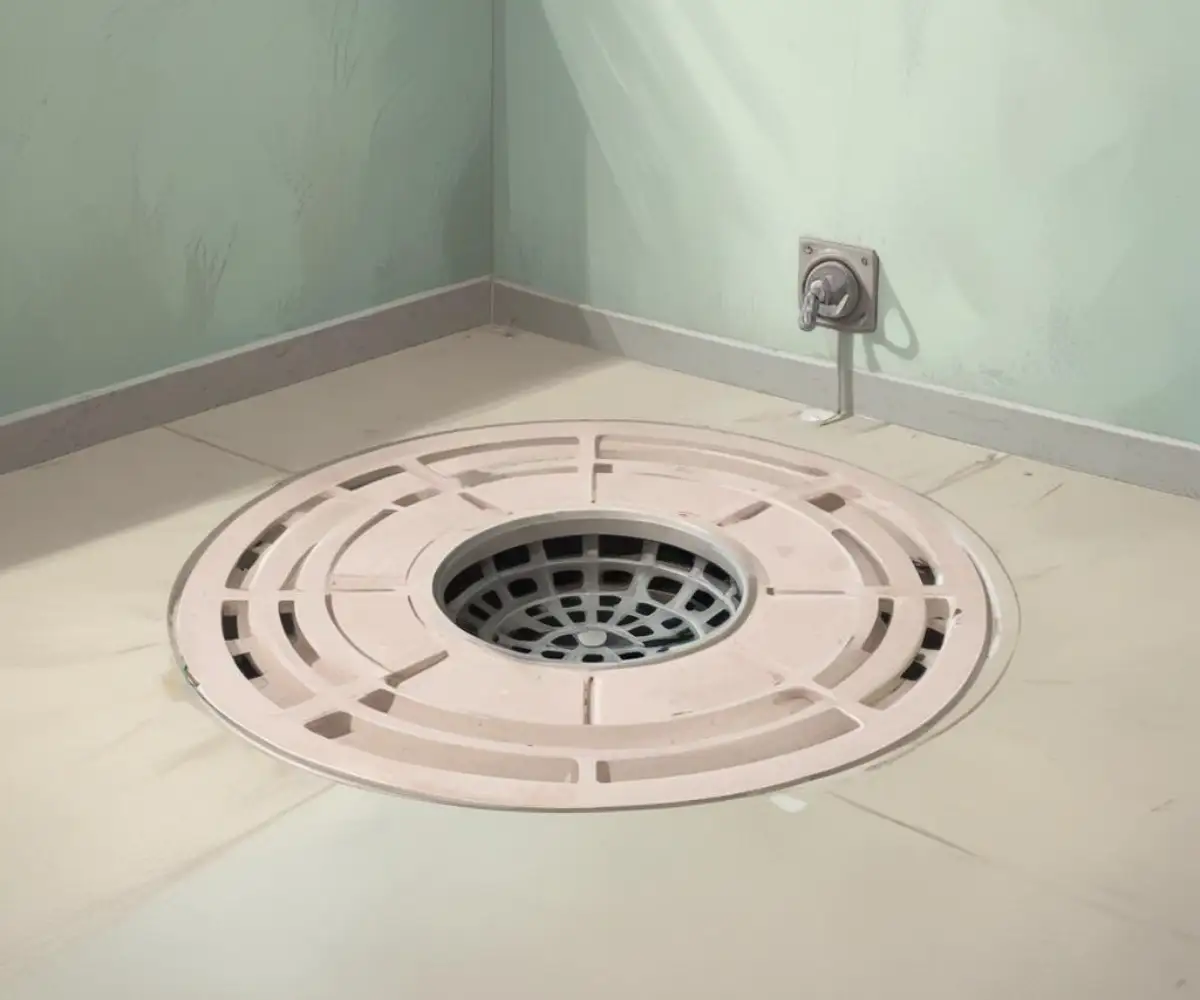
Extend the Drain to Match the New Floor Height. When you add underlayment and flooring, the drain opening will become recessed. A plumber can easily install an extension to bring the drain flush with the new finished floor height, preventing a tripping hazard and ensuring water can enter it freely.
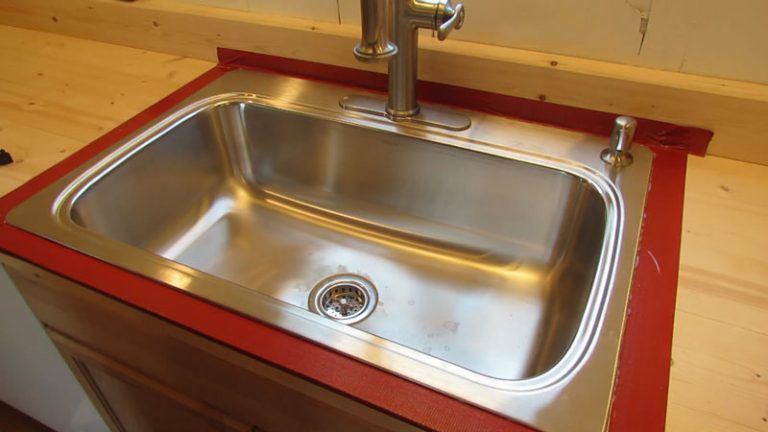
Install a High-Quality, Finished Drain Cover. Ditch the old, rusty grate for a modern, aesthetically pleasing cover. You can find options in various finishes like stainless steel, brass, or nickel that complement your flooring. Some recessed covers are even designed to hold a piece of your flooring material (like tile), making them virtually invisible.
Upgrade for Ultimate Protection: Install a Backwater Valve
While renovating is the perfect time for a critical safety upgrade: a backwater valve. This device is installed in the drain pipe and acts as a one-way gate. It allows water to flow out but automatically closes if the municipal sewer system backs up, preventing sewage from flooding your basement.
A sudden sewage backup can destroy a finished basement in minutes. If you’ve ever heard a basement floor drain gurgling, it can be a sign of a partial blockage or pressure from the main sewer line—a warning that a backwater valve could prevent a disaster.
Option 2: Relocate the Drain (Complex but Possible)
If the drain is in a truly inconvenient location, such as the middle of your planned home theater, relocation is an option. However, this is a significant undertaking. It involves breaking up the concrete floor, re-routing the plumbing, and pouring new concrete.
This job is not for the average DIYer and requires a licensed plumber. While costly, it may be worthwhile for achieving the perfect layout in a high-end basement renovation. Moving the drain to a utility room or under a closet is a common strategy.
The High-Risk Gamble: Eliminating the Drain
In very rare circumstances, eliminating the drain might be considered. This should only be done after a thorough professional assessment confirms that your basement has zero risk of water intrusion from any source. Never permanently seal a drain without consulting a plumber and your local building department.
Even if you’ve never seen water in your basement, unexpected events can happen. A burst washing machine hose or a failed water heater can release dozens of gallons of water in minutes. Without a drain, that water will quickly spread and cause extensive damage.
Choosing the Right Flooring to Work with Your Drain
The type of flooring you choose is critical for a long-lasting, moisture-resistant basement. Always opt for waterproof or water-resistant materials.
Recommended Basement Flooring Options
Luxury Vinyl Plank (LVP) or Tile (LVT): LVP and LVT are 100% waterproof, durable, and available in countless styles. They can be installed as a “floating floor,” and cutting a clean opening for the drain is straightforward.
Ceramic or Porcelain Tile: Tile is completely impervious to water damage, making it an excellent choice. The floor can be properly sloped toward the drain to ensure any water is directed where it needs to go.
Epoxy Floor Coatings: A seamless and highly durable option, epoxy creates a waterproof barrier over your concrete. It’s easy to clean, and integrating the drain is simple.
Some modular tile systems, like perforated tiles, are designed to be installed directly over a drain, allowing water to pass through freely while providing a solid, usable surface.
Flooring to Avoid in a Basement
Avoid using organic materials that are susceptible to moisture damage. Solid hardwood, laminate with a fiberboard core, and wall-to-wall carpeting are all poor choices for below-grade spaces. They can trap moisture, leading to rot, mold, and costly replacement.
The Hidden Danger No One Talks About: Trap Evaporation and Sewer Gas
Every drain, including your basement floor drain, has a “P-trap.” This U-shaped section of pipe is designed to hold a small amount of water, creating a seal that blocks sewer gas from entering your home. In an unfinished basement, this water seal is maintained by ambient moisture.
However, when you finish a basement, you install HVAC and dehumidifiers, creating a much drier environment. This can cause the water in the P-trap to evaporate, breaking the seal. The result is a foul, rotten-egg smell and the infiltration of potentially harmful gases like methane and hydrogen sulfide.
To prevent this, you must ensure the trap stays wet. The easiest method is to periodically pour a gallon of water down the drain every month or two. For a permanent solution, a plumber can install a trap seal primer, a device that automatically releases a small amount of water into the drain to maintain the seal.
| Drain Solution | Cost | Complexity | Safety & Compliance | Best For |
|---|---|---|---|---|
| Keep and Integrate | Low | Low to Moderate | Excellent (Highest Compliance) | Virtually all basement finishing projects. |
| Add a Backwater Valve | Moderate | Moderate (Professional Recommended) | Superior (Protects Against Backups) | Homes in areas with heavy rainfall or older sewer systems. |
| Relocate Drain | High | High (Professional Required) | Excellent (If Done to Code) | When the drain’s location severely compromises the room’s design. |
| Eliminate Drain | Low | Low | Poor (High Risk & Likely Code Violation) | Only in extremely rare cases with professional verification of zero water risk. |
Your Floor Drain: A Final Checklist for Success
Your basement floor drain doesn’t have to be an obstacle. By treating it as an essential safety feature, you can protect your investment and create a beautiful space with peace of mind. A smart plan is always better than a costly repair.
Before you lay that first piece of flooring, make a strategic decision. Integrating your drain is the safest, most reliable, and code-compliant solution for a dry, healthy, and stunning finished basement. Don’t cover up a problem; build a solution that lasts a lifetime.
“`html
Frequently Asked Questions
What should I do with my floor drain when finishing my basement?
You should ensure the drain remains accessible and functional as it is a crucial safety feature to prevent flooding. Options include extending the drain pipe to be level with the new flooring and installing a cover that complements the finished floor. Do not permanently seal the drain unless a professional plumber has confirmed it is obsolete.
Is it okay to cover a basement floor drain?
Permanently covering a floor drain is not recommended as it can lead to flooding and water damage in the event of a leak or water seepage. These drains are often required by building codes to safely remove unexpected water accumulation. Always maintain access to the drain for maintenance and emergencies.
Are floor drains required in a finished basement?
Many local building codes mandate at least one floor drain in a basement to prevent flooding and water damage. Even if your basement is finished into a living space, a drain is a necessary safety measure. It’s important to check your local plumbing and building codes before altering or removing a drain.
How can I make a floor drain look better in my finished basement?
To improve its appearance, you can install a decorative grate or a recessed drain cover that matches your new flooring. These covers come in various styles and finishes. If you’re adding thicker flooring, a plumber can extend the drain sleeve so it sits flush with the new surface, preventing a trip hazard.
What if my basement floor drain starts to smell?
A bad odor from a floor drain is typically caused by the water in its trap evaporating, allowing sewer gases to escape. To resolve this, pour about a gallon of water into the drain to refill the trap and block the gases. If the odor persists, there may be a clog that needs to be cleared.
“`