Conduit Size for 10/2 Wire? Avoid This Critical Mistake
Starting an electrical project can be a rewarding experience, but it comes with critical safety and code requirements. One of the most common questions that trips up even seasoned DIYers is selecting the correct conduit size for their wiring. Choosing the wrong size isn’t just an inconvenience; it can be a serious fire hazard and a code violation.
The core of the problem lies in understanding the relationship between the wire’s diameter, the conduit’s internal space, and the National Electrical Code (NEC) standards. This guide will demystify the process, ensuring your project is safe, compliant, and successful.
You'll Learn About
Why Conduit Sizing is a Safety Imperative
Electrical conduit serves as a protective raceway for your wiring. Its primary job is to shield wires from physical damage, moisture, and chemical vapors. However, it also plays a crucial role in heat dissipation. When electricity flows through a wire, it generates heat. If wires are packed too tightly into a conduit, this heat cannot escape efficiently, leading to the degradation of the wire’s insulation and creating a significant risk of an electrical fire.
The NEC establishes strict rules for “conduit fill,” which is the percentage of the conduit’s interior space that can be occupied by wires. These rules are designed to prevent overheating and to make the wires easier to pull through the conduit without causing damage. For this reason, simply picking a conduit that looks big enough is a dangerous guessing game.
Understanding the Wire: What is 10/2 Cable?
Before selecting a conduit, it’s essential to understand the wire you’re working with. The term “10/2” refers to a non-metallic sheathed cable, often known by the brand name Romex. Let’s break down the name:
- 10: This indicates the gauge (thickness) of the individual conducting wires. A 10-gauge wire is thicker than a 12-gauge or 14-gauge wire and can safely handle more amperage, typically up to 30 amps.
- 2: This means there are two insulated conductors inside the sheath (a black “hot” wire and a white “neutral” wire).
- “With Ground”: Though not always stated in the “10/2” name, this cable also contains a bare copper or paper-wrapped ground wire. This means a 10/2 cable actually contains three wires in total.
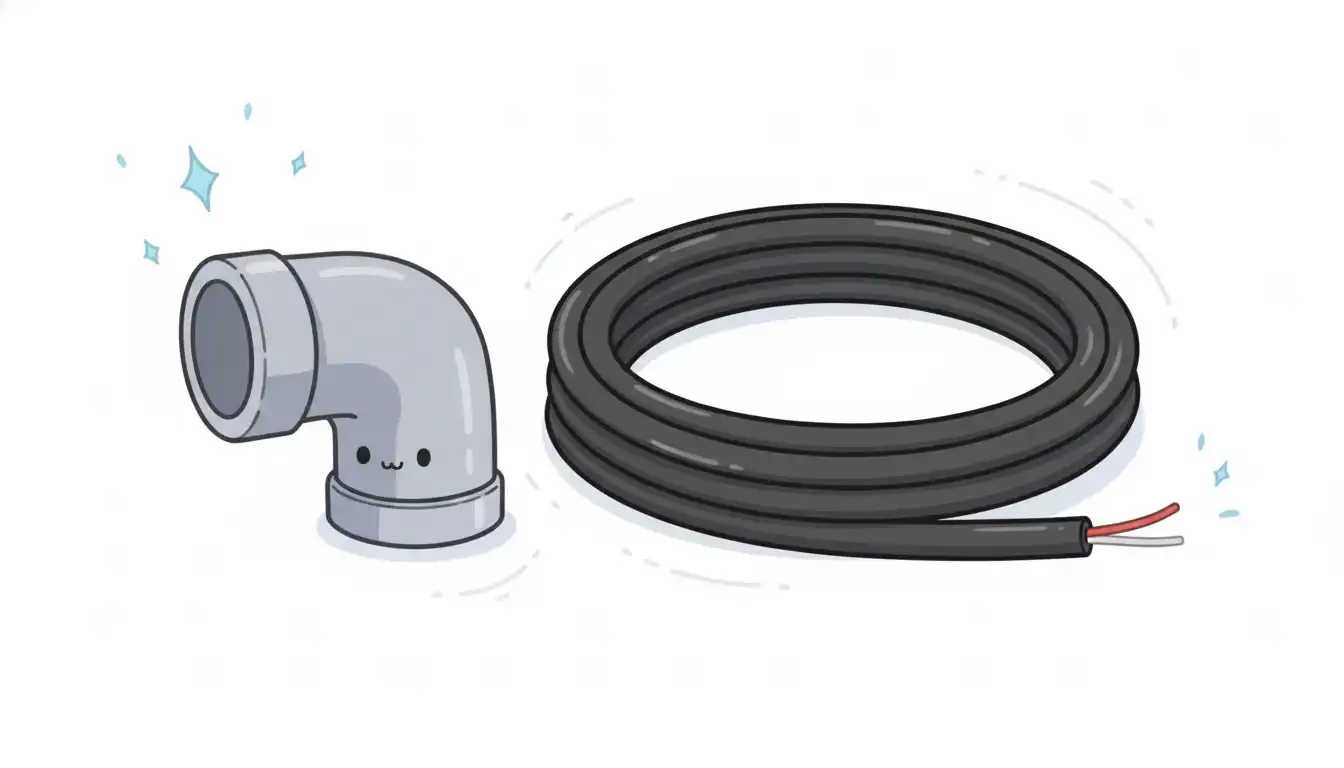
Because the 10/2 cable is a bundled unit with an outer plastic sheath, it has an irregular, often oval shape. This is a critical detail, as it takes up more space and can be more difficult to pull through conduit than individual wires of the same gauge.
Common Types of Conduit for Residential Wiring
The type of conduit you use is just as important as the size. Your choice will depend on the location of the installation (indoors, outdoors, underground) and whether it will be exposed or concealed. Each type has different properties and fill capacities.
Electrical Metallic Tubing (EMT)
Often called “thin-wall” conduit, EMT is a lightweight and affordable steel conduit used for indoor applications. It’s easy to bend and cut, making it a popular choice for protecting exposed wiring in areas like basements, garages, and workshops. It is not suitable for wet or corrosive environments.
Rigid Metal Conduit (RMC) and Intermediate Metal Conduit (IMC)
These are heavy-duty, thick-walled steel conduits that offer the highest level of physical protection. RMC and IMC can be used in almost any application, including outdoors and underground, and are common in commercial and industrial settings. They provide excellent structural protection for wiring.
Polyvinyl Chloride (PVC)
PVC is a plastic conduit that is lightweight, inexpensive, and resistant to corrosion and moisture. It’s an excellent choice for outdoor and underground installations. The most common types are Schedule 40, suitable for most residential applications including burial, and Schedule 80, which has a thicker wall for areas where it might be subject to more significant physical abuse.
Flexible Metal Conduit (FMC) and Liquidtight Flexible Metal Conduit (LFMC)
Often called “Greenfield” or “flex,” FMC is used for short, exposed runs where flexibility is needed, such as connecting to motors or light fixtures that may vibrate. For wet or outdoor locations, LFMC is used, which is a type of FMC with a waterproof plastic jacket over the metal core. Its flexibility makes it ideal for tight spaces and complex routing.
The Definitive Answer: Sizing Conduit for 10/2 Wire
So, what size conduit do you actually need for 10/2 wire? For a single 10/2 NM-B (Romex) cable, a 1/2-inch conduit is typically sufficient for all common conduit types. However, the situation becomes more complex when you need to run multiple cables through the same conduit.
The NEC has specific rules against bundling multiple sheathed cables like Romex in a conduit for long distances due to heat buildup. In many cases, it is preferable to run individual insulated wires (like THHN/THWN) inside the conduit instead of the entire 10/2 sheathed cable. This allows for a higher fill capacity and easier pulling. However, for short sections of conduit used for physical protection (a “sleeve”), running the sheathed cable is common practice.
The table below provides a general guideline for the maximum number of 10/2 NM-B cables you can run through different sizes of common conduit. Always consult the NEC and your local electrical codes before starting work.
| Conduit Size (Trade Size) | Maximum Number of 10/2 NM-B Cables (Approximate) | Recommended Use Case |
|---|---|---|
| 1/2″ | 1 | Ideal for protecting a single cable run. |
| 3/4″ | 2 | Recommended for two cables to allow for easier pulling. |
| 1″ | 4 | Suitable for multiple cable runs, but consider individual wires. |
| 1 1/4″ | 6 | For complex runs; pulling sheathed cable can be very difficult. |
The “Future-Proofing” Strategy Most People Miss
Here is a piece of advice that can save you immense frustration down the road. If you are even slightly unsure, or if there is any chance you might need to add another circuit in the future, always opt for the next size up in conduit. The cost difference between a 1/2-inch and a 3/4-inch conduit is minimal, but the labor to replace an undersized conduit is significant.
A larger conduit makes the initial wire pull substantially easier, reducing the risk of damaging the wire’s sheathing. More importantly, it provides the space to add another cable later without having to install a brand-new conduit run. This is a simple step that adds tremendous value and foresight to your project.
Step-by-Step Guide to a Safe Installation
Follow these steps to ensure you choose and install your conduit correctly and safely.
Step 1: Plan Your Route
Map out the exact path the conduit will take. Measure the total length required and count the number of bends. The NEC limits the total degrees of bend in a single run of conduit to 360 degrees between pull points (like junction boxes) to prevent the wire from binding during pulling.
Step 2: Choose Your Conduit Type
Based on the location, select the appropriate conduit material. Use PVC for underground or wet locations. Use EMT for protected indoor locations. Choose RMC or Schedule 80 PVC if the conduit will be exposed to potential physical damage.
Step 3: Select Your Conduit Size
Determine how many cables you need to run through the conduit. Use the table above as a starting point. If you are running more than two 10/2 cables, it is strongly recommended to use a junction box and switch to individual THHN/THWN conductors inside the conduit for the remainder of the run. This approach provides better heat dissipation and is often required by code.
Step 4: Cut and Prepare the Conduit
Cut your conduit to length using a hacksaw, pipe cutter, or PVC cutter. After cutting, it is absolutely critical to deburr the inside edge of the conduit. Any sharp edges left from cutting can easily strip the insulation off the wires as you pull them through, creating a dangerous short circuit. Use a deburring tool or a simple file to smooth the inside edge completely.
Step 5: Assemble and Secure the Conduit
Assemble the conduit run using the appropriate fittings, connectors, and couplings. Secure the conduit with straps at intervals specified by the NEC (typically every 10 feet for EMT and every 3 feet for PVC, with a strap within 3 feet of each box or fitting). Proper support prevents the conduit from sagging and protects the wiring system.
Step 6: Pull the Wires
If the run is short and straight, you may be able to push the 10/2 cable through the conduit. For longer runs or those with bends, you will need to use a fish tape. Push the fish tape through the empty conduit, securely attach the wire to the end, and pull it back through. Using a wire-pulling lubricant can make this process much easier.
Common and Costly Mistakes to Avoid
Many well-intentioned electrical projects go wrong because of a few common errors. Avoiding these pitfalls is key to a safe and compliant installation.
- Overstuffing the Conduit: The most common mistake is trying to force too many wires into a small conduit. This violates the NEC fill-rate, creates a heat hazard, and makes pulling the wires nearly impossible without causing damage.
- Using Indoor Fittings Outdoors: Never use fittings designed for dry locations (like standard EMT set-screw connectors) in a wet or outdoor environment. Always use watertight or raintight fittings to prevent water from entering the conduit and compromising the wiring.
- Forgetting Expansion Joints: PVC conduit expands and contracts with temperature changes. For long, straight runs of PVC, you must install expansion joints to accommodate this movement and prevent the conduit from buckling or pulling apart.
- Ignoring Overall System Protection: Properly sized conduit and wiring are just one part of a safe electrical system. To protect your home’s sensitive electronics, it’s wise to use a tool like a surge protector calculator to ensure your entire system is safeguarded against voltage spikes.
Completing major home projects, from electrical work to garage organization, brings a great sense of accomplishment. Once the power is safely run to your workshop, you can focus on other tasks, like ensuring your outdoor equipment is ready for the season. Sometimes the simplest problems, like when your snowblower wheels are locked, can bring everything to a halt, reminding us that every component of home maintenance is important.
And as you upgrade your home’s infrastructure, you may eventually turn your attention to the appliances that connect to it. Making informed decisions, such as by researching major investments like a Jenn-Air vs Monogram range, ensures your home is not only safe but also functional and tailored to your needs.