What Size Auger for 4×4 Posts? The Answer Isn’t What You Think
You have your 4×4 posts, a powerful earth auger, and a weekend cleared for your new fence or deck. The critical question arises: what size auger bit will deliver a perfectly stable post? Choosing incorrectly is a common mistake that leads to wobbly fences, wasted concrete, and immense frustration. Getting this single detail right is the bedrock of a successful project.
The problem isn’t just about fitting the post in the hole; it’s about creating a solid foundation that will withstand wind, weather, and time. A hole that’s too small leaves no room for adjustment or sufficient backfill. A hole that’s excessively large wastes materials and can compromise the structural integrity just as easily.
You'll Learn About
Why the Right Auger Size is Non-Negotiable for 4×4 Posts
Selecting the correct auger diameter is about more than convenience; it’s a foundational step for ensuring the long-term stability and safety of your structure. Whether it’s a fence facing down high winds or a deck supporting your family, the post’s footing is paramount. A poorly sized hole is the first step toward premature failure.
An undersized hole creates a cascade of problems. It provides insufficient space for the concrete or gravel needed to form a strong collar around the post. This leads to posts that lean, sag, or shift over time, turning your perfectly straight fence into a wavy disappointment.
The Critical First Measurement: Actual vs. Nominal Post Size
Here lies the first and most common pitfall: a “4×4” post is not actually 4 inches by 4 inches. Due to the milling and drying process, the actual dimensions of a standard 4×4 are 3.5 inches by 3.5 inches. This half-inch difference is critical and must be the basis for all your calculations. Basing your auger size on the “nominal” 4-inch measurement will lead to incorrect sizing from the very start.
Forgetting this simple fact is a recipe for disaster. All professional planning starts with the true, measured dimensions of the materials being used. Your project should be no different.
The Golden Rule: Sizing Your Auger for a 4×4 Post
The universally accepted guideline for post hole diameter is to make the hole approximately three times the width of the post. This isn’t an arbitrary number; it’s based on the physics of creating a stable footing. This ratio ensures there is adequate room on all sides of the post for backfill material—typically concrete or compacted gravel—to lock it firmly in place.
For a 4×4 post (with an actual width of 3.5 inches), the calculation is straightforward: 3.5 inches x 3 = 10.5 inches. This means the ideal hole diameter is between 8 and 12 inches. Therefore, an 8-inch, 10-inch, or 12-inch auger is the correct choice for a 4×4 post. A 6-inch auger is almost always too small, leaving less than an inch of space for concrete and no room for adjustments.
Which Size Should You Choose: 8, 10, or 12 Inches?
While all three sizes can work, the best choice often depends on your specific project and soil conditions. An 8-inch auger is often sufficient for standard line posts for a privacy fence in stable soil. A 10-inch or 12-inch auger is highly recommended for critical posts like gates, corners, or deck supports that bear a heavier load and require a more substantial concrete footing.
A larger hole provides a greater mass of concrete, offering more resistance to lateral forces like wind or leaning. While it requires more concrete mix, the added stability is a worthwhile investment for the longevity of your structure.
Auger Size Quick Reference Chart
To simplify the process, here is a clear guide for choosing the right auger bit for common post sizes. Note the crucial difference between nominal and actual dimensions.
| Post Type (Nominal Size) | Actual Post Dimensions | Recommended Auger Diameter | Primary Use Cases |
|---|---|---|---|
| 4×4 | 3.5″ x 3.5″ | 8″ to 10″ | Fence line posts, mailboxes, standard deck support |
| 4×6 | 3.5″ x 5.5″ | 10″ to 12″ | Fence corner posts, gate posts, pergola supports |
| 6×6 | 5.5″ x 5.5″ | 12″ or larger | Heavy-duty deck supports, structural beams, gate posts |
| Round Metal Post (2-3/8″ OD) | 2.375″ Diameter | 8″ | Chain-link fences, durable fencing options |
Beyond Diameter: Critical Factors That Influence Your Choice
Simply following the “3x rule” is a great start, but true expertise lies in adapting that rule to your specific environment. Soil type, project purpose, and even your choice of backfill material play significant roles in determining the perfect auger size.
Soil Type: The Hidden Variable
Your soil is the ultimate foundation, and its composition can drastically alter your plans. Different soils interact with an auger in unique ways, demanding adjustments in your strategy.
Loose or Sandy Soil: This soil is easy to drill but prone to collapsing. A slightly larger auger (like a 10-inch for a 4×4) can be beneficial, as the wider hole provides more surface area for the concrete to grip the unstable ground. The wider footing helps distribute the load more effectively.
Heavy Clay Soil: Clay is dense and can create significant friction on the auger bit, making it difficult to extract. Using a powerful auger is key. Sometimes, a slightly wider hole than necessary can reduce the suction effect, making it easier to pull the auger out after each pass.
Rocky or Mixed Terrain: This is the most challenging condition. You may be forced to use a larger auger simply to create a hole wide enough to work around immovable rocks. In this scenario, your goal is to create a viable hole, even if it’s not perfectly centered, and use the extra space for concrete to secure the post.
Project Purpose: Fence vs. Deck vs. Mailbox
The structural load on the post is a primary consideration. A mailbox post and a support post for a second-story deck have vastly different requirements.
For a simple mailbox or a decorative garden fence post, an 8-inch hole is perfectly adequate. For the main support posts of a load-bearing deck or a tall privacy fence, opting for a 10-inch or 12-inch hole provides a much more robust and safe foundation. Gate posts, which endure constant swinging and stress, also demand a wider and deeper footing.
Backfill Material: Concrete, Gravel, or Dirt?
Your choice of backfill directly impacts the necessary hole size. Concrete is the most common and stable option, and it requires the 3x width rule to form a strong, crack-resistant collar.
If you’re using compacted gravel (a viable option in well-draining soil), a slightly smaller hole can work, but you must have enough room to thoroughly tamp the gravel in layers around the post. For those considering only backfilling with dirt—a method not recommended for structural posts—the hole size is less critical, but so is the post’s stability.
Step-by-Step Guide: Using Your Auger for Perfect 4×4 Post Holes
With the correct size auger in hand, execution is key. Follow these steps to ensure clean, vertical, and perfectly placed holes for your project.
1. Preparation and Safety First
Before you start drilling, always call 811 or your local utility locating service. Accidentally hitting a buried gas, water, or electric line is dangerous and costly. Mark the location of each post hole precisely using stakes and a string line to ensure your fence or deck is perfectly straight.
Wear appropriate personal protective equipment (PPE), including safety glasses, sturdy gloves, and steel-toed boots. An auger is a powerful tool that can kick back unexpectedly if it hits a rock or root.
2. Operating the Auger
Start by creating a small pilot hole with a shovel to prevent the auger tip from wandering. Place the auger bit in the pilot hole and ensure it is perfectly vertical before starting the engine. Squeeze the throttle gently to begin drilling, letting the machine’s weight do most of the work.
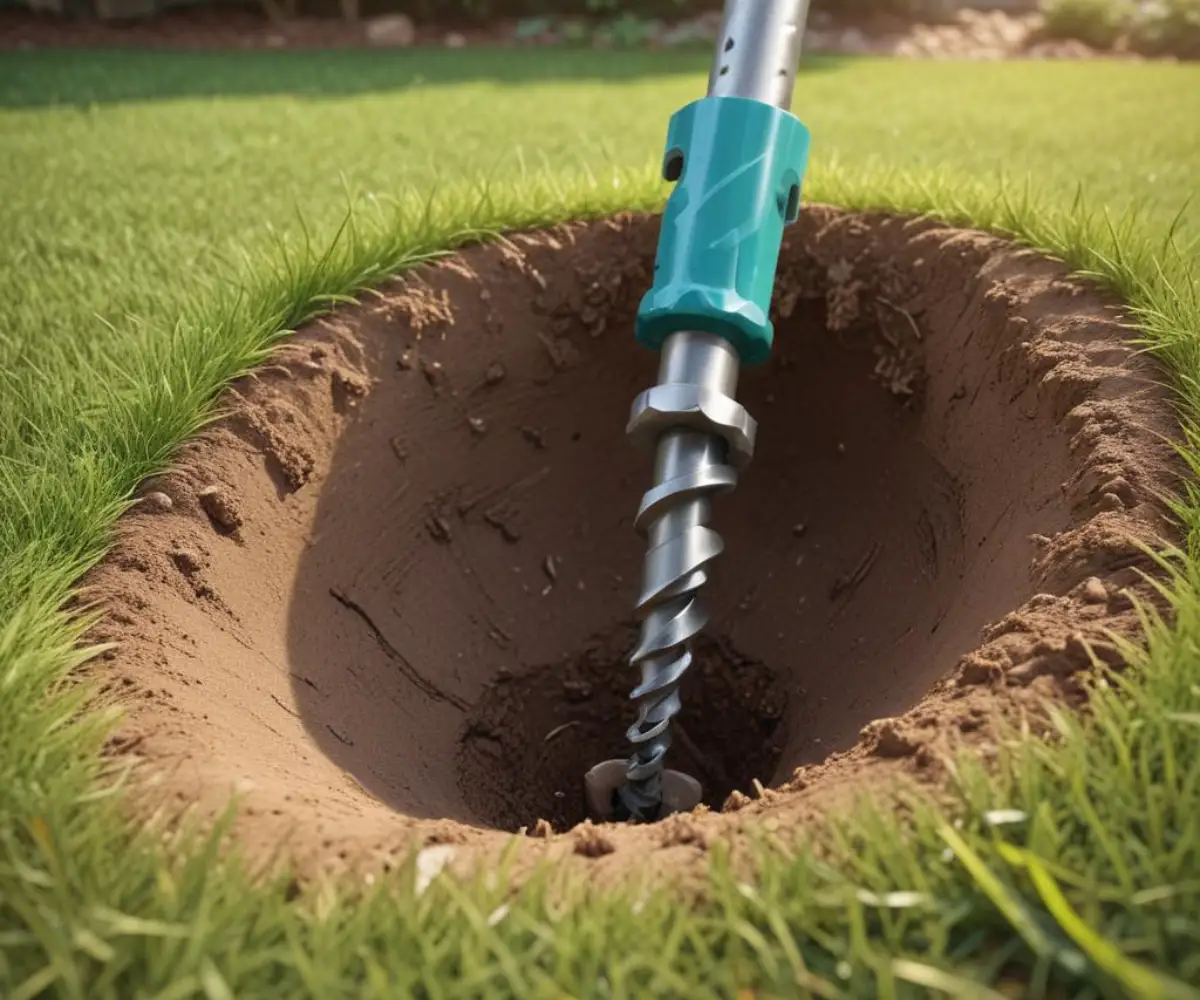
Brace yourself for potential kickback and maintain a firm grip. It’s crucial to drill in increments, pulling the auger up every foot or so to clear the loose soil from the hole. This prevents the bit from getting stuck.
3. Achieving Consistent Depth
The depth of your post hole is just as important as the diameter. A general rule is to bury at least one-third of the post’s total length. More importantly, the bottom of the hole must be below your local frost line to prevent the post from heaving upwards during winter freezes.
To ensure consistent depth across all holes, wrap a piece of brightly colored tape around the auger shaft at the desired depth measurement. When the tape reaches ground level, you know you’ve dug deep enough.
Common Mistakes to Avoid When Sizing and Using an Auger
Many well-intentioned projects go awry due to simple, avoidable errors. Be aware of these common mistakes to ensure your project’s success from the ground up.
- Forgetting the Actual Size of a 4×4: As mentioned, always base your calculations on the 3.5″ x 3.5″ actual dimension.
- Choosing an Auger That’s Too Small: A 6-inch auger might seem “big enough,” but it leaves no room for error or concrete. This is a shortcut that leads to long-term instability.
- Ignoring Soil Conditions: Assuming all soil is the same can lead to a frustrating day of battling clay or rocks with the wrong equipment. Assess your soil before you begin.
- Sacrificing Depth for Speed: Failing to dig below the frost line is a critical error that will cause your posts to shift and become unstable after the first winter.
What If You Choose the Wrong Size Auger? (Troubleshooting)
Mistakes happen. If you’ve already drilled your holes and realize they are the wrong size, don’t panic. There are ways to remedy the situation.
Hole is Too Small
If your hole is slightly too narrow, you may be able to widen it without starting over. The most effective way is to use a manual post-hole digger or a shovel to carefully shave the sides of the hole until you reach the desired diameter. This is a labor-intensive but viable solution. For more tips on manual digging, you can learn about how to dig post holes with a shovel effectively.
Hole is Too Large
An overly large hole is a less serious problem than one that is too small. The primary downside is the increased amount of concrete you’ll need to purchase. Simply center the post in the oversized hole, brace it securely so it remains plumb, and fill the entire void with concrete. The resulting massive footing will be exceptionally stable.
Ultimately, choosing the right auger for your 4×4 posts is a foundational decision. By understanding the interplay between post size, soil type, and project requirements, you can move beyond simple rules of thumb and make an expert choice that guarantees a stable, durable, and professional-quality result.