Forgot to Winterize Your Mower? Here’s What Happens Next
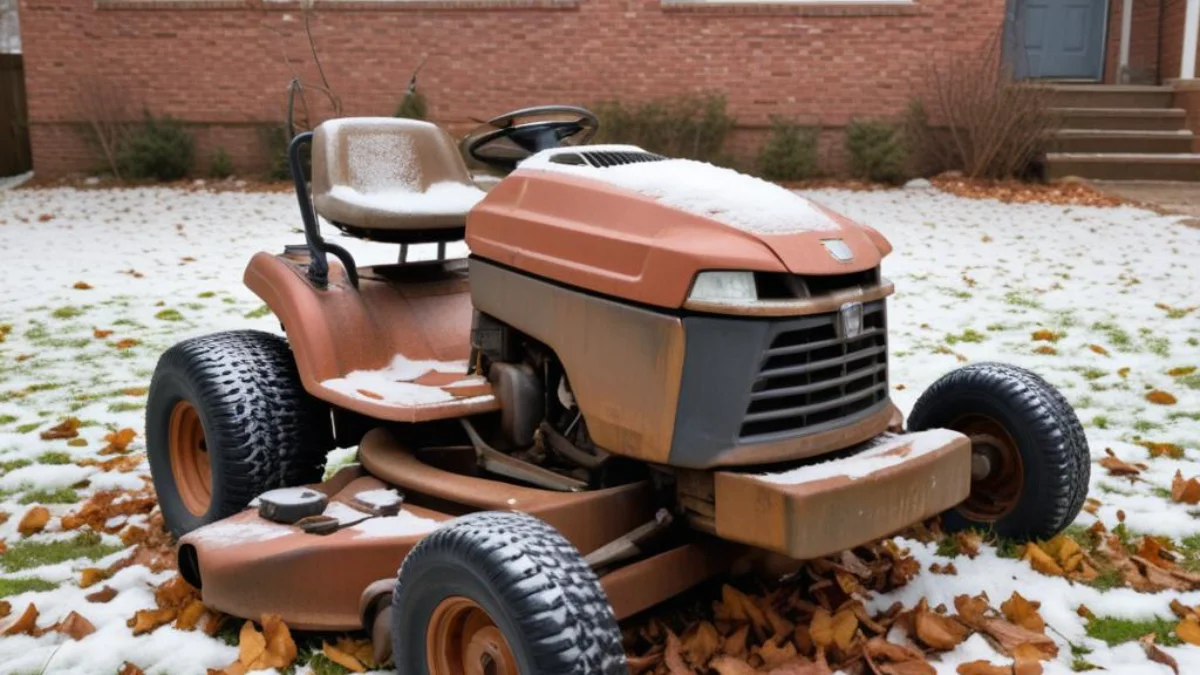
As winter fades and the first signs of spring emerge, your attention turns to the lawn. But a sinking feeling hits you: you forgot to winterize your lawn mower. Don’t panic. Many people make this oversight, and in many cases, the consequences are manageable, though they can range from minor inconveniences to costly repairs.
Neglecting this crucial end-of-season task exposes your mower to a gauntlet of potential problems over the long, cold months. Understanding what can go wrong is the first step toward fixing the issues and getting your mower ready for the season ahead.
You'll Learn About
The Cascade of Problems: What Unfolds in Storage
When a lawn mower sits idle for months without proper preparation, a series of issues can develop. These problems often compound, turning a simple task in the fall into a significant repair job in the spring. The most common and immediate issue stems from the fuel left in the tank and engine.
Fuel System Failure: The #1 Culprit
Modern gasoline has a surprisingly short shelf life, often beginning to degrade in as little as 30 days. Over the winter, the fuel left in your mower undergoes chemical changes. Lighter components evaporate, leaving behind a thicker, less combustible substance.
This stale fuel can wreak havoc on your mower’s engine. It can lead to the formation of gummy deposits that clog the carburetor, fuel lines, and filter. A clogged carburetor is one of the most frequent reasons a mower won’t start after winter.
Corrosion and Rust: The Silent Destroyers
Moisture is a major enemy of your lawn mower. Grass clippings and dirt left on the mower deck and undercarriage trap moisture against the metal, leading to rust. This corrosion can weaken the deck, affect blade performance, and even damage the engine housing over time.
Furthermore, an empty or partially empty fuel tank is prone to condensation due to temperature fluctuations. Water in the fuel can cause rust inside the tank and engine, leading to poor performance and sputtering.
Battery Death and Power Loss
If you have a riding mower or an electric-start push mower, the battery is another major point of failure. Batteries naturally lose their charge when left idle for extended periods. Cold temperatures accelerate this process, and a completely discharged battery can suffer from sulfation, where sulfur molecules coat the lead plates, preventing it from holding a charge ever again.
You might find that your mower is completely unresponsive in the spring, or it might make a clicking sound, which is a classic sign of a dead or dying battery.

Pest Infestations: Unwanted Winter Guests
A dormant lawn mower in a shed or garage can look like a cozy winter home for rodents and insects. Mice, in particular, are notorious for building nests in the engine housing and air filters. This can block airflow, causing the engine to overheat.
Worse, they often chew through wires, fuel lines, and plastic components, leading to significant and often hidden damage that prevents the mower from starting or running correctly. Proper storage, much like ensuring you don’t have an attic open to the elements, can prevent these unwelcome visitors.
Your Spring Repair Guide: A Step-by-Step Recovery Plan
Discovering your mower won’t start can be frustrating, but with a systematic approach, you can diagnose and fix the most common problems yourself. Here’s how to bring your neglected mower back to life.
Step 1: Address the Old Fuel
The first and most critical step is dealing with the stale gasoline. Never try to start a mower with last year’s fuel. You will need to safely drain the old gas from the tank and the carburetor.
Use a siphon pump to remove the fuel from the tank into an approved container. Afterwards, you may need to drain the carburetor float bowl, which is a small cup-shaped part at the bottom of the carburetor. Once all the old fuel is out, fill the tank with fresh gasoline.
Step 2: Inspect and Revive the Battery
For mowers with a battery, check the connections first. They can become loose or corroded. Clean the terminals with a wire brush and ensure the connections are tight.
If the mower still won’t start, try charging the battery. Connect it to a battery charger designed for lawn mower batteries for several hours. If it fails to hold a charge after eight hours, the battery is likely beyond saving and will need to be replaced.
Step 3: Clean the Carburetor and Fuel System
Even after replacing the fuel, gummy deposits may still be clogging the carburetor. A dirty carburetor is a very common cause for a mower failing to start. You can often resolve this by spraying carburetor cleaner directly into the intake.
For a more thorough cleaning, you may need to remove the carburetor, disassemble it, and soak the metal parts in a cleaner. If you’re not comfortable with this, a small engine repair shop can perform this service relatively inexpensively.
Step 4: Check the Spark Plug and Air Filter
A faulty spark plug is another common point of failure. Remove the spark plug and inspect it. If it’s dark, oily, or corroded, it needs to be replaced. Spark plugs are inexpensive and easy to change.
While you’re at it, check the air filter. A dirty or clogged air filter can restrict airflow and prevent the engine from running properly. Replace paper filters if they are dirty; foam filters can often be washed, dried, and reused.
Step 5: Change the Oil
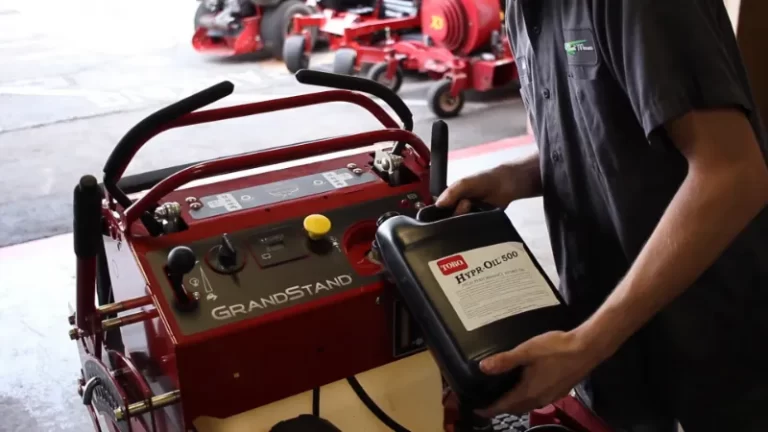
Old oil left over the winter can contain contaminants that can damage internal engine parts. Before you start the mowing season, it’s essential to change the oil.
Run the engine for a few minutes to warm the oil, which helps it drain more completely. Then, drain the old oil into a pan and refill with the type and amount of oil recommended by the manufacturer.
Tackling Physical Damage: Rust and Pests
Once you have the engine running, it’s time to address the physical toll the winter may have taken on your mower’s body and components.
Dealing with Rust
Start by giving the mower a thorough cleaning. Scrape away any caked-on grass and dirt from the undercarriage. Use a wire brush to remove any loose rust from the deck and blades.
For more significant rust, you may need to sand the area down to the bare metal. Afterwards, apply a rust-inhibiting primer and a coat of paint to protect the metal from future corrosion. Just as you’d address an open sewer pipe in basement to prevent larger issues, tackling rust early prevents it from spreading.
Evicting Pests
Carefully inspect the engine compartment, air filter housing, and exhaust for any signs of nests or debris. Remove any nesting materials you find. Check all visible wiring and fuel lines for any signs of chewing damage. Damaged wires will need to be repaired or replaced to ensure safe operation.
| Problem | Common Symptoms | Solution | Estimated Cost (DIY) |
|---|---|---|---|
| Stale Fuel | Mower won’t start, sputters, runs rough. | Drain old fuel, replace with fresh gasoline. | $5 – $10 (Cost of new gas) |
| Dead Battery | No power, clicking sound when trying to start. | Clean terminals, charge the battery, or replace it. | $30 – $60 (For a new battery) |
| Clogged Carburetor | Engine won’t turn over or dies shortly after starting. | Use carburetor cleaner spray or perform a full cleaning. | $5 – $15 (Cleaner) / $50-$70 (Shop cleaning) |
| Faulty Spark Plug | Mower struggles to start or has weak power. | Inspect, clean, or replace the spark plug. | $3 – $8 |
| Rust/Corrosion | Visible rust on deck, blades, or frame. | Clean, scrape, sand, and repaint affected areas. | $15 – $30 (Brushes, sandpaper, paint) |
| Pest Damage | Visible nests, chewed wires or fuel lines. | Remove nests, inspect and repair any damaged components. | $10 – $50+ (Depending on extent of damage) |
Prevention is Key: Your Future Winterization Checklist
To avoid this situation next year, a proper winterization routine is essential. It’s a small investment of time that can save you significant money and headaches. Consider it part of a holistic approach to home maintenance, similar to reading Mass Save insulation reviews to prepare your home for winter.
Before storing your mower for the winter, make sure to:
1. Deal with the Fuel: Either run the mower dry to empty the tank and carburetor completely or fill the tank and add a quality fuel stabilizer.
2. Change the Oil: Fresh oil protects engine components from corrosion over the winter.
3. Clean Everything: Thoroughly clean the mower deck, undercarriage, and engine housing to prevent rust and remove any lingering organic matter that could attract pests.
4. Battery Care: For electric-start mowers, remove the battery and store it in a cool, dry place. Consider connecting it to a trickle charger to maintain its health.
5. Blade Maintenance: Remove and sharpen the mower blades so they are ready for the first cut of spring.
Forgetting to winterize your lawn mower is a common mistake, but it doesn’t have to be a disaster. By methodically addressing the potential issues with fuel, the battery, and physical damage, you can get your machine running smoothly again. More importantly, learning from the experience and implementing a proper storage routine next fall will ensure your mower is ready to go the moment the grass starts to grow.

