Weathered Oak Stain on Red Oak: Your Guide to a Perfect Finish
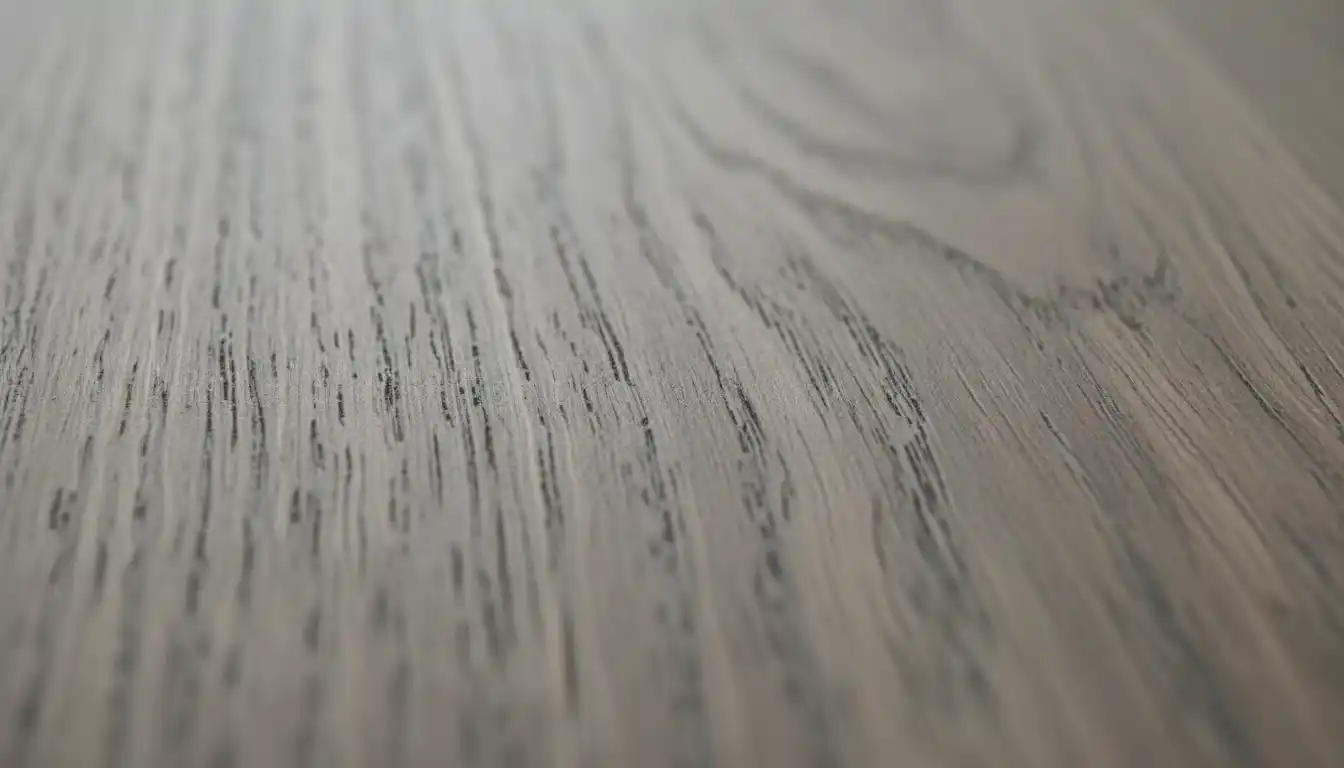
Achieving that breezy, coastal, or rustic modern look with a weathered oak stain is a popular goal for many homeowners. The subtle gray tones can transform furniture, floors, and cabinetry. But when your project involves red oak, a common and durable wood, applying that cool gray stain can lead to a frustrating surprise: unwanted pink, purple, or reddish hues shining through.
This happens because red oak has strong natural undertones and large, open pores. When a light, translucent gray stain is applied, it doesn’t fully mask these underlying warm colors. Instead of the neutral, aged look you envisioned, the gray from the stain can mix with the red in the wood, creating a finish that feels off-balance and far from the intended aesthetic.
Fortunately, achieving a beautiful weathered oak finish on red oak is entirely possible. It simply requires a specific approach that neutralizes those red tones before you even open the can of stain. This guide will walk you through the essential preparation steps, application techniques, and finishing touches to ensure your red oak project turns out perfectly.
You'll Learn About
Why Red Oak and Gray Stains Can Be a Problematic Pair
Understanding the properties of red oak is the first step to mastering its finish. Red oak is known for its prominent, coarse grain and its distinct reddish or pinkish undertones. These characteristics, while beautiful in their own right, create a unique challenge when applying cool-toned gray stains like weathered oak.
The core issue lies in color theory. Gray stains contain black and white pigments; when the white pigment sits on the reddish wood, it can create a pinkish cast. Furthermore, some cool gray stains have subtle blue pigments, which, when mixed with the red tones of the oak, can result in a purple hue. This is why a stain that looks perfectly gray on a sample of white oak or maple can look entirely different on red oak.
The wood’s porosity also plays a significant role. Red oak has large, open pores that absorb stain deeply. This can lead to a blotchy appearance if not properly sealed, with the grain appearing much darker than the surrounding wood and further accentuating the color inconsistencies. Without the right preparation, you’re not just staining the wood; you’re fighting its natural chemistry.
The Secret to Success: Pre-Stain Preparation is Everything
The most critical phase for achieving a true weathered oak look on red oak happens long before the stain is applied. Proper preparation is not just about sanding; it’s about actively neutralizing the red undertones to create a blank canvas for your gray stain. Rushing this stage is the number one reason for disappointing results.
Sanding Is Non-Negotiable
Proper sanding is the foundation of any quality finish. For red oak, start with a medium-grit sandpaper (like 120-grit) to smooth the surface and remove any old finish. Progress to a finer grit, such as 180 or 220, to create a smooth surface ready for staining. Thorough sanding ensures the stain absorbs evenly and reduces blotchiness.
After sanding, it’s crucial to remove all dust. Wipe the surface with a tack cloth or a rag lightly dampened with mineral spirits. Any remaining dust can mix with the stain and create a gritty, uneven finish.
Taming the Red: How to Neutralize Undertones
This is where the magic happens. To prevent the red from clashing with your gray stain, you must neutralize it first. This can be achieved through a few different methods, ranging from simple to more advanced. The key principle is using color theory: green is the opposite of red on the color wheel and will cancel it out.
One highly effective professional technique is to apply a green-tinted dye or a highly diluted green wash coat before staining. This doesn’t mean your wood will look green; it means the subtle green hue will chemically counteract the red, leaving you with a neutral brown base. Commercial products, sometimes called “pink blockers,” are also available that are specifically designed for this purpose.
A more aggressive approach for stubborn red tones is to use a two-part wood bleach. This process strips the natural color from the wood, creating a very light, neutral surface. While highly effective, wood bleach is a harsh chemical that requires strict safety precautions, including proper ventilation and protective gear. It’s a powerful tool for achieving the lightest possible weathered looks.
The Golden Rule: Always Test First!
Never apply a stain to your main project without testing it first. Use a scrap piece of red oak from your project, or test on an inconspicuous area like the underside of a table. Prepare this test piece exactly as you will your main surface, including sanding and any neutralization steps.
Apply your chosen weathered oak stain to the test piece and let it dry completely. View it in different lighting conditions—natural daylight, warm indoor light, and cool indoor light—to see how the color truly appears. This single step can save you from a costly and time-consuming refinishing disaster.
Choosing Your Weathered Oak Stain
Not all “weathered oak” stains are created equal. Different brands have slightly different color formulations, and the base of the stain—oil or water—will also affect the final result. Understanding these nuances will help you select the best product for your project.
Oil-Based vs. Water-Based Stains
Oil-based stains penetrate deeper into the wood and generally offer a richer color. They have a longer drying time, which can be an advantage as it gives you more time to work and wipe away excess for an even coat. However, the amber tone of some oil-based products can sometimes interfere with the cool gray of a weathered oak stain.
Water-based stains have low odor, dry quickly, and clean up easily with water. They tend to sit more on the surface of the wood, which can be beneficial for controlling blotchiness. For a true gray finish, a water-based stain is often the safer choice as it won’t impart the yellowing effect that an oil-based finish might. If you’ve ever had to fix the mistake of using the wrong type of stain, you’ll appreciate the predictability of water-based options for indoor projects.
Comparing Popular Weathered Oak Stains
Many brands offer a “weathered” or “classic gray” stain, but the undertones can vary. Some may lean more towards beige, while others might have a subtle blue or purple undertone that can be exaggerated by red oak. Researching specific product reviews on red oak can provide valuable insight. Often, DIYers achieve their perfect color by mixing two different stains, such as combining a weathered oak with a small amount of a darker walnut or ebony to deepen the gray and further suppress the red.
Here is a comparison of common stain types to help guide your selection:
| Stain Brand/Type | Base Type | Typical Result on Red Oak | Best For |
|---|---|---|---|
| Minwax Weathered Oak | Oil-Based | A very light gray that can pull pink without neutralization. Often mixed with other colors. | Achieving a subtle, rustic look; good for custom mixing. |
| Varathane Weathered Oak | Oil-Based | Tends to be a slightly cooler, more potent gray than Minwax. | A more pronounced gray finish with good penetration. |
| Varathane Classic Gray | Oil-Based | A popular, balanced gray that is often a go-to for neutralizing warm woods. | General projects where a true gray is desired. |
| General Finishes Gray Gel Stain | Oil-Based Gel | Thick consistency helps prevent blotching; provides an even, opaque gray color. | Beginners or projects with complex surfaces where runs are a concern. |
| Bona DriFast Stain (Gray Tones) | Oil-Modified | Professional-grade stains known for consistent results on hardwood floors. | Flooring projects requiring durability and even color. |
Step-by-Step Application for a Flawless Finish
With your red oak properly prepped and your stain chosen, you are ready for the application. A methodical approach will ensure you get the clean, professional look you’re aiming for.
Step 1: Final Prep and Cleaning
Just before staining, give your project one last wipe-down with a clean, lint-free cloth to remove any settled dust. Ensure your workspace is well-ventilated, especially if you are using oil-based products. Have all your tools—stain, rags, brushes, and gloves—ready to go.
Step 2: Apply a Wood Conditioner (If Not Neutralizing)
If you opted not to use a neutralizing wash coat or bleach, applying a pre-stain wood conditioner is essential. Red oak’s large pores can absorb stain unevenly, leading to a blotchy result. A wood conditioner partially seals the wood, forcing the stain to absorb more evenly across the surface.
Apply the conditioner according to the manufacturer’s instructions, typically letting it sit for 5-15 minutes before wiping off the excess. You must then apply your stain within the timeframe specified by the product, usually within two hours.
Step 3: Applying the Weathered Oak Stain
Stir your stain thoroughly, scraping the bottom of the can to ensure all pigments are evenly distributed. Apply the stain liberally with a brush or a clean rag, working in the direction of the wood grain. Work in manageable sections to maintain a wet edge.
Let the stain penetrate for the amount of time recommended on the can—usually 3 to 15 minutes. The longer it sits, the darker the color will be. Then, use a clean, dry rag to wipe off all the excess stain, again, moving with the grain. Wiping thoroughly is key to a clean look; leaving excess stain on the surface can result in a sticky, uneven finish.
Step 4: Layering for Depth (Optional)
For a richer, more complex look, you can apply a second coat of stain after the first has dried completely. A second coat can deepen the color and help to further obscure any remaining reddish undertones. Alternatively, some finishers apply a different color, like a dark walnut, very lightly over the gray to create an aged, multi-tonal effect.
Protecting Your Masterpiece: The Top Coat Is Crucial
The stain provides the color, but the top coat provides the protection and final sheen. This step is not optional, as it seals the wood from moisture, scratches, and wear. The choice of top coat is especially important when working with a cool gray stain.
Avoid using a traditional oil-based polyurethane. While durable, oil-based top coats have an amber tint that yellows over time. This ambering effect will completely undermine your efforts, turning your beautiful cool gray finish into a murky, greenish-brown. Instead, you must use a water-based polyurethane or a non-yellowing acrylic lacquer. These finishes dry clear and will preserve the true color of your weathered oak stain for years to come.
Apply two to three coats of your clear finish, lightly sanding with very fine-grit sandpaper (220 or higher) between coats for the smoothest possible result. Your choice between a matte, satin, or semi-gloss sheen will determine the final look, with satin being the most popular choice for a modern, subtle finish.
Common Mistakes to Avoid
Achieving this finish is about process and patience. Sidestep common pitfalls to ensure your project is a success from the start.
- Skipping the Test Piece: This is the most critical error. Every piece of wood is different, and you must know how your chosen stain and process will look before committing.
- Inadequate Sanding: Rushing the sanding process will result in a blotchy, uneven finish that highlights imperfections.
- Ignoring the Red Undertones: Applying a gray stain directly to raw red oak without a neutralization step is a recipe for a pink or purple outcome.
- Using a Yellowing Top Coat: Protecting your cool gray stain with an amber-toned polyurethane will ruin the color. Always opt for a crystal-clear, water-based finish.
- Choosing Between Paint and Stain: Sometimes the grain of red oak is exactly what you want to hide. In contexts like a child’s playset, deciding whether to paint or stain the wood involves different priorities, where a solid paint color might be the simpler and more effective choice.
A Rewarding Transformation
Transforming red oak with a weathered oak stain is more than just a weekend project; it’s a process that combines a bit of chemistry, a touch of artistry, and careful technique. While red oak’s natural warmth presents a challenge, it’s one that can be overcome with the right knowledge.
By focusing on meticulous preparation, neutralizing those stubborn red undertones, and choosing the right products, you can successfully achieve the sophisticated, modern gray finish you envision. The final result is a beautiful piece that showcases the strong grain of oak in a fresh, contemporary light—a testament to a job done right.
Final word
The challenge of staining red oak for a cool, weathered finish underscores a key principle in woodworking: the wood’s natural undertones are as critical as the stain chosen. To successfully achieve the desired breezy, gray aesthetic, the focus must shift from simply applying stain to neutralizing the wood’s inherent red pigments first. By taking proactive steps to counter the red—whether through careful product selection, pre-stain treatments, or utilizing green-tinted sealers—woodworkers can successfully bridge the gap between red oak’s strong character and the subtle, sophisticated look of rustic modern design.