Water Softener Has Been Sitting? Don’t Risk It Until You Do This
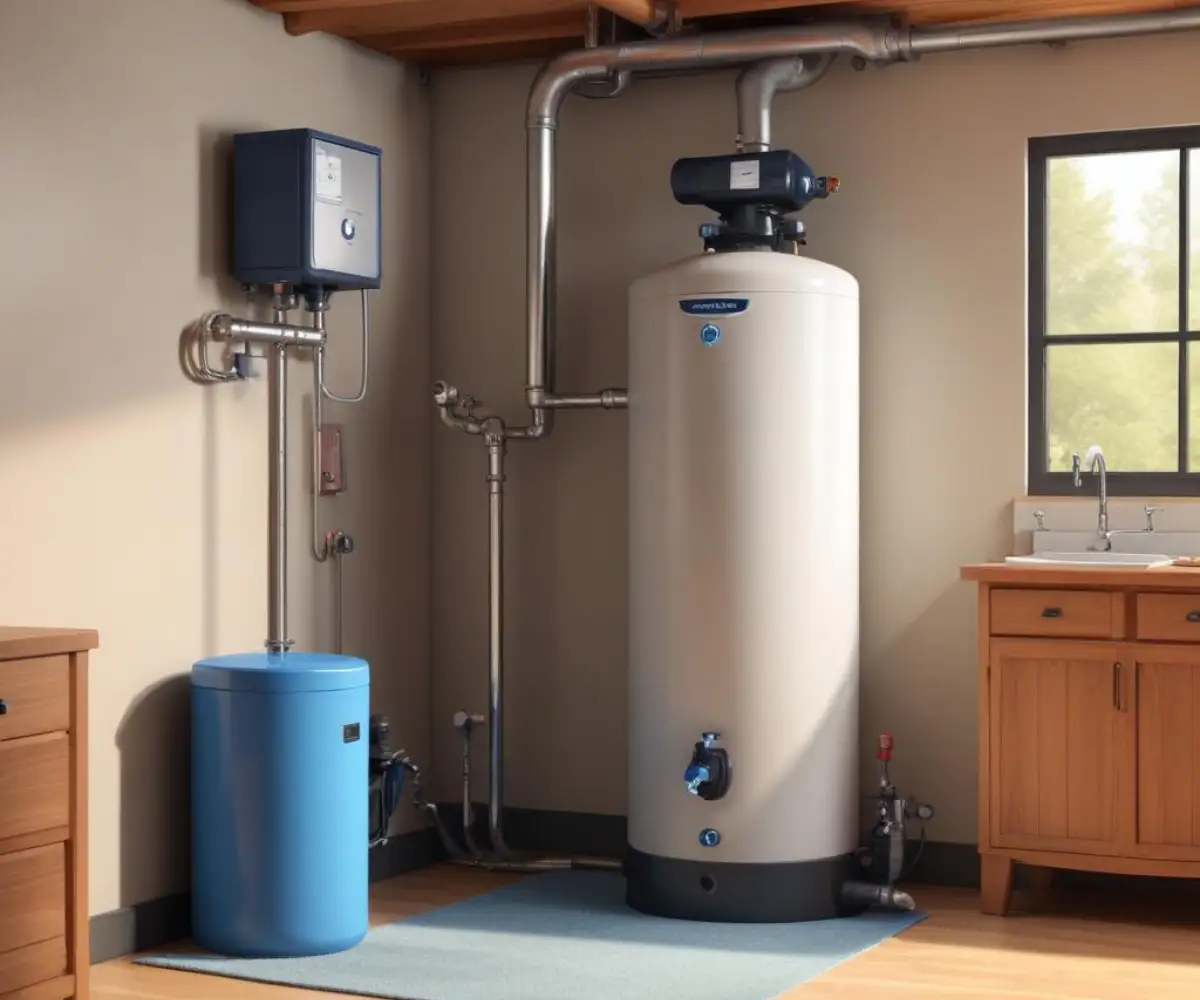
You just moved into a new home or returned from an extended vacation, and you see it in the basement or garage: a lonely water softener. It’s been sitting unused for months, maybe even years. The immediate question is, can you just flip it on and enjoy soft water? The answer is a firm no.
Turning on a water softener that has been sitting idle without proper inspection and cleaning is a significant risk. You’re not just dealing with old salt; you’re facing potential bacterial growth, damaged components, and ineffective performance. Before you do anything else, a thorough revival process is essential to ensure your water is safe and truly soft.
You'll Learn About
Why You Can’t Just Turn It Back On: The Hidden Dangers
An inactive water softener is a perfect breeding ground for problems. Stagnant water inside the resin tank and brine tank can harbor bacteria and mold, leading to foul odors and potentially harmful contaminants in your water supply. Ignoring these issues can create more significant problems than the hard water you’re trying to eliminate.
The core components of the softener also suffer from disuse. The resin beads can become fouled or damaged, and the brine tank can develop solid “salt bridges” that prevent the system from regenerating properly. Simply starting the system will likely just flush these problems into your home’s plumbing.
The Risks of Stagnant Water and Bacterial Growth
When water sits for long periods inside the tanks, especially without chlorine from a municipal source, bacteria can thrive. This can result in a slimy biofilm coating the inside of the tank and resin beads. One of the first signs of this is a distinct “rotten egg” smell, which indicates the presence of sulfur bacteria.
Using the softener in this state can introduce these contaminants into your home’s water. This not only affects the taste and smell but can also pose health risks. Proper sanitization is a non-negotiable step to make a dormant system safe for use.
Salt Bridges and Mush: The Brine Tank Killers
The brine tank is where the system creates the saltwater solution needed to clean the resin beads. When a softener sits, high humidity can cause the salt pellets to fuse into a solid, hard crust known as a salt bridge. This bridge creates a hollow space below it, preventing water from dissolving the salt, rendering the regeneration cycle useless.
Even worse is “salt mushing,” where dissolved salt and impurities recrystallize into a thick sludge at the bottom of the tank. This sludge can clog the brine well and prevent the softener from drawing the saltwater solution it needs. Both issues must be physically removed before restarting the unit.
Your 7-Step Revival Guide for a Dormant Water Softener
Bringing an idle water softener back to life requires a systematic approach. Follow these steps carefully to ensure the system is clean, safe, and ready to perform effectively. This process will take a few hours, but it’s crucial for the health of your water and the longevity of the appliance.
From visual checks to deep cleaning and sanitization, each step plays a vital role. Do not skip any part of this process, even if the unit appears clean on the outside.
Step 1: Perform a Thorough Visual Inspection
Start by looking for obvious signs of damage. Check both the resin tank and the brine tank for any cracks or leaks. Inspect all connecting hoses and fittings for brittleness or signs of weeping moisture.
Examine the control valve head for any visible damage or corrosion on the electronic components. Plug the unit in to see if the display powers on. If there are major cracks in the tanks or the control head is unresponsive, the unit may not be salvageable.
Step 2: Clean Out the Brine Tank
This is the most labor-intensive but critical step. First, put the softener on bypass mode. Then, you’ll need to empty the brine tank completely of all old salt and water. A wet/dry shop vacuum is the best tool for this job.
If you encounter a salt bridge, use a broom handle to gently break it up into smaller chunks for removal. Once empty, scrub the inside of the tank with soap and water to remove all residue and sludge. Rinse it thoroughly before proceeding.
Step 3: Sanitize the Entire System
Sanitizing the softener is essential to kill any bacteria or mold. After cleaning the brine tank, add about three gallons of clean water back into it. Then, add 1-2 ounces of unscented household bleach and stir.
Reconnect the brine tank to the softener and take the system out of bypass mode. Initiate a manual regeneration cycle. This will draw the bleach solution through the control valve and into the resin tank, sanitizing the entire system. This cycle can take up to two hours to complete.
Step 4: Add New Salt and Water
Once the sanitizing regeneration cycle is complete, it’s time to prepare the system for normal operation. Fill the clean brine tank with about five gallons of fresh water. Then, add at least two new bags of high-quality water softener salt pellets.
It’s important to use fresh salt, as old salt can contain impurities that lead to future problems. Do not overfill the tank; keeping it about two-thirds full is a good rule of thumb to prevent bridging.
Step 5: Run a Full Regeneration Cycle (or Two)
With new salt in the tank, you need to run another manual regeneration cycle. This cycle is what actually softens the water by using the newly created brine solution to clean and recharge the resin beads. For a system that has been sitting for a very long time, running two back-to-back regeneration cycles is recommended.
This ensures the resin bed is thoroughly cleaned of any remaining contaminants and fully charged with sodium ions, making it ready to effectively remove hardness minerals from your water.
Step 6: Flush Your Home’s Plumbing
After the final regeneration cycle is complete, you need to flush any remaining bleach or dislodged sediment out of your plumbing. Go through your house and run cold water from every faucet for about 20 minutes.
Start with the faucet highest up in your home and furthest from the softener, like a second-floor bathroom sink, and work your way down. This will pull the fresh, softened water through the entire system and clear the lines.
Step 7: Program and Test the Water
Finally, make sure the softener’s control valve is programmed correctly. You may need to reset the time of day and, most importantly, the water hardness level for your area. You can often get this information from your local municipality’s water department website.
After a day of normal water use, test your water to ensure the softener is working. Simple water hardness test strips are inexpensive and will quickly tell you if the process was successful.
Quick Reference: The Water Softener Revival Process
For a quick overview, here is a table summarizing the essential steps to revive a dormant water softener. This can serve as a handy checklist as you work through the process.
| Step Number | Action | Key Purpose | Tools/Supplies Needed |
|---|---|---|---|
| 1 | Visual Inspection | Check for cracks, leaks, and electrical function. | Flashlight |
| 2 | Empty & Clean Brine Tank | Remove old salt, water, salt bridges, and sludge. | Wet/Dry Vacuum, Broom Handle, Brush, Soap |
| 3 | Sanitize the System | Kill bacteria and mold in both tanks. | Unscented Bleach |
| 4 | Add New Salt & Water | Prepare the system for a proper regeneration. | Fresh Water, 2 Bags of Softener Salt |
| 5 | Run 1-2 Regenerations | Thoroughly clean and recharge the resin bed. | None |
| 6 | Flush House Pipes | Clear any residual bleach or debris from plumbing. | None |
| 7 | Program & Test | Ensure settings are correct and the unit is working. | Water Hardness Test Strips |
When Is It Time to Give Up? Signs a Sitting Softener Is Beyond Saving
While many dormant water softeners can be revived, some are simply not worth the effort or expense. It’s important to recognize the signs that a replacement is the smarter choice. Pushing a failing unit back into service will only lead to frustration and potential plumbing problems.
If you encounter major physical damage, such as a cracked resin or brine tank, the unit is usually beyond a simple repair and should be replaced. Likewise, if the electronic control head does not power on or displays a persistent error code that you cannot clear, it may have failed. A new control head can be expensive, often approaching the cost of a new system. If after multiple cleaning and regeneration cycles, your water still tests as hard, the resin beads may be permanently fouled or destroyed, necessitating a replacement. In these cases, it’s time to consider a new unit. If you’ve determined your system needs to be replaced, you’ll want to ensure you handle the old one correctly. Our complete water softener disposal guide provides the essential steps for responsible removal.
Proactive Care: How to Properly Store a Water Softener
If you know your softener will be inactive for an extended period, you can prevent most of these issues with proper preparation. The key is to leave the system clean and empty. Before leaving, run a final regeneration cycle.
After the cycle, put the system in bypass mode and unplug it. Then, drain both the brine tank and the resin tank completely. This prevents stagnant water and the formation of salt bridges, making the reactivation process significantly easier when you return.
Frequently Asked Questions (FAQ)
Navigating the revival of an old water softener can bring up many questions. Here are answers to some of the most common queries homeowners have.
How long can a water softener sit unused?
A water softener can generally sit for a few weeks to a month without major issues, especially on a chlorinated municipal water supply. However, for periods longer than a month, especially on well water, it’s highly recommended to clean and sanitize the unit before returning it to service to prevent bacterial growth and resin damage.
What does the ‘rotten egg’ smell from my water softener mean?
A “rotten egg” or sulfur smell is a classic sign of sulfur-reducing bacteria. This bacteria can thrive in the low-oxygen, stagnant water of an unused softener. The only way to eliminate it is through a thorough sanitization process using a bleach solution as described in the steps above.
Can the resin beads go bad from sitting too long?
Yes, resin beads can be damaged by prolonged inactivity. They can become fouled with bacteria, iron, or sediment, which reduces their ability to soften water. In severe cases, especially if they dry out completely, the beads can crack and turn to mush, requiring a complete replacement of the resin.
Keeping your home’s major appliances in working order is a continuous task. Just as a dormant water softener needs specific steps to be brought back to life, other systems require their own maintenance. For example, if you find your ventless dryer is not drying clothes effectively, the cause often lies in routine checks that have been overlooked, reminding us that proactive care is key across all household systems.