Water Softener Bypass Valve Stuck? Don’t Panic! Here’s Your Fix
You need to shut off your water softener for maintenance, a repair, or simply to water your garden with hard water. You reach for the bypass valve, give it a turn, and… nothing. It’s completely frozen, refusing to budge no matter how much force you apply.
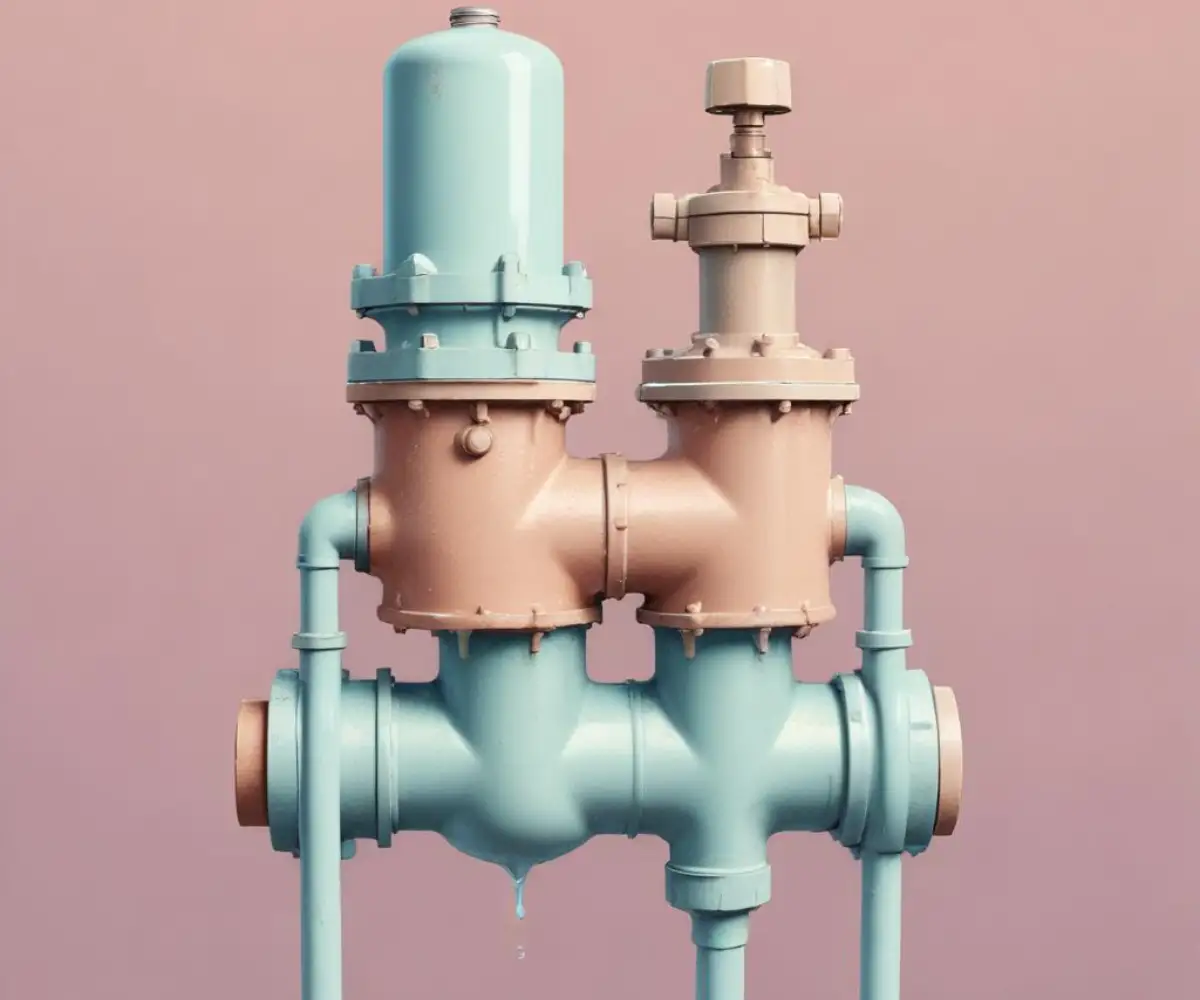
A stuck water softener bypass valve is a surprisingly common and incredibly frustrating problem. This critical component is your control gate, allowing you to redirect water flow around the softener system. When it’s seized, you’re left feeling powerless and worried about causing a bigger, more expensive problem.
This comprehensive guide will walk you through the exact steps to safely unstick your valve, understand the hidden causes, and implement a simple prevention strategy to ensure it never happens again. We will explore the professional techniques used to release even the most stubborn valves without causing damage.
You'll Learn About
Why Is My Water Softener Bypass Valve Stuck? The Hidden Causes
Understanding why your valve is stuck is the first step toward fixing it and preventing a recurrence. It’s rarely a single issue but rather a combination of factors working against you over time.
The Primary Culprit: Mineral Buildup
The very job of your water softener is to remove hard minerals like calcium and magnesium from your water. Over years of operation, these minerals can slowly accumulate within the tight tolerances of the bypass valve mechanism, especially if it isn’t operated regularly.
This buildup acts like a natural cement, effectively fusing the moving parts of the valve together. The longer the valve remains in one position, the more severe this mineral scaling becomes, making it progressively harder to move.
Corrosion and Oxidation
Many older bypass valves are constructed from metal components. Constant exposure to moisture and air can lead to rust and corrosion, creating a rough, uneven surface that dramatically increases friction.
This oxidation creates a physical barrier that binds the valve’s handle or plunger, preventing smooth operation. In some cases, the corrosion can be so severe that it structurally weakens the valve itself.
Dried and Degraded O-Rings
Inside your bypass valve are several rubber O-rings that create watertight seals. Over time, these seals can dry out, crack, or become gummy and sticky. Instead of providing a smooth surface for parts to move against, they become a source of resistance.
A degraded O-ring can bunch up or tear when you try to turn the valve, effectively locking it in place. This is a common point of failure that is often overlooked.
The “Use It or Lose It” Principle
The single most common contributor to a stuck valve is simply a lack of use. A bypass valve that is left in the “service” position for years on end is almost guaranteed to seize.
Regular movement, even just once every few months, clears out early mineral deposits, keeps the O-rings lubricated and pliable, and prevents corrosion from taking a permanent hold. Inactivity is the valve’s worst enemy.
The Installer’s Mistake: The Over-Tightened Valve
A less-discussed but significant cause is the initial installation. Sometimes, a well-meaning installer or previous homeowner will over-tighten the valve handle. This excessive force places immense mechanical stress on the internal components from day one.
This initial pressure compresses the O-rings and grinds the moving parts together. When combined with years of subsequent mineral buildup and corrosion, it creates a situation where the valve is practically welded shut, requiring much more than simple force to release.
Before You Start: Essential Tools & Safety Precautions
Before attempting any fix, gathering the right tools and taking simple safety precautions is crucial. This will protect you, your property, and the water softener itself. The goal is to apply targeted force and chemical action, not brute strength.
Your first safety step should be to relieve the water pressure in your pipes. Find a faucet close to the softener (like a utility sink or an outdoor hose bib) and open it to let the water run. This won’t stop water flow completely but will reduce the pressure pushing against the valve, making it easier to turn.
| Tool or Supply | Purpose and Key Considerations |
|---|---|
| Channel-Lock Pliers or Strap Wrench | Provides the leverage needed to turn the stuck handle. A strap wrench is ideal for preventing damage to plastic parts. |
| Thick Rag or Towel | Absolutely essential. Used to wrap the valve handle to protect it from being scratched, cracked, or crushed by pliers. |
| Heat Gun or Hair Dryer | Used to gently heat and expand the valve body, helping to crack internal mineral seals. Use a low setting. |
| White Vinegar or CLR | A mild acid that is effective at dissolving the calcium and magnesium deposits that are seizing the valve. |
| Small Stiff Brush (e.g., an old toothbrush) | For cleaning external debris and scrubbing the dissolving solution into the valve’s crevices. |
| Silicone-Based Plumber’s Grease | Used for lubrication and prevention after the valve is freed. Do not use petroleum-based grease, as it can damage O-rings. |
How to Unstick a Seized Bypass Valve: A Step-by-Step Guide
Follow these steps in order. Patience is the most important tool you have; rushing the process is how parts get broken and small problems turn into major leaks. Do not skip the preparation steps.
Step 1: Clean and Inspect the Area
Start by thoroughly cleaning the outside of the bypass valve and the surrounding pipes. Use your stiff brush to remove any dust, cobwebs, or visible mineral crust. This ensures you have a clean surface to work with and a firm grip.
A clean surface also allows you to more easily apply heat and dissolving agents directly to the seams and entry points of the valve’s moving parts.
Step 2: Apply Gentle, Targeted Heat
Using a hair dryer or a heat gun on its lowest setting, gently warm the body of the bypass valve. Keep the heat source moving continuously to avoid concentrating heat on one spot, which could melt or damage plastic components.
The goal is to make the valve housing warm to the touch, but not hot. This gentle heat causes the outer body of the valve to expand slightly more than the internal parts, which can be enough to crack the microscopic bonds of the mineral buildup inside.
Step 3: Introduce a Dissolving Agent
With the valve still warm, apply your chosen dissolving agent. Liberally spray or drip white vinegar or a commercial calcium remover like CLR around the valve stem, handle base, and any visible seams where parts meet.
Let the solution sit for at least 30-60 minutes. This gives the mild acid time to penetrate the valve and begin breaking down the mineral deposits that are causing the seizure. Reapply the solution every 15 minutes to keep it from drying out.
Step 4: Attempt to Move the Valve (The Right Way)
First, try moving the valve by hand again. Grasp it firmly and attempt to wiggle it back and forth with short, rocking motions. Often, the combination of heat and vinegar is enough to break it free without tools.
If it remains stuck, it’s time for pliers. Wrap the valve handle completely with a thick rag. This is the most important part of this step, as it distributes the pressure and prevents the tool from cracking the plastic. Grip the rag-covered handle with your channel-lock pliers and apply slow, steady pressure. Continue the back-and-forth wiggling motion rather than trying to force it in one direction.
Step 5: Repeat the Process
Most stubborn valves will not yield on the first attempt. The key to success is repeating the cycle of gentle heat, dissolving agent application, and patient wiggling. Do not escalate the amount of force you are using.
Applying more force will only lead to a snapped valve handle or a cracked valve body, resulting in a leak. Patience and repetition will allow the process to work safely.
The Ultimate Prevention Strategy: Stop It From Happening Again
Once you’ve successfully freed your bypass valve, you need to ensure it never gets stuck again. A few moments of simple, periodic maintenance can save you hours of frustration in the future.
The 60-Second Monthly Check-Up
The most effective preventative measure is also the easiest. Once a month, simply walk over to your water softener and operate the bypass valve. Move it from the “Service” position to the “Bypass” position and then back again.
This simple action breaks up any new mineral deposits before they can take hold, keeps the internal O-rings from drying out, and ensures the mechanism is always ready when you need it. This is the “use it or lose it” principle in action.
Strategic Lubrication for Long-Term Health
For those who are more hands-on, applying a small amount of silicone-based plumber’s grease can work wonders. After putting the system in bypass and relieving the pressure, you can often gently pull up on the valve stems or handle.
This may expose the O-rings, allowing you to wipe them clean and apply a thin coating of grease. This lubrication repels mineral buildup and keeps the seals flexible and effective. This kind of hands-on maintenance can give you better insight into your system’s health, much like understanding your AO Smith water softener regeneration settings gives you control over its efficiency.
Consider a System Upgrade
If you have an older system with a notoriously sticky valve, it may be time to think about the future. Modern water softeners feature vastly improved bypass valve designs that are engineered to resist sticking. Comparing different brands can be a real eye-opener; for instance, a deep dive into Kinetico vs EcoWater often reveals significant differences in component quality and design.
Newer systems often use single-handle, ball-valve style bypasses that provide a better seal with less surface area for minerals to grab onto. Investing in a new unit not only solves the valve issue but also brings benefits of higher efficiency and better performance. High-quality options are available, and exploring comprehensive Maytag water softener reviews can help guide your decision.
When to Put Down the Tools and Call a Plumber
A DIY approach can solve most stuck valve issues, but there are clear signs that indicate it’s time to call a professional. Pushing your luck can lead to a catastrophic failure and serious water damage.
Call a licensed plumber immediately if you notice any of the following:
- Visible Cracks: If you see any hairline fractures on the valve body or the threaded connections, stop immediately. Applying any more force will cause it to break.
- Persistent Leaking: If you manage to free the valve but it now has a steady drip or leak, the internal O-rings or seals have likely been compromised and must be replaced.
- Extreme Force is Required: If you have followed the steps of heat, solvent, and steady pressure multiple times and the valve still feels like it is welded in place, stop. The valve is likely corroded internally and will break before it turns.
- You Are Not Comfortable: If at any point you feel unsure or worried about causing damage, it is always safer and ultimately cheaper to call a professional. A plumber’s service fee is a small price to pay for peace of mind.
A seized water softener bypass valve can bring your household plumbing plans to a halt. However, by understanding the root causes of mineral buildup and corrosion, you can tackle the problem with confidence.
By using a patient, methodical approach combining heat, dissolving agents, and steady leverage, you can safely free almost any stuck valve. Most importantly, adopting a simple monthly maintenance routine will ensure your bypass valve always operates smoothly, ready for the moment you need it most.