Water Leaking From Wall Behind Washing Machine? Your Panic-Proof Guide
Discovering water seeping from the wall behind your washing machine is a moment that can send any homeowner into a panic. That damp spot on the drywall or puddle on the floor is more than just a mess; it’s a warning sign of a hidden problem that could lead to significant damage. Ignoring it can result in costly structural repairs, dangerous mold growth, and a major disruption to your home life.
This guide provides a calm, methodical approach to identifying the source of the leak, understanding the potential culprits, and taking decisive action. Whether it’s a simple fix you can handle yourself or a problem that requires a professional, you’ll find the answers you need to protect your home and resolve the issue efficiently.
You'll Learn About
First Steps: Safety and Initial Assessment
Before you do anything else, your immediate priorities are safety and preventing further damage. Water and electricity are a dangerous combination, and the area around your washing machine has both. Take these critical first steps before you begin your investigation.
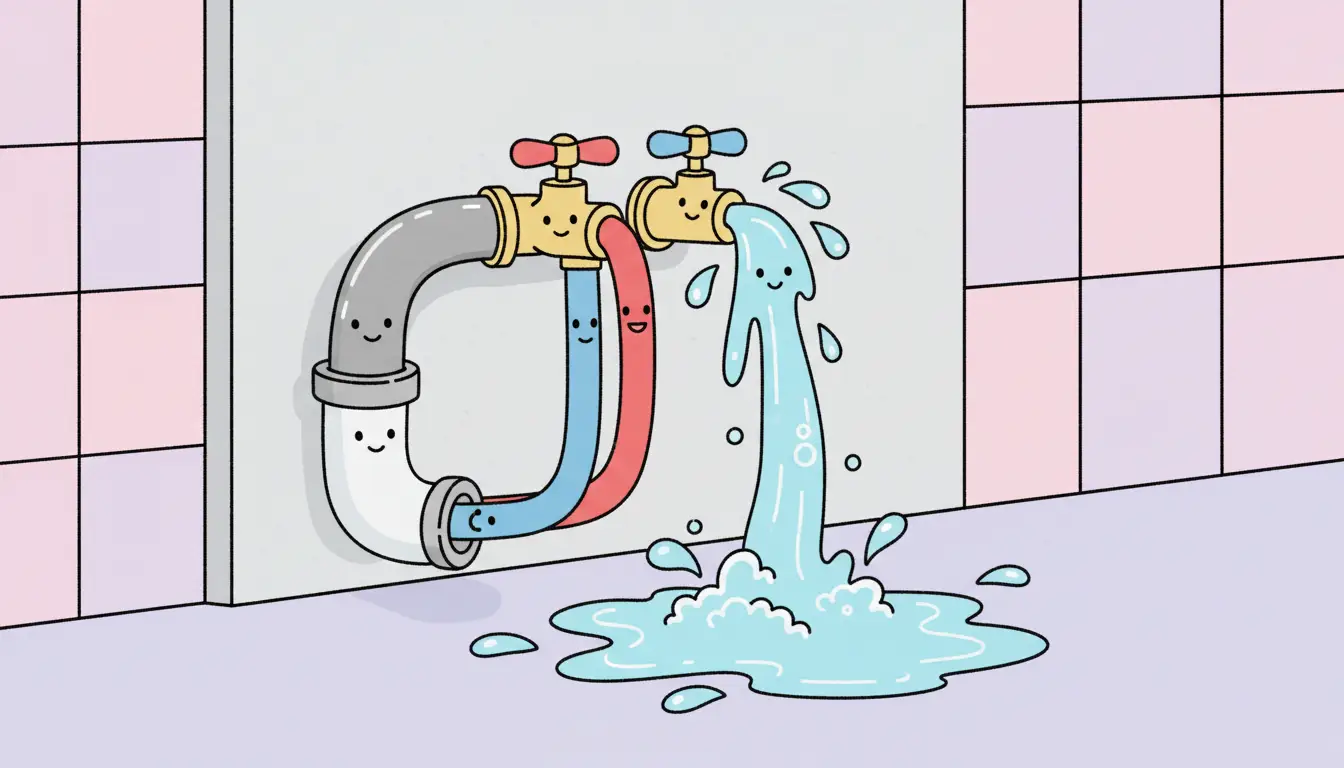
First, shut off the power to the washing machine at the circuit breaker. This minimizes the risk of electrical shock. Next, turn off the water supply to the machine. You will typically find two spigots or a single lever on the wall behind the washer—one for hot and one for cold. Turn them clockwise until they are fully closed. This stops the flow of water and prevents the leak from worsening while you investigate.
Gaining Access and a Clear View
Once the power and water are off, carefully pull the washing machine away from the wall. You’ll need enough space to comfortably see and work in the area behind it. Use a flashlight to get a clear view of the wall, the water connections, the drainpipe, and the floor.
Look for obvious signs of the leak’s origin. Are the supply hoses dripping? Is there water around the base of the shutoff valves? Or does the moisture seem to originate from the drainpipe area? Pinpointing the general location of the moisture is the first clue in solving this plumbing puzzle.
Common Culprits: Identifying the Source of the Leak
A leak behind your washing machine can originate from several sources. By systematically checking each potential culprit, you can narrow down the cause. The most common issues are related to the water supply hoses, the shutoff valves, or the drain line.

Problem 1: Faulty Water Supply Hoses
The hot and cold water supply hoses are the most frequent source of leaks. These hoses are under constant pressure and can degrade over time. Standard rubber hoses are particularly susceptible to cracking, blistering, and bursting.
Check the entire length of both hoses for any visible signs of damage, such as cracks, bulges, or brittleness. Pay close attention to the connection points at both the wall and the back of the washing machine. A loose connection or a worn-out rubber washer inside the hose fitting can easily cause a persistent drip that runs down the hose and onto the wall or floor.
Problem 2: Leaking Shutoff Valves
The shutoff valves, also known as valve stems or boiler drains, are where the supply hoses connect to your home’s plumbing. These valves can fail in several ways. The packing nut, located just behind the valve handle, can loosen over time and cause a slow seep. Sometimes, simply tightening this nut with a wrench can solve the problem.
The valve body itself can also develop a crack, or the internal seals can fail, leading to a more significant leak. If you see water dripping directly from the valve handle or the body of the valve, it will likely need to be replaced. This is often a job best left for a professional plumber unless you have experience with plumbing repairs.
Problem 3: The Drain Pipe Connection
The washing machine’s drain hose empties into a standpipe that goes into the wall. A common issue here is a clog in the drain line. When the machine pumps out water, a blockage can cause the water to back up and overflow the standpipe, spilling water behind the machine and into the wall. This is a possibility you might want to investigate if you’re dealing with a washing machine drain pipe leaking in the wall.
Another potential problem is a crack or break in the standpipe itself, though this is less common. If the leak only occurs when the washing machine is draining, a clog is the most likely suspect. You might also notice a gurgling sound from other nearby drains, which is another sign of a blockage in your plumbing system.
The Hidden Danger: Leaks Inside the Wall
Sometimes, the source of the water is not visible at all. The leak could be originating from a pipe or fitting located inside the wall cavity. This is the most serious type of leak, as it can cause extensive damage before it is even discovered. Telltale signs include persistent dampness, discolored or soft drywall, and a musty odor that signals mold and mildew growth.
Leaks within the wall can be caused by corrosion in older pipes, a failure at a solder joint, or even a nail or screw that has accidentally punctured a water line. If you have ruled out the hoses and visible connections, and the wall itself feels damp or soft, it’s time to call a professional plumber. Finding and repairing a leak inside a wall requires cutting into the drywall and is a job that demands expertise.
Your Action Plan: DIY Fix vs. Calling a Professional
Once you have a better idea of the leak’s source, you need to decide whether it’s a repair you can tackle yourself or one that requires a professional. Some fixes are straightforward, while others carry the risk of causing more damage if not done correctly.
Simple issues like tightening a loose hose connection or replacing a worn-out supply hose are well within the capabilities of most homeowners. However, tasks that involve soldering pipes, replacing shutoff valves, or opening up a wall are best left to licensed plumbers. They have the tools and experience to do the job safely and correctly.
When to DIY and When to Call for Help
Use the table below to help you decide on the best course of action. It outlines common problems, their likely causes, and a recommendation on whether to attempt a DIY repair or call in a professional.
| Problem Symptom | Potential Cause | Recommendation |
|---|---|---|
| Dripping from hose connections | Loose fitting or worn washer | DIY: Tighten the connection or replace the hose. |
| Bulge or crack in a water supply hose | Old or damaged hose | DIY: Replace with a new, high-quality braided steel hose. |
| Slow seep from the valve handle | Loose packing nut | DIY: Gently tighten the packing nut with a wrench. |
| Water overflowing from drainpipe during drain cycle | Clogged drain line | DIY/Pro: Attempt to clear with a drain snake; call a plumber for persistent clogs. |
| Constant dripping from the valve body | Failed valve | Call a Professional: Valve replacement is required. |
| Damp, soft, or discolored drywall | Leak inside the wall | Call a Professional: Requires opening the wall to locate and repair the pipe. |
The Unseen Threat: Water Damage and Mold
Even a small, slow leak can lead to catastrophic damage over time. Water that seeps into drywall, wood studs, and subflooring creates the perfect environment for mold and mildew to grow. Mold can begin to develop within just 24 to 48 hours of materials becoming wet.
Mold not only causes unsightly stains and a persistent musty odor but also poses serious health risks. Exposure to mold spores can trigger allergic reactions, asthma attacks, and other respiratory problems. Furthermore, the moisture can lead to wood rot, compromising the structural integrity of your home. This is why addressing any leak, no matter how minor it seems, is absolutely critical.
A Deeper Dive: The Role of Water Pressure and System Dynamics
While a faulty part is often the direct cause of a leak, sometimes the root of the problem lies in the dynamics of your home’s plumbing system. Two often-overlooked factors are water hammer and thermal expansion. Understanding these concepts can help you diagnose recurring issues that seem to have no obvious cause.
Water hammer is the banging or shuddering noise you hear in your pipes when a valve is shut off abruptly. Modern washing machines have fast-acting solenoid valves that snap shut, stopping the flow of water instantly. This sudden stop sends a shockwave back through the pipes, which can stress fittings and joints over time, eventually leading to leaks. If you frequently hear this banging when your washer runs, installing water hammer arrestors can absorb this shock and protect your plumbing.
Thermal expansion occurs when water is heated in a closed plumbing system. As water heats up in your water heater, it expands in volume. If your home has a pressure-reducing valve or a check valve on the main water line, this extra volume has nowhere to go, causing a spike in water pressure throughout your house. This elevated pressure can strain every part of your plumbing system, including the valves and hoses behind your washing machine, increasing the likelihood of a leak. A thermal expansion tank, installed near your water heater, can resolve this issue by giving the expanded water a place to go.
Preventative Maintenance: Your Best Defense
The best way to deal with a water leak is to prevent it from happening in the first place. A few simple, proactive steps can save you thousands of dollars in potential repairs and give you peace of mind.
First, inspect your washing machine hoses every six months. Look for any signs of wear and tear, and replace them every three to five years, regardless of their appearance. Consider upgrading from standard rubber hoses to high-quality, braided stainless steel hoses, which are far more resistant to bursting.
Next, make sure you know where your main water shutoff valve is and that it is in good working order. If you ever have a major leak, being able to shut off the water to the entire house quickly can prevent a catastrophe. Additionally, consider turning off the water supply valves to your washing machine when you will be away from home for an extended period, such as on vacation.
Finally, be mindful of what goes into your washing machine. Small items can sometimes find their way into the drain pump, causing clogs and potential leaks. Cleaning your machine regularly, including the filter, can also help prevent issues. Sometimes, you may even notice unpleasant odors or residue, like black gunk in the washing machine seal, which can be a sign of buildup that needs addressing.
Conclusion: Taking Control of the Situation
Finding water leaking from the wall behind your washing machine is stressful, but it’s a problem that can be managed with a calm and logical approach. By following the steps of shutting off the power and water, carefully inspecting the potential sources, and making an informed decision about whether to DIY or call a professional, you can take control of the situation.
Remember that prompt action is key to minimizing damage and preventing more serious problems like mold growth and structural decay. Regular preventative maintenance is your most powerful tool in avoiding future leaks. By treating your plumbing system with care and attention, you can protect your home and ensure your laundry room remains a place of productivity, not problems.

