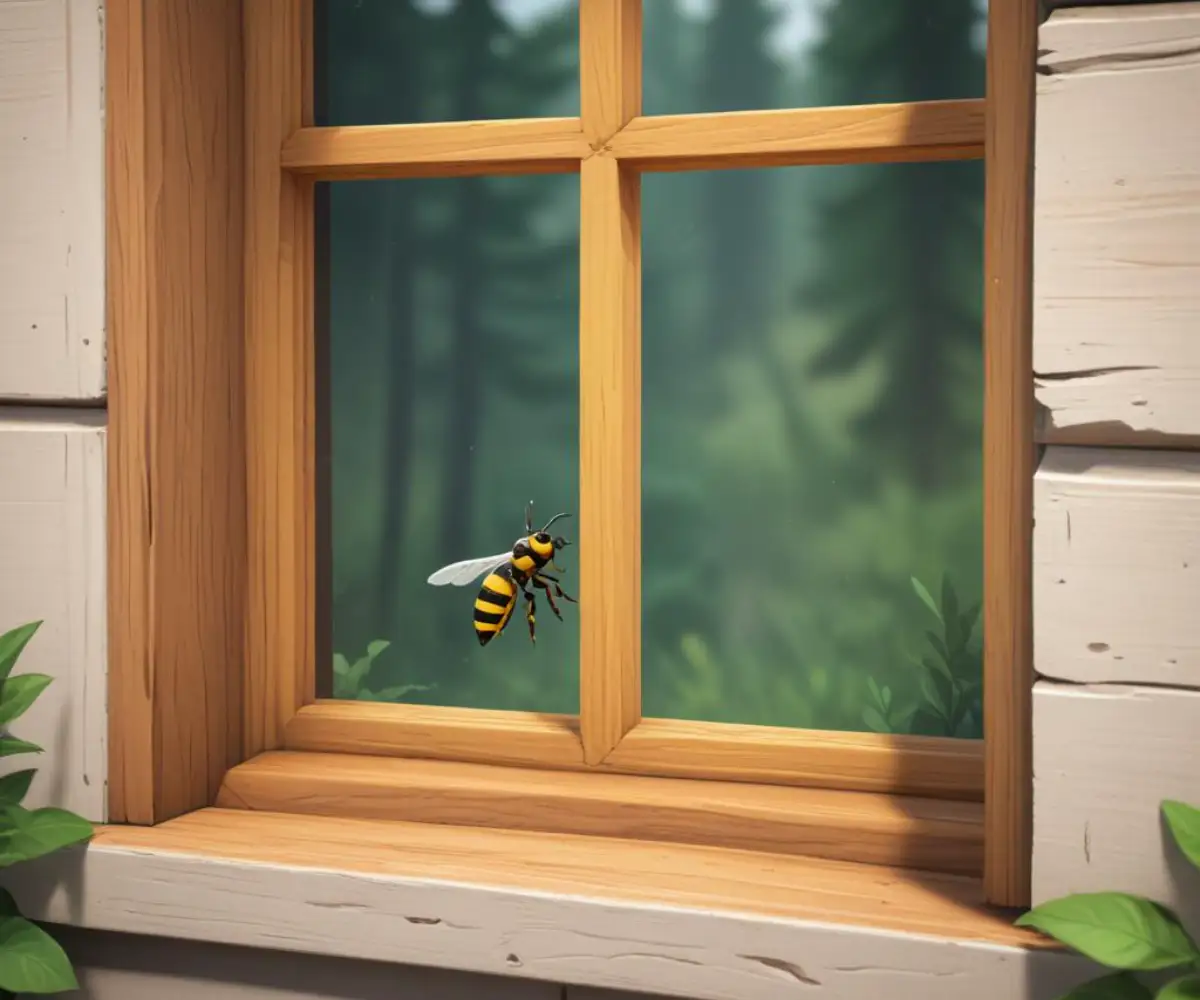
Wasps in Your Window Casings? Your Home is at Risk (Here’s How to Fix It)
That faint, almost imperceptible buzzing sound near the window. A lone wasp that appears inside, even when everything is sealed shut. These aren’t just random annoyances; they are urgent warning signs of a hidden invasion. Wasps in your window casings are a serious threat that goes far beyond the fear of a painful sting.
For countless homeowners, window frames represent an unseen vulnerability. Wasps, masters of exploiting the smallest gaps, view these sheltered voids as prime real estate for building a nest. This puts your family at risk and can lead to surprising and costly damage to your home’s structure.
You'll Learn About
Why Your Window Casings Are a Wasp Magnet
Understanding why wasps are drawn to your windows is the first step in reclaiming your home. These pests are not randomly choosing a location; they are actively seeking out places that meet specific criteria for survival and colony growth.
The Perfect Shelter
Window frames, especially older wooden ones or hollow vinyl constructions, offer the ideal nesting environment. The voids within the casing provide a ready-made cavity, protecting the colony from wind, rain, and predators. This sheltered space allows them to build their nest and raise their young undisturbed.
Common Entry Points
Wasps can exploit incredibly small openings to access the voids in your walls and windows. Even a tiny crack in the exterior caulk, a small gap where siding meets the window trim, or the weep holes designed to let moisture out can serve as a superhighway for these determined insects. Over time, as a house settles, these gaps naturally form, making regular inspection a critical part of home maintenance.
Poorly installed siding components can also create hidden entryways for all sorts of pests. Issues like an incorrectly placed J-channel at the bottom of siding can create vulnerabilities that wasps are quick to discover and exploit, turning a small construction flaw into a major infestation.
Wood vs. Vinyl vs. Aluminum Frames
The material of your window frames plays a significant role in their susceptibility to wasps. Paper wasps, for instance, actively scrape wood fibers from fences, decks, and even wooden window frames to build their paper-like nests. This can cause visible damage and wear over time.
Vinyl and aluminum frames, while not providing nesting material, often have hollow channels and voids perfect for a hidden nest. Yellow jackets, in particular, are notorious for setting up large colonies within these protected cavities, often going unnoticed until the population explodes.
Identifying the Invaders: Not All Wasps Are the Same
Knowing which type of wasp you’re dealing with is crucial, as their behaviors, nest types, and aggression levels vary significantly. While you might occasionally see other insects, such as lethargic bees in your house, an active, steady stream of flying insects near a window points to a more deliberate infestation.
The most common culprits you’ll find in window casings are Paper Wasps and Yellow Jackets. Understanding the differences will help you assess the risk and choose the right removal strategy.
| Wasp Type | Appearance | Nest Type | Aggressiveness |
|---|---|---|---|
| Paper Wasps | Slender body with a distinct narrow waist; long legs that dangle during flight. Typically brown with yellow or reddish markings. | Open, umbrella-shaped comb made of a grayish, paper-like material. Often visible in sheltered spots. | Less aggressive. Will typically only sting if their nest is directly threatened. |
| Yellow Jackets | Stockier body with bold black and bright yellow stripes. Legs are tucked in during flight. | Enclosed, multi-layered paper nest, usually hidden within a void (like a wall or window frame). | Highly aggressive and territorial. Will sting repeatedly with little provocation, especially if the nest is disturbed. |
| Mud Daubers | Very slender, thread-waisted body, usually black or metallic blue. Solitary wasps. | Series of tube-like cells made of mud, often plastered to walls or under eaves. | Not aggressive. They are solitary and rarely sting unless handled directly. |
Telltale Signs of a Wasp Nest
Often, you won’t see the nest itself—only the evidence of its presence. Look for these subtle but critical clues that point to a hidden infestation within your window frame or the surrounding wall.
One of the most overlooked signs is sound. Listen closely for faint buzzing or crackling sounds coming from within the wall, especially on warm days. Homeowners often mistake these sounds for a water leak or rodents, but it can be the sound of a wasp colony growing and working.
Another key indicator is consistent traffic. If you see wasps repeatedly flying to and from the same small crack or hole near your window, you have likely found the entrance to their hidden nest. You might also find an unusual number of dead or dying wasps on the interior windowsill, a sign they have found a way inside but cannot get back out.
The Hidden Dangers Lurking in Your Window Frame
A wasp nest in your window casing is more than just a nuisance; it’s a ticking time bomb that poses risks to both your family’s safety and your home’s structural integrity. The dangers extend far beyond a simple sting.
Beyond the Sting: Structural Damage
This is the threat that few people talk about. A large wasp nest, especially from a species like yellow jackets, can generate moisture and waste. This moisture becomes trapped within the wall void, leading to slow, silent wood rot, peeling paint, and stained drywall. Over time, this can compromise the wooden components of the window frame itself, leading to costly repairs.
The nest material itself can also obstruct weep holes and other drainage paths designed to protect your wall from water damage. This turns a pest problem into a structural one that can spiral if left unaddressed.
Indoor Invasion Risk
What starts as a nest in the window casing rarely stays there. As the colony grows, the wasps will seek new escape routes. In their search, they can easily chew through drywall or find gaps around the window trim, leading to a sudden and terrifying indoor invasion.
This risk is especially high if you attempt to seal the exterior entry point without first eliminating the colony. Trapped and agitated, their only way out may be directly into your living room, bedroom, or kitchen, creating an extremely dangerous situation.
Your Step-by-Step Battle Plan for Wasp Removal
If you have confirmed a nest in your window casing, you must act decisively and safely. For small, visible nests (typically from paper wasps) that are easily accessible, a DIY approach can be effective if you take extreme caution.
Step 1: Safety First – Gear Up and Plan Your Attack
Never attempt wasp removal without proper protective gear. This includes thick, long-sleeved clothing, gloves, pants, closed-toe shoes, and protective headgear with netting. Even if you think the nest is small, a single mistake can lead to multiple painful stings.
The best time to treat a nest is at dusk or dawn. During these cooler times, most of the wasps will be inside the nest and less active, increasing the effectiveness of the treatment and reducing your risk of being swarmed.
Step 2: Choosing Your Weapon – Sprays and Dusts
For nests hidden within voids like a window casing, a standard aerosol spray is often ineffective. These sprays are designed for direct contact and will not penetrate deep enough to kill the entire colony.
The superior choice for wall and window voids is an insecticidal dust. Products containing deltamethrin or permethrin are highly effective. The dust is puffed into the entry hole, where foraging wasps will walk through it, carrying it deep into the nest and contaminating the entire colony.
Step 3: The Nighttime Ambush – How to Apply Treatment
Using a small puffer or duster, apply the insecticidal dust directly into the hole the wasps are using. Apply several quick puffs to ensure the dust coats the entrance and travels into the void. Do not seal the hole immediately. You want returning wasps to enter and track the dust inside.
After applying the dust, leave the area immediately. Do not stand around to watch. Have a clear escape path planned in case any wasps emerge aggressively.
Step 4: Observation and Follow-Up
Allow at least 24-48 hours for the dust to work. You should notice a dramatic decrease or complete cessation of wasp activity at the entrance. Once you are certain the entire colony is dead, you can proceed to permanently seal the entry hole with caulk or sealant to prevent future infestations.
When to Call a Professional: Know Your Limits
While a DIY approach can work for small, accessible nests, many situations are simply too dangerous to handle on your own. Recognizing these scenarios is key to ensuring your safety.
Signs of a Large, Hidden Infestation
If you can hear loud or persistent buzzing from within the wall, it is a clear sign of a very large and active colony. Another red flag is a constant stream of dozens or even hundreds of wasps entering and exiting a single point. In these cases, the nest is likely massive and should only be handled by a trained professional with specialized equipment.
Sometimes, a large infestation can create other unusual signs. For instance, if you’re experiencing strange phenomena like smelling pepper randomly, it could be linked to the defensive chemicals released by a large, agitated nest hidden within your walls.
Allergies and Safety Concerns
This is non-negotiable. If anyone in your household has a known allergy to bee or wasp stings, do not attempt any form of DIY removal. The risk of anaphylactic shock is far too great. A professional pest control operator can eliminate the threat without endangering your family.
Persistent Infestations
If you have tried DIY methods and the wasps return, or if you can’t seem to stop the activity, it’s time to call for help. Professionals have access to commercial-grade products and tools, such as specialized injectors and thermal imaging, that can locate and eradicate even the most stubborn and hidden nests.
Fortifying Your Home: Long-Term Wasp Prevention
Once you’ve eliminated the immediate threat, the final step is to ensure it never happens again. Proactive prevention is the most effective way to keep your window casings—and your entire home—wasp-free for good.
Seal Every Crack and Crevice
Conduct a thorough inspection of your home’s exterior at least twice a year, in the spring and fall. Use a high-quality exterior caulk or sealant to fill any gaps around window and door frames, where siding meets the foundation, and around utility lines or vents that enter the house. A single tube of caulk is one of the cheapest and most effective pest control tools you can own.
Window and Screen Maintenance
Regularly check your window screens for any rips or holes and repair them promptly. Ensure that window frames are in good condition, without rotting wood or cracked seals that could provide easy access for scouting wasps.
Landscaping for Prevention
Your yard can either attract or deter wasps. Avoid planting flowering plants and fruit trees directly against the house or under windows, as these are food sources. Keep garbage cans and compost bins tightly sealed and located as far from the house as practical to avoid attracting foraging yellow jackets.
By taking these steps, you can transform your home from a welcoming target into a fortress. A vigilant approach to maintenance and a quick, safe response to any signs of activity will ensure your windows remain a source of light and air, not a gateway for dangerous pests.