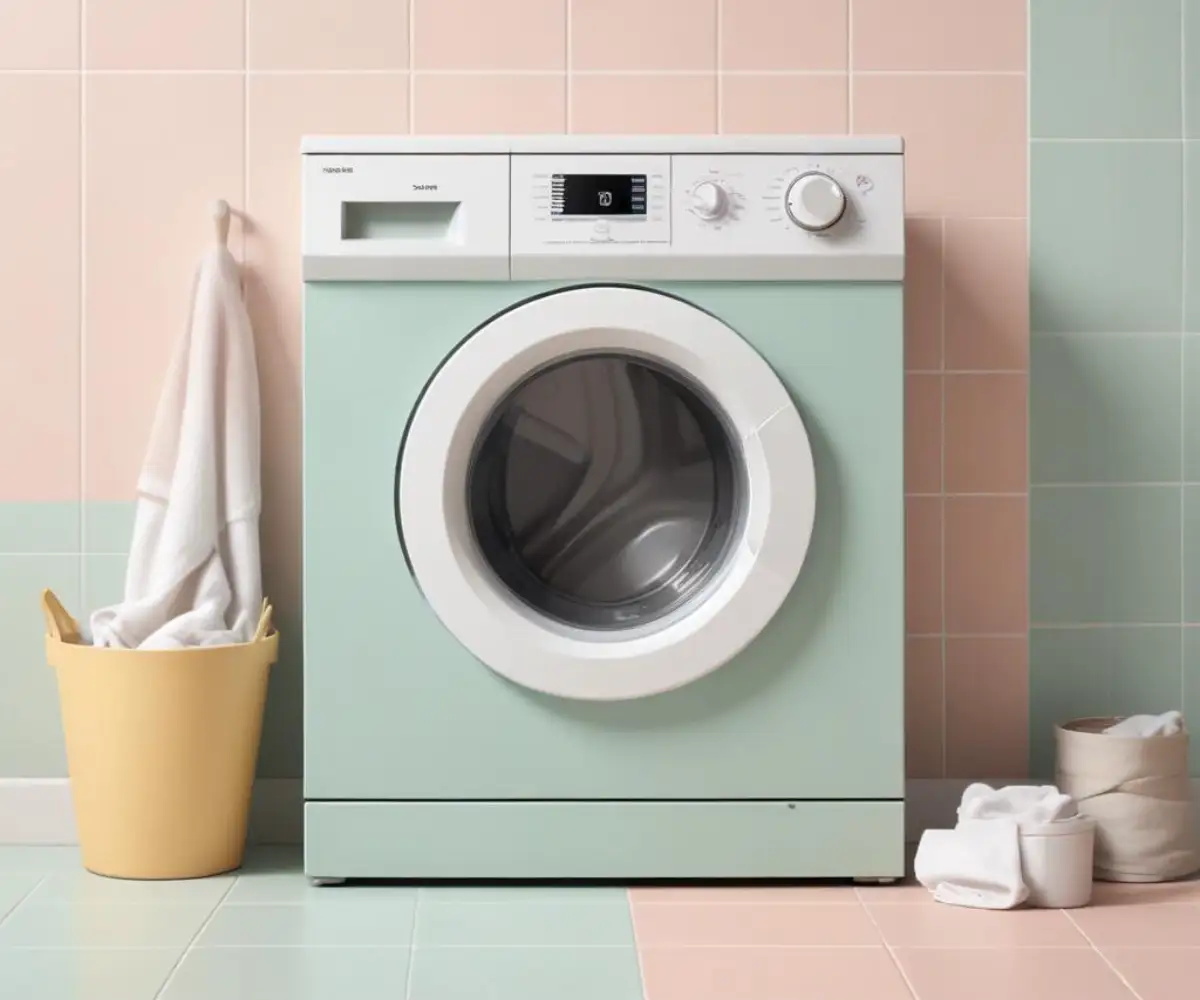
Washer Shakes House? Stop the Quake With These 7 Fixes
That deafening, house-rattling vibration from your laundry room is more than just an annoyance. It’s a mechanical cry for help that can signal everything from a simple imbalance to a serious issue that could damage your washing machine and even your home’s structure.
A washing machine that shakes the whole house feels alarming, but it’s a common problem with a clear set of causes. This comprehensive guide will walk you through the diagnostic process, from the easiest fixes to the more complex mechanical repairs, helping you restore peace and quiet to your home.
Before you begin any diagnostic work, the most critical first step is to unplug the washing machine from the power outlet to ensure your safety.
You'll Learn About
Why Your Washing Machine Is Shaking the Whole House
At its core, your washing machine is designed to spin a heavy, water-logged drum at incredibly high speeds. When the weight inside that drum is perfectly distributed, the machine operates smoothly. When it’s not, the resulting imbalance creates powerful forces that translate into violent vibrations.
These vibrations can be caused by something as simple as how you loaded your laundry or as complex as a failing internal component. We will explore every possibility to identify the true source of the problem.
1. The Most Common Culprit: An Unbalanced Load
The number one reason for a washer shaking violently is an unevenly distributed load of laundry. A single heavy item, like a bath mat, a pair of jeans, or a large towel, can get tangled and thrown to one side of the drum during the spin cycle.
This creates a significant off-center weight that the machine’s suspension system cannot counteract. The result is a machine that thumps, bangs, and can even “walk” across the floor. Proper loading is the first line of defense against vibration.
The solution is simple. Pause the cycle, open the door, and manually redistribute the clothes more evenly around the drum. If you’re washing a single bulky item, add a few smaller towels to help balance the weight.
2. Still Bolted Down? The Forgotten Shipping Bolts
If your washing machine is new, shipping bolts are the most likely cause of earth-shaking vibrations. These long bolts are installed at the factory to secure the drum and suspension system during transport, preventing them from bouncing around and getting damaged.
They are meant to be removed by the installer, but this step is often forgotten. The purpose of these bolts is not unlike the considerations for dryer shipping bolts, which also serve to protect the appliance during transit.
Leaving them in means the drum has no way to absorb the forces of the spin cycle, transferring every bit of that energy directly into the machine’s frame and, subsequently, your floor. A machine running with shipping bolts can quickly destroy itself. To fix this, check the back of the washer for four (usually) bolts with plastic spacers. Use a wrench to remove them completely.
3. An Uneven Foundation: Leveling the Machine
A washing machine must be perfectly level to operate correctly. If even one of its four feet isn’t making solid contact with the floor, the machine will rock back and forth during the spin cycle, creating major vibrations.
Over time, the machine’s own vibrations can cause the adjustable feet to shift. Place a bubble level (also known as a spirit level) on top of the washer. Check for level from front to back and from side to side.
If it’s off, you’ll need to adjust the feet. Most washing machine feet are on threaded screws with a lock nut. Use a wrench to loosen the lock nut, then twist the foot up or down until it’s firm against the floor and the machine is level. Once level, be sure to tighten the lock nut against the base of the machine to prevent the foot from moving again.
Digging Deeper: When Simple Fixes Aren’t Enough
If you’ve balanced your loads, removed the shipping bolts, and perfectly leveled the machine, but the house still shakes, it’s time to investigate the machine’s internal components. These issues are more complex but are often the root cause of persistent, severe vibration.
4. Worn-Out Suspension Rods or Shock Absorbers
Every washing machine has a suspension system to dampen the drum’s movement, much like the suspension in a car. In top-loading machines, this usually consists of four suspension rods that support the tub. In front-loading machines, it’s typically a set of shock absorbers and springs.
Over years of use, these components wear out. The springs can weaken, and the shock absorbers can lose their ability to dampen movement. When they fail, the drum is free to bounce and slam against the machine’s frame during the spin cycle.
A key sign of failed suspension is a drum that feels excessively bouncy when you press down on it (when the machine is off). Replacing these parts is often a manageable DIY job for those with some mechanical aptitude, but it requires opening the machine’s cabinet.
5. The Floor Itself: Is Your Foundation the Problem?
Sometimes, the problem isn’t the machine but what it’s sitting on. This is especially true for laundry rooms located on a second floor or any room with a wooden-joist floor structure. Wood floors have natural flex, and the high-frequency vibrations from a washer’s spin cycle can hit a resonant frequency, amplifying the shaking dramatically.
You might notice that the shaking is far worse than it was when the machine was in a basement or on a concrete slab. Strengthening the floor is one of the most effective long-term solutions for upper-floor laundry rooms. A cost-effective way to do this is to secure a piece of 3/4-inch plywood directly under the washer, screwing it into the floor joists to distribute the load and reduce flex.
Before undertaking structural changes, anti-vibration pads or a dense rubber mat can provide significant improvement. These products are specifically designed to absorb and isolate the vibrations before they can transfer to your floor.
| Solution | Best For | Average Cost | Installation Difficulty |
|---|---|---|---|
| Rubber Feet Pads | Minor to moderate vibration on solid floors (concrete, tile). | $20 – $40 | Easy |
| Anti-Vibration Mat | Moderate to severe vibration, especially on wooden floors. | $50 – $100 | Medium (requires lifting the machine) |
| Plywood Reinforcement | Severe, persistent vibration on upper floors with flexible wood joists. | $40 – $80 | Difficult (requires tools and DIY skills) |
6. A Loose Counterweight or Drum Component
To help balance the heavy motor and drum assembly, manufacturers place large, heavy counterweights inside the machine’s cabinet. These are typically made of concrete or cast iron and are bolted directly to the outer tub.
While rare, the intense vibrations from years of use can cause these mounting bolts to loosen. If a counterweight is loose, it will create a very loud and distinct heavy thudding or banging sound as it shifts and hits the machine’s frame during the spin cycle.
To check this, you will need to unplug the machine and remove either the top or front panel. Visually inspect the counterweights (there is often one at the top and one at the bottom on front-loaders) and physically try to wiggle them. If there is any movement, tighten the bolts securely with a socket wrench.
Advanced Troubleshooting and When to Call a Pro
You’ve worked through the common culprits and inspected the machine’s core components. By now, the vast majority of vibration issues will be solved. However, if the problem persists, a few final checks are in order before deciding whether to call a professional.
7. Checking for Other Loose Parts
A persistent noise can be just as maddening as the house-shaking itself, much like the never-ending noise from a bathroom fan rattling. Take a moment to check that all external components are secure. The water inlet and drain hoses can sometimes vibrate against the wall.
While you are inspecting the back of the machine, it is a great time to ensure your connections are secure to prevent other issues. Learning how to tighten a washer hose properly can save you from a future leak, which is a far bigger headache than vibration.
Ensure there is at least a few inches of clearance between the washer and the wall so these parts aren’t making contact. This simple check can sometimes be the source of a frustrating rattling sound that accompanies the main vibration.
Knowing Your Limits: The Professional Repair Call
There comes a point where the problem may be beyond a typical DIY repair. If you have tried all the previous steps and the machine still vibrates violently, it’s time to call a qualified appliance repair technician.
Specifically, if you hear a loud, roaring, or grinding noise that gets progressively louder as the machine spins faster, you may have a failed drum bearing. This is a major repair that requires a near-total disassembly of the machine and is not recommended for most homeowners.
Do not continue to use a machine you suspect has a bad bearing, as it can lead to catastrophic failure of the drum and tub, effectively totaling the appliance.
Final Preventative Measures for a Quiet Laundry Room
Once you’ve fixed the shaking, you can keep it from coming back with a few best practices. Consistent, proper use is key to a long and quiet life for your washing machine.
Always load laundry by distributing items evenly and loosely around the drum. Avoid washing single heavy items, and never overload the machine, as this puts immense strain on the suspension and bearings. Periodically, about every six months, double-check that the machine is still perfectly level, as they can shift slightly over time.
A washer that shakes the house is a solvable problem. By working through these diagnostic steps systematically, you can identify the source of the vibration and take the necessary action. You can regain the peace in your home and ensure your appliance operates safely and efficiently for years to come.