Wallpaper Over Shiplap: Your Guide to a Perfect Finish
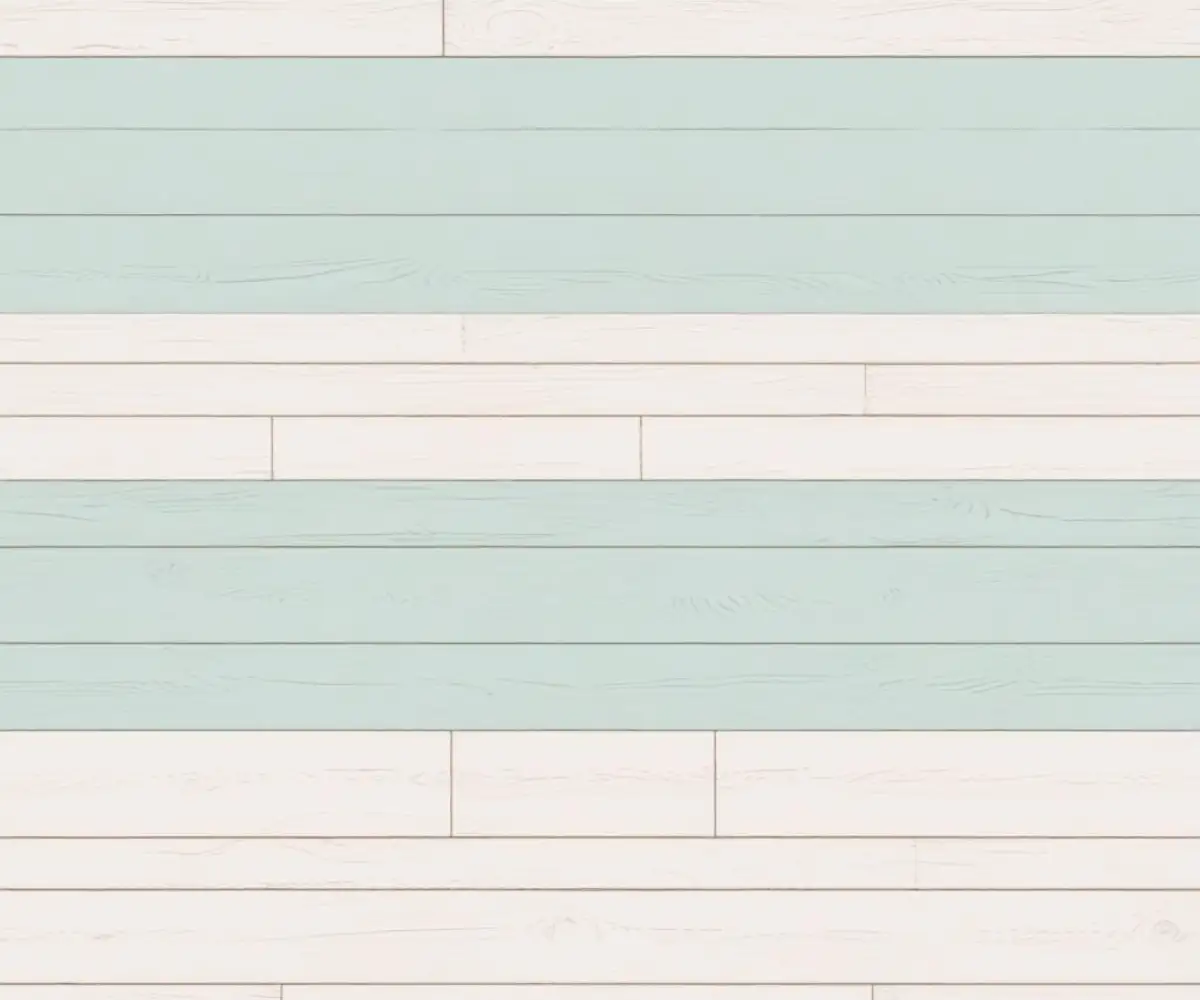
Shiplap walls offer a distinct rustic charm, adding texture and character to any room. However, tastes evolve, and you might find yourself craving a fresh look with wallpaper.
This raises a critical question: can you apply wallpaper over shiplap? The short answer is yes, but it is not as simple as applying it to a standard drywall surface. Applying wallpaper directly onto shiplap is a recipe for disaster.
You'll Learn About
Why Direct Wallpapering on Shiplap Fails
Attempting to wallpaper directly over shiplap planks will lead to a deeply unsatisfying result. The inherent characteristics of shiplap make it an unsuitable surface for wallpaper adhesion and a smooth finish.
The most significant issue is the gaps or “nickel gaps” between the boards. These grooves will be immediately visible through the wallpaper, a phenomenon known as “telegraphing.” Similarly, the wood grain texture and any knots or imperfections in the wood will also show through, creating a bumpy, unprofessional look. Furthermore, wallpaper needs a smooth, non-porous surface to adhere correctly, which the raw or painted wood of shiplap does not provide.
The Foundation of Success: Creating a Flawless Surface
To successfully hang wallpaper over shiplap, you must first transform the textured, grooved wall into a perfectly smooth, flat surface. The goal is to make the shiplap wall indistinguishable from a sheet of drywall.
This requires a meticulous preparation process. The most effective and professional method is to fill the gaps and apply a “skim coat” of joint compound over the entire wall. This process, while labor-intensive, guarantees a durable and beautiful result that will make your wallpaper application a success.
The Ultimate Guide to Prepping Shiplap for Wallpaper
Follow these detailed steps to properly prepare your shiplap walls. Rushing this preparatory phase is the single biggest mistake you can make; patience here will pay off immensely in the final quality of your project.
Tools and Materials You’ll Need
Gathering all your supplies before you begin will streamline the process and prevent interruptions. Having the right tools is essential for achieving a smooth, professional-grade surface for your wallpaper.
| Category | Item | Purpose |
|---|---|---|
| Cleaning | TSP (Trisodium Phosphate) or a degreasing cleaner | To remove dirt, grime, and oils from the shiplap surface. |
| Filling & Skimming | Paintable Caulk or Wood Filler | To fill the gaps between shiplap boards. |
| Filling & Skimming | All-Purpose Joint Compound (Drywall Mud) | To create a smooth skim coat over the entire wall. |
| Filling & Skimming | Drywall Taping Knife (6-inch and 12-inch) | For applying and smoothing the joint compound. |
| Sanding | Sanding Block or Pole Sander | To hold sandpaper and provide even pressure. |
| Sanding | Medium-Grit (120) and Fine-Grit (220) Sandpaper | For smoothing the joint compound between coats. |
| Priming | Oil-Based or Shellac-Based Stain-Blocking Primer | Crucial for preventing wood tannins from bleeding through. |
| Safety | Dust Mask, Goggles, and Gloves | To protect yourself from dust and chemicals. |
Step 1: Thoroughly Clean the Shiplap
Begin by cleaning the entire shiplap surface with a solution of TSP or a strong degreasing cleaner. This removes any dust, grease, or grime that could interfere with adhesion.
After washing, rinse the wall with clean water and allow it to dry completely. A clean surface is non-negotiable for the primer and joint compound to bond effectively.
Step 2: Fill the Gaps Between Boards
Using a caulk gun, apply a thin, even bead of paintable caulk into every gap between the shiplap boards. Smooth the bead with your finger or a caulk tool to ensure it’s flush with the wood surface.
Alternatively, you can use a high-quality wood filler, pressing it firmly into the gaps with a putty knife. The goal is to create a single, continuous surface with no indentations.
Step 3: Apply the First Skim Coat
With the gaps filled and dry, it’s time to apply the first skim coat. The objective is not to cover the wall in one thick layer, but to apply several thin, controlled coats.
Using your 12-inch taping knife, apply a thin layer of joint compound over the entire wall. Hold the knife at a low angle to spread the mud and then at a higher angle to scrape off the excess, leaving a smooth, thin film. Do not worry about making it perfect on the first pass.
Step 4: Sand, Clean, and Repeat
Allow the first skim coat to dry completely, which may take up to 24 hours. Once dry, lightly sand the entire surface with 120-grit sandpaper to knock down any high spots or ridges.
After sanding, wipe the wall down with a damp cloth to remove all dust. Then, apply a second, thin skim coat, focusing on filling any remaining indentations or imperfections. Repeat this process of applying, drying, sanding, and cleaning for a third coat if necessary, until the wall is perfectly smooth.
Step 5: The Critical Priming Stage
Once you have a perfectly smooth, dust-free surface, you must prime it. This step is absolutely essential and cannot be skipped. You must use a stain-blocking, oil-based or shellac-based primer.
Wood, especially pine which is common for shiplap, contains natural oils called tannins. A water-based or latex primer will not seal these tannins, allowing them to bleed through your joint compound and wallpaper over time, causing ugly yellow or brown stains. This issue is similar to problems that can arise with old paint, where proper sealing is key to a lasting finish; a bad primer can even contribute to a situation where you see paint melting or failing. An oil-based primer creates an impermeable barrier, ensuring a pristine finish.
Choosing the Right Wallpaper for the Job
With your shiplap wall now perfectly prepped, the type of wallpaper you choose still matters. Some wallpapers are more forgiving than others.
Opt for thicker materials like solid vinyl or non-woven wallpapers. These are more durable and are better at concealing any minuscule imperfections that might remain on the wall surface. Wallpapers with a busy pattern or a physical texture, such as embossed or grasscloth styles, are excellent choices as they are masters of camouflage.
Avoid using thin, flat, or high-gloss wallpapers. These types of papers are notoriously unforgiving and will highlight even the slightest flaw in the wall surface beneath.
Common and Costly Mistakes to Avoid
Even with the best intentions, mistakes can happen. Being aware of common pitfalls can save you significant time, money, and frustration.
1. Skipping the Stain-Blocking Primer
This is the most critical error. Using a standard latex primer will almost certainly result in tannin bleed-through, ruining your expensive wallpaper with stains that are impossible to remove.
2. Insufficient Sanding
Failing to sand properly between skim coats will result in a subtly uneven surface. These imperfections will be glaringly obvious once the wallpaper is up, especially in rooms with a lot of natural light.
3. Applying Joint Compound Too Thickly
Thick layers of joint compound are prone to cracking as they dry and are much harder to sand smooth. Several thin coats are always superior to one or two thick coats.
4. Not Cleaning Away Dust
Sanding creates a tremendous amount of fine dust. If this dust is not completely removed before priming or wallpapering, it will compromise adhesion, leading to peeling and bubbling down the road.
Is This a Reversible Project?
It is important to understand that covering shiplap with a skim coat and wallpaper is a semi-permanent design choice. While it is technically reversible, the process is extremely laborious.
Restoring the original shiplap would require stripping the wallpaper and then meticulously sanding off every bit of primer and joint compound from the surface and out of the gaps. This is a difficult, messy, and time-consuming task. Before you begin, be certain that you are ready to commit to a new look for the long term.
Conclusion: A Worthwhile Challenge for a Stunning Reward
Wallpapering over shiplap is an advanced DIY project that demands significant time, effort, and attention to detail. It is not a quick weekend makeover. However, by embracing the crucial preparation phase—cleaning, filling, skimming, sanding, and priming—you can achieve a stunning, professional-quality result.
By transforming your textured shiplap into a perfectly smooth canvas, you open up a world of design possibilities, allowing you to successfully apply the wallpaper of your dreams for a truly unique and beautiful space. The effort invested in proper preparation is the key to a flawless finish that will last for years.