Vinyl Windows with Wood Trim: Get the Look Without This #1 Mistake
You love the warmth and classic charm of real wood. But you also crave the low-maintenance, high-efficiency benefits of modern vinyl windows. It’s the ultimate homeowner dilemma: how do you get the best of both worlds without one compromising the other?
Many homeowners fear that combining these two materials will look disjointed or, worse, lead to structural problems down the road. This concern is valid, as vinyl and wood behave very differently. Ignoring these differences is the fast track to a failed project.
But it doesn’t have to be that way. With the right knowledge and technique, you can successfully pair the practicality of vinyl with the timeless beauty of wood trim, creating a stunning and durable result. This guide will show you how to achieve that perfect hybrid, focusing on the single most critical mistake you must avoid.
You'll Learn About
Why This Combination is So Popular (and Problematic)
The appeal of pairing vinyl windows with wood trim is undeniable. It’s a strategic design choice that offers a perfect blend of modern performance and traditional aesthetics. Homeowners are increasingly drawn to this combination for several compelling reasons.
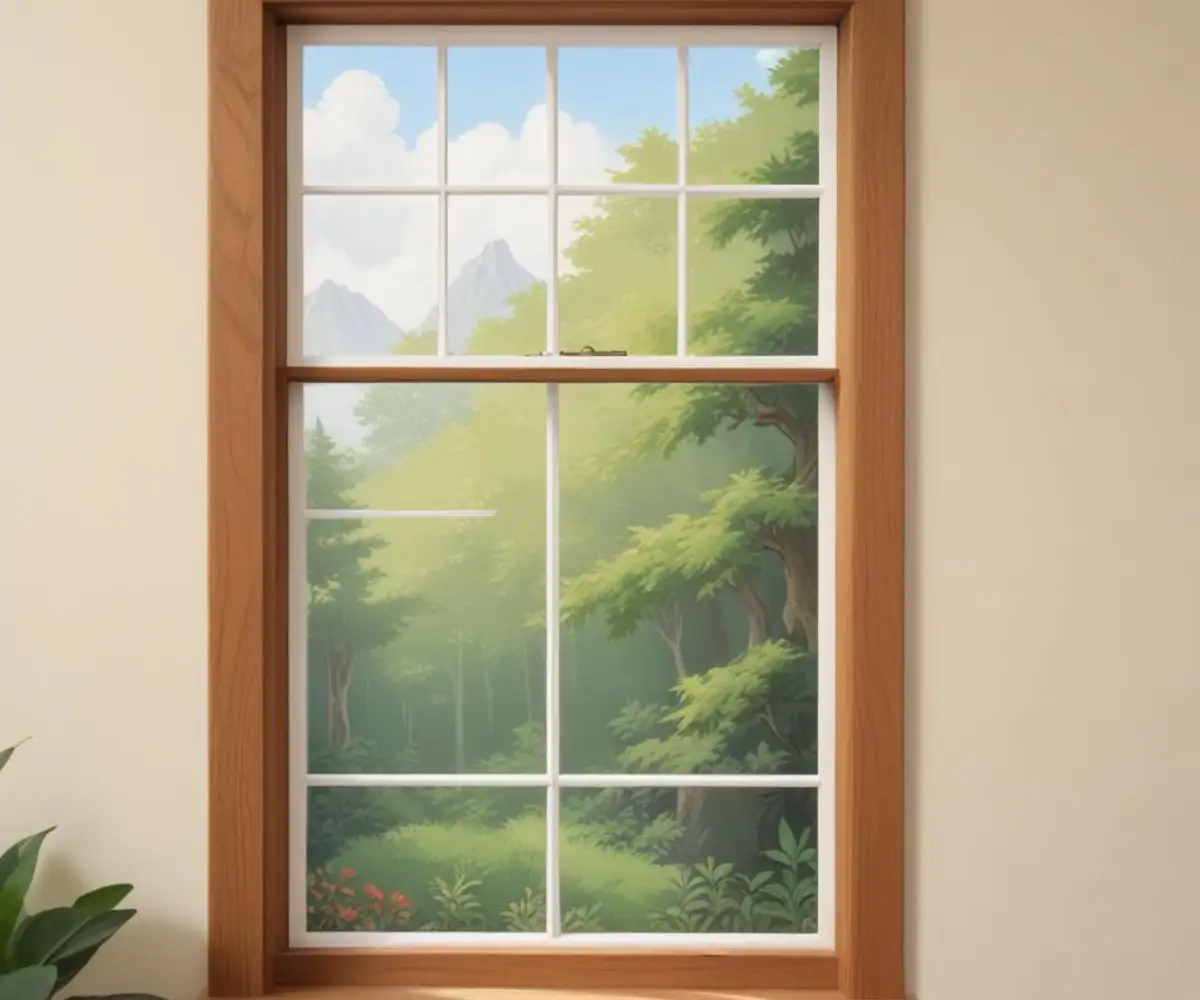
First and foremost, it delivers the best of both worlds. On the outside, you get a durable, weather-resistant vinyl frame that never needs painting and is easy to clean. On the inside, you get the rich, elegant appearance of real wood, which can be painted or stained to perfectly match your flooring, cabinets, and furniture.
However, this popular pairing comes with a set of common fears. The biggest concern is the potential for a “cheap” or tacked-on look if the transition between the sleek vinyl and the natural wood isn’t handled flawlessly. There’s also a significant technical challenge: wood and vinyl react to temperature and humidity changes at vastly different rates.
The Critical Decision: Integrated vs. Separately Installed Trim
When planning your project, you’ll face a fundamental choice that impacts cost, customization, and the installation process. You can either purchase windows with wood trim integrated at the factory or install standard vinyl windows and add your own custom wood trim on-site.
Factory-Integrated Wood Interiors: These are vinyl windows manufactured with a real wood veneer or a solid wood interior frame bonded directly to the vinyl structure. This option provides a seamless, professionally engineered look. The downside is a higher upfront cost and limitations on wood species and finishes offered by the manufacturer.
Site-Installed Custom Wood Trim: This approach involves installing a standard vinyl window and then having a carpenter (or doing it yourself) add custom wood casing around the interior. This method offers limitless customization in terms of wood type, trim profile, and finish. While potentially more budget-friendly, it’s also where the most critical installation errors occur.
The #1 Mistake to Avoid: Ignoring the Expansion Gap
Here is the most crucial piece of advice for this entire project: you must account for the different expansion and contraction rates of vinyl and wood. Vinyl expands and contracts significantly with temperature changes—far more than wood does. This is a fundamental property of the material.
The single biggest mistake homeowners and inexperienced installers make is fitting the wood trim snugly against the vinyl window frame. When the vinyl expands on a hot day, it pushes against the rigid wood, causing the trim to bow, mitered corners to separate, and joints to crack. In the winter, the vinyl shrinks, pulling away from the wood and creating unsightly gaps that let in drafts.
The solution is simple yet non-negotiable: always leave a small, consistent gap of about 1/8 inch between the vinyl window frame and the interior wood trim. This space gives both materials room to move independently without stressing each other. This gap is the secret to a long-lasting, professional finish.
How to Correctly Bridge the Gap
A visible gap is not a good look, so the final step is to conceal it properly. This is not a job for standard wood putty or rigid fillers. You must use a high-quality, flexible, and paintable caulk or sealant.
Follow these steps for a perfect installation:
- Measure and Cut: Carefully measure and cut your wood trim pieces to fit the window opening.
- Dry Fit and Space: Position the trim, using shims or spacers to maintain that crucial 1/8-inch gap between the wood and the vinyl frame.
- Fasten Correctly: Secure the wood trim by nailing it to the wall framing (the studs and header), never directly into the vinyl window frame itself. This ensures the trim and window can move independently.
- Caulk the Gap: Apply a smooth, consistent bead of flexible, paintable caulk into the expansion gap.
- Finish: Once the caulk is cured, you can paint or stain your trim, painting right over the caulk to create a seamless visual transition from the wood to the window.
Choosing the Right Wood and Finish for Your Trim
With the technical challenges solved, you can focus on the aesthetics. The type of wood you choose and how you finish it will define the final look of your windows and play a major role in your room’s overall design.
Best Wood Species for Interior Trim
Different woods offer unique grains, hardness, and suitability for paint or stain. Poplar is a fantastic, cost-effective choice for painted trim because it’s smooth and easy to work with. For a classic stained look, oak is a durable option with a prominent, beautiful grain.
Here’s a comparison of common wood choices for window trim:
| Wood Species | Hardness/Durability | Best Use Case | Cost Factor |
|---|---|---|---|
| Pine | Soft | Painted Trim, Rustic Look | $ |
| Poplar | Medium-Soft | Painted Trim (Very Smooth) | $$ |
| Oak | Hard | Stained Trim, High-Traffic Areas | $$$ |
| Maple | Very Hard | Stained or Painted, Modern Look | $$$$ |
| Cherry | Medium-Hard | Stained Trim, Luxury Look | $$$$$ |
To Paint or To Stain? A Style Guide
The choice between painting and staining your wood trim can completely change the feel of a room.
Stained trim creates a warm, traditional, or rustic ambiance. It celebrates the natural beauty of the wood’s grain and is perfect for coordinating with hardwood floors or wooden furniture. Painted trim, on the other hand, offers versatility and a crisp, clean look. White is a timeless choice that brightens any space, while bold colors can turn your windows into dramatic focal points.
Long-Term Care: Keeping Your Vinyl and Wood Looking New
One of the main draws of this combination is reduced maintenance, but “low-maintenance” doesn’t mean “no-maintenance.” While the vinyl frame only needs occasional cleaning with soap and water, the interior wood trim requires a bit more care to stay looking its best.
Regularly dust the wood trim and clean it with a wood-safe cleaner. Most importantly, inspect the caulk line between the wood and the vinyl annually. If you notice any cracking or pulling away, re-caulk the area immediately to maintain the airtight seal and prevent drafts.
Even with perfect installation, all double-paned windows can eventually experience seal failure, leading to a foggy appearance between the glass panes. If this happens, you don’t always need a whole new window; sometimes, you just need to explore where to buy IGU replacement glass to restore the clarity and efficiency.
Is This a DIY Project or Should You Hire a Pro?
Tackling window trim installation yourself can be a rewarding project, but it requires precision. If you have experience with carpentry, own a good miter saw, and understand the critical importance of the expansion gap, you might be well-equipped for the job.
However, if your cuts are not precise, the result can look amateurish. If you are uncertain about your skills or want a flawless finish, hiring a professional carpenter is a wise investment. They will ensure the trim is installed correctly, the gaps are perfect, and the final look is seamless.
Sometimes, simply replacing the trim isn’t enough, especially if the window itself is old and inefficient. In these cases, it’s worth comparing the benefits of different replacement options. Understanding the difference between sash kits vs replacement windows can help you make a more informed decision for your home and budget.
Ultimately, achieving a high-end look with your windows is about attention to detail. This same principle applies to other areas of your home. A beautifully trimmed window will only highlight issues elsewhere, like poorly finished floors. For a truly cohesive look, ensure every element of your renovation is handled with care, even something as foundational as deciding on the right approach for installing vinyl plank flooring over old glue.
By pairing the modern performance of vinyl windows with the timeless elegance of wood trim—and by respecting the expansion gap—you can create a beautiful, durable, and valuable feature in your home that you’ll appreciate for years to come.