Vinyl Plank Next to Hardwood: The #1 Mistake to Avoid a Disaster
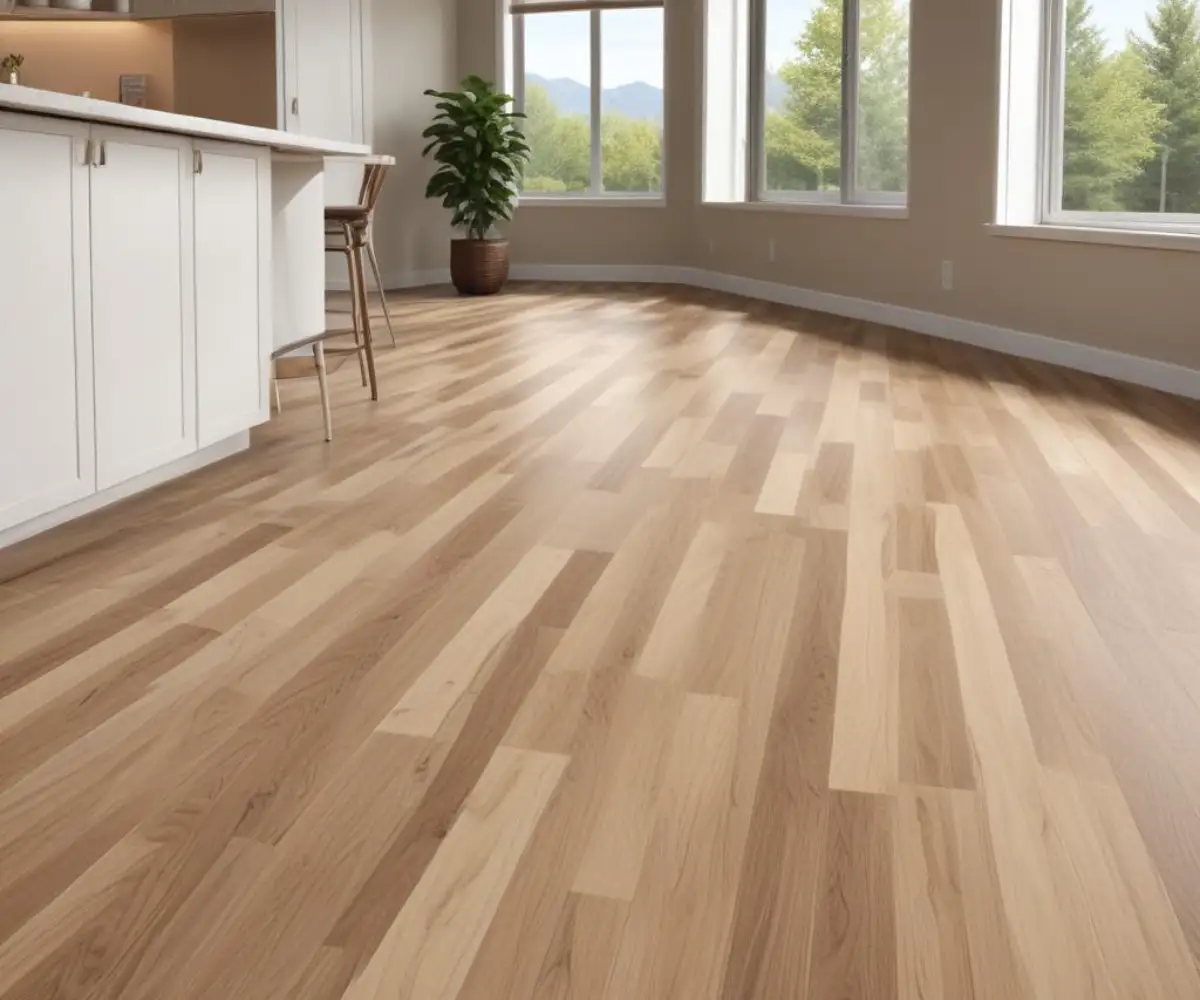
You love your timeless hardwood floors, but you need something more durable and waterproof for the kitchen or entryway. Luxury vinyl plank (LVP) seems like the perfect solution, offering the look of wood with superior resilience. But a nagging fear stops you in your tracks: how do you make vinyl plank look good next to real hardwood without it looking cheap or awkward?
This is the critical junction where a dream renovation can turn into a visual nightmare. A clunky, poorly planned transition between these two beautiful flooring types can ruin the aesthetic of both, creating a jarring seam that screams “bad DIY project.” It’s not just about looks; a bad transition can also be a dangerous tripping hazard.
You'll Learn About
Why This Single Seam Can Make or Break Your Entire Room
The transition line between your vinyl plank and hardwood is more than just a seam; it’s a focal point. When done correctly, it’s an intentional design element that allows two distinct spaces to flow together harmoniously. When done incorrectly, it constantly draws the eye for all the wrong reasons.
A flawless transition protects the edges of both your vinyl and your hardwood from chipping and damage. It also ensures a safe, level surface. The key to success lies in addressing the most common point of failure head-on: the difference in height between the two floors.
The Biggest Challenge: Conquering Uneven Floor Heights
The most frequent problem when laying vinyl plank next to hardwood is that the two materials rarely have the exact same thickness. Hardwood floors, especially older ones, are often significantly thicker than modern luxury vinyl. Ignoring this height difference is the single biggest mistake you can make.
Attempting to simply butt the two floors together will result in an exposed edge on the higher floor, which is a magnet for damage and a serious trip hazard. You must bridge this height difference professionally. The solution is to use a specific type of transition strip designed for this exact purpose.
Measuring the Height Difference: The First Critical Step
Before you can choose a solution, you must accurately measure the problem. Lay a piece of your LVP (including any underlayment) next to the hardwood. Place a straight edge or level across the top of both surfaces.
Use a tape measure to determine the precise gap between the bottom of the straight edge and the top of the lower floor. This measurement is crucial for selecting the correct transition strip. Even a small difference of a few millimeters needs to be addressed.
The Smart Solution: Reducer Strips Explained
When there is a noticeable height difference, the go-to solution is a reducer strip. A reducer creates a smooth, gentle slope from the higher flooring material (usually the hardwood) down to the lower vinyl plank. This eliminates the abrupt edge, ensuring safety and a clean, professional finish.
Reducers come in a variety of materials, including wood, metal, and vinyl, allowing you to choose one that complements both flooring types. They are specifically engineered to manage these height discrepancies safely and elegantly.
Choosing Your Perfect Transition: The 3 Main Options
While a reducer is essential for uneven heights, there are a few types of transition moldings to know. Understanding your options is key to achieving a seamless look. The right choice depends entirely on the height and gap between your two floors.
The most common and effective solutions involve a transition molding. These strips are designed not only to bridge gaps and height differences but also to cover the necessary expansion gap that both flooring types require.
| Transition Type | Best For | Key Feature | Installation Difficulty |
|---|---|---|---|
| T-Molding | Floors of the same height | Creates a clean bridge over the expansion gap | Easy to Moderate |
| Reducer | Floors with different heights | Provides a safe, gradual slope between surfaces | Easy to Moderate |
| End Cap / Threshold | Flooring ending at a doorway or sliding door | Finishes the edge of the flooring cleanly | Easy |
T-Molding: The Standard for Same-Height Floors
If you’re lucky enough to have vinyl plank and hardwood at the exact same height, a T-molding is your best friend. Shaped like a “T,” the top of the molding overlaps both floors, hiding the gap, while the center stem fits neatly into the space between them.
This is the cleanest option for same-level floors and is frequently used in doorways or in open-concept spaces to create a subtle division between materials. It cleanly covers the essential expansion gap without creating any vertical change in floor level.
The “No Transition Strip” Myth: Can You Go Flush?
Some homeowners dream of a “no-transition” look where the vinyl and hardwood meet in a perfectly flush line. While this is theoretically possible, it is extremely difficult to execute correctly and is generally not recommended for DIY installations. It requires a perfectly level subfloor and professional-level skill to cut the materials with absolute precision.
More importantly, this method often fails to accommodate the natural expansion and contraction of the flooring. Both hardwood and vinyl expand and contract with changes in temperature and humidity. Without a proper expansion gap covered by a molding, the floors can buckle, warp, or separate over time.
The Secret to a Seamless Look: Color & Style Coordination
Once you’ve solved the technical challenge of the transition, the next step is aesthetics. How do you choose a vinyl plank that complements your hardwood? This is where many homeowners feel uncertain, fearing a clash of styles.
The goal is coordination, not a perfect match. Trying to perfectly match an LVP to an existing hardwood can often look like a “near miss” and highlight the fact that they are different materials. A better approach is to select a vinyl plank that coordinates with the tones and character of your hardwood.
To Match or To Contrast?
There are two primary design strategies: complementing or contrasting. For a cohesive flow, choose a vinyl plank that picks up on the primary or secondary tones of your hardwood. If your oak floor has warm honey undertones and darker brown graining, an LVP in either of those color families can work beautifully.
Alternatively, a deliberate contrast can create a stunning, modern look. For example, pairing a light, natural oak hardwood with a dark, slate-look vinyl tile can define the spaces while remaining visually connected. The key is to ensure the undertones (warm, cool, or neutral) of both floors are compatible.
Pro Tips for Selecting Your Vinyl Plank
When choosing your flooring, pay close attention to the details. Consider the wood species, grain variation, and character marks of your existing hardwood. For instance, if your hardwood is a rustic hickory with lots of knots and color variation, a smooth, uniform vinyl plank will look out of place. High-quality LVP like that offered in Kolay luxury vinyl flooring reviews often provides realistic textures and patterns that can pair beautifully with natural wood.
Bring samples home and look at them next to your hardwood in different lighting conditions throughout the day. This is the only way to be certain the colors and textures will work well together in your space.
Installation Secrets: Avoiding Disaster at the Seam
Proper installation is what separates a professional-looking result from a DIY failure. The area where your two floors meet requires special attention to detail. Rushing this step can lead to gaps, squeaks, and a transition that fails prematurely.
Your number one priority must be managing the expansion gap. This is a non-negotiable rule of flooring installation for both floating vinyl plank and real hardwood.
The Unbreakable Rule: Respect the Expansion Gap
Both flooring materials need room to breathe. Changes in your home’s environment cause the planks to expand and contract slightly. An expansion gap, typically about 1/4-inch wide, is essential between the two floors to allow for this movement.
The transition molding (whether a T-molding or a reducer) is not just decorative; its primary job is to cover this gap. Never install your floors tight against each other, and do not secure the transition strip to the flooring planks themselves. The molding should be secured to the subfloor, allowing the flooring on either side to float freely underneath.
Protecting Your Existing Hardwood Floor
During the installation of your new vinyl flooring, your existing hardwood is vulnerable to scratches, scuffs, and dust. Take the time to protect it properly. Use painter’s tape to secure rosin paper or a protective covering like Ram Board over the hardwood surface that is adjacent to your work area.
Be careful when cutting your vinyl planks and transition strips. Set up a cutting station away from the hardwood, or place a sacrificial piece of plywood underneath your cuts to avoid damaging the floor below.
Is Mixing Vinyl Plank and Hardwood a Good Idea?
Absolutely. Combining the timeless beauty of hardwood with the modern durability and waterproof properties of LVP is a smart, practical, and stylish choice for today’s homes. Many homeowners are choosing this exact combination to get the best of both worlds.
By selecting a high-quality product, you can achieve a look that is both beautiful and functional. Brands discussed in Cortona Flooring reviews and some product lines like those mentioned in the Shaw Flooring from Costco article offer incredibly realistic wood visuals that can fool even a discerning eye. The key is not to view the LVP as a “fake” version of your hardwood, but as a complementary material chosen for its specific benefits in a particular space.
The Perfect Transition is Within Your Reach
Creating a beautiful and durable transition between vinyl plank and hardwood flooring is not about magic; it’s about following a clear process. By focusing on the fundamentals, you can avoid the common pitfalls that lead to an ugly or failing result.
First, accurately measure the height difference between your floors. Second, choose the right transition molding for the job—a reducer for uneven heights or a T-molding for floors that are level. Finally, always respect the expansion gap, ensuring both floors have room to move. By mastering this critical connection point, you can confidently combine the best qualities of vinyl and hardwood for a flawless, professional finish that will elevate your entire home.