Vinyl Plank Flooring on Stair Landing: The #1 Mistake That Ruins Your Project
A stair landing seems simple enough. It’s just a small, flat area, right? This assumption is the first and most critical mistake homeowners make. Treating a stair landing like any other patch of floor is a recipe for disaster, leading to unsightly gaps, hazardous tripping points, and a finish that screams “amateur.”
The truth is, a stair landing is the most critical junction in your flooring project. It’s a high-traffic, high-impact zone that must handle pivots, turns, and the concentrated weight of every footstep. An improper installation here doesn’t just look bad; it compromises the integrity and safety of your entire staircase.
You'll Learn About
Why Your Stair Landing is a Vinyl Plank Minefield (And How to Navigate It)
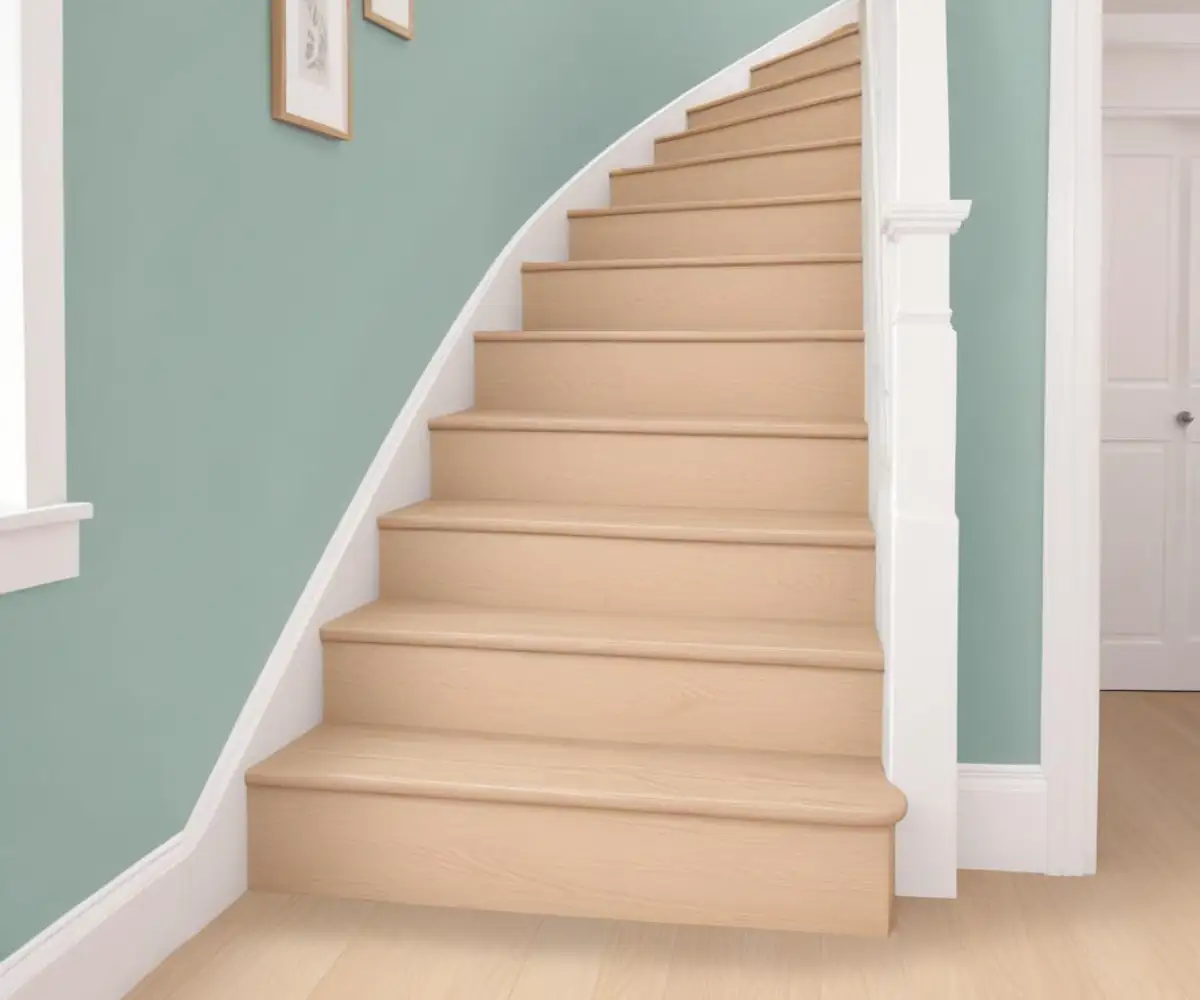
Installing vinyl plank on a stair landing presents unique challenges that are often underestimated. Unlike a straightforward room, a landing connects different planes—the horizontal floor and the vertical staircase. This intersection requires absolute precision, the right materials, and a clear understanding of potential pitfalls.
The High-Traffic Dilemma: More Than Just a Floor
Your stair landing endures more concentrated foot traffic and twisting forces than almost any other area in your home. This constant stress means that any shortcuts in subfloor preparation or installation will be quickly exposed. A floating floor installation, common in regular rooms, is often unsuitable for the demands of a landing and stairs, where planks can shift and separate under pressure.
The Transition Trap: The Bullnose and Stair Nosing Problem
The most crucial element of a landing installation is the transition from the flat surface to the first step down. This is handled by a specialized trim piece called a stair nosing. Choosing the wrong nosing or installing it incorrectly can create a dangerous lip, an uneven surface, or a weak point that will quickly fail. Many DIY attempts falter right here, at the edge where precision is paramount.
Before You Lay a Single Plank: The Critical Prep Work
A successful vinyl plank installation on your landing is 90% preparation. Rushing this stage is a guarantee of future problems. Taking the time to properly prepare the surface ensures a durable, safe, and professional-looking result.
Subfloor Perfection: The Foundation of a Flawless Landing
The subfloor of your landing must be impeccably clean, flat, and structurally sound. Vinyl plank is a flexible material, meaning any imperfections in the subfloor, like bumps, dips, or screw heads, will eventually telegraph through to the surface. Use a straight edge to check for any unevenness; any variations over 1/8 inch across 6 feet must be corrected.
Use a quality leveling compound to fill low spots and sand down any high spots. For wooden subfloors, ensure there are no loose panels and screw them down securely to eliminate squeaks. If you are dealing with old adhesive, it is critical to address it properly; consider learning about the risks of installing vinyl plank flooring over old glue to avoid future issues.
Acclimation Isn’t a Suggestion—It’s a Requirement
Vinyl plank flooring needs to acclimate to the temperature and humidity of your home. Let the unopened boxes of planks sit on or near the landing for at least 48 hours before installation. This allows the material to expand or contract, preventing buckling or gapping after it has been installed.
The Ultimate Guide to Installing Vinyl Plank on Your Landing
With a perfectly prepped subfloor, you can begin the installation. This process requires careful planning and precise execution, starting from the most critical edge—the stair nosing.
Step 1: Planning Your Layout for a Professional Finish
Before cutting any planks, perform a dry lay. Lay out the planks on the landing to determine the best visual flow and to ensure you won’t be left with a tiny, awkward sliver of a plank against the wall. The goal is to have the plank widths balanced and aesthetically pleasing.
Step 2: Mastering the Stair Nosing Installation
The stair nosing must be installed first and should be secured with both construction adhesive and nails or screws for maximum stability. This piece should not float. It is the anchor for the entire landing. A poorly secured nosing can lead to a dangerously bouncy vinyl plank flooring feel and eventual failure.
Apply a generous bead of strong construction adhesive to the subfloor where the nosing will sit. Press the nosing firmly into place and secure it with fasteners. Ensure the nosing is perfectly level and flush with the edge of the landing.
Step 3: Laying the First Row and Working Backwards
For most vinyl plank systems, the stair nosing piece will have a groove that allows you to click the first row of landing planks into it. Engage the tongue of the first plank into the groove of the stair nosing and work your way back towards the wall. This ensures a tight, seamless connection at the most critical transition point.
These first few rows connected to the nosing should also be glued down. A floating installation is not recommended for stairs or landings due to the movement and force they endure. Gluing the planks provides the necessary stability.
Step 4: Cutting and Fitting Around Obstacles
Use a jigsaw or a multi-tool for precise cuts around railings, posts, or complex corners. Remember the mantra: measure twice, cut once. Vinyl plank can be less forgiving than other materials, so precision is key. While many wonder how forgiving is vinyl plank flooring, mistakes in cutting around permanent fixtures are difficult to hide.
Choosing the Right Stair Nosing: The Unsung Hero of Your Landing
The stair nosing is arguably the most important component of your stair and landing project. It provides a finished look, protects the edge of the planks from damage, and ensures a safe transition. There are two primary types of nosing, and choosing the correct one is essential.
Flush vs. Overlap Nosing: Making the Right Call
A flush stair nosing creates a perfectly flat, seamless transition from the landing to the nosing piece. This is the preferred, most professional option. An overlap nosing, on the other hand, has a small lip that sits on top of the flooring. While easier to install, it can create a slight trip hazard and is generally used to hide imperfections or expansion gaps on floating floors.
For a stair landing where the flooring is glued down, a flush nosing is the superior choice for both safety and aesthetics.
The Bullnose Landing Dilemma: To Cut or Not to Cut?
A significant challenge that many DIY guides fail to address is the “bullnose” landing. This is when the edge of the subfloor is rounded rather than a sharp 90-degree angle. Installing a standard flush stair nosing directly over a bullnose is impossible and unsafe.
You have two options. The best and most professional solution is to cut the bullnose off. Use a circular saw or jigsaw to trim the rounded edge of the subfloor, creating a square, solid edge. This provides a flat, stable surface to securely mount the new stair nosing.
Attempting to install over the bullnose by packing it with filler is a poor workaround. This can create a weak point that may crack or fail under the stress of foot traffic, leading to a dangerous and unstable stair edge.
| Stair Nosing Type | Description | Best For | Key Consideration |
|---|---|---|---|
| Flush Nosing | Creates a smooth, level surface between the landing floor and the nosing. | Glue-down installations where a professional, seamless look is desired. The safest option. | Requires a perfectly square and level subfloor edge for proper installation. |
| Overlap Nosing | Features a lip that rests on top of the edge of the landing flooring. | Floating floor installations or covering imperfections and expansion gaps. | Creates a slightly raised edge that can be a minor trip hazard. |
| Square Nosing | Provides a clean, 90-degree edge. | Modern aesthetics and installations on squared-off subfloors. | Less forgiving for subfloors that are not perfectly square. |
Common Mistakes to Avoid at All Costs
Even with careful planning, simple mistakes can derail your project. Being aware of these common errors can save you time, money, and frustration.
Using the Wrong Adhesive
Not all construction adhesives are created equal. Use a high-quality, premium polyurethane-based construction adhesive specifically recommended for flooring applications. This ensures a strong, permanent bond that can withstand the flexing and stress of foot traffic on the stairs.
Forgetting the Expansion Gap (Against the Wall)
While the planks on the landing should be glued down, it’s still wise to leave a small 1/4-inch expansion gap against the wall. This allows for minor seasonal movement of the house structure without causing the floor to buckle. This gap will be covered by your baseboard or shoe molding for a clean finish.
Maintaining Your Vinyl Plank Landing for Lasting Beauty
Once your beautiful new landing is complete, proper maintenance is simple but crucial. Clean up spills promptly and use felt pads under any furniture legs that may rest on the landing. Regular sweeping or vacuuming (with the beater bar turned off) will prevent dirt and grit from scratching the surface, keeping your landing looking new for years to come.