Vinyl Plank Flooring Layout App: The #1 Mistake You Can’t Afford
You’ve selected the perfect vinyl plank flooring. You’re ready to transform your space. But an invisible hurdle stands between you and a flawless, professional-looking floor: the layout. Get it wrong, and you’re facing wasted materials, awkward-looking plank cuts against the walls, and a finished product that just looks “off.”
The core problem isn’t just about aesthetics; it’s about precision and foresight. A poorly planned layout can lead to structural instability, with seams aligning in ways that compromise the floor’s integrity. Many DIY enthusiasts dive in headfirst, only to find themselves with a final row of impossibly narrow slivers or a pattern that magnifies a room’s imperfections.
You'll Learn About
Why “Winging It” With Your LVP Layout Is a Costly Disaster
Ignoring the initial planning phase is the single most common mistake in any flooring installation. Without a clear visual guide, you are essentially guessing how the planks will fall, where cuts will need to be made, and how the overall pattern will flow from one end of the room to the other. This gamble rarely pays off.
The consequences range from minor annoyances to significant financial setbacks. Miscalculations lead to ordering too much or, even worse, not enough flooring, causing project delays. More critically, an unplanned layout often results in visual disruptions, like unsightly short planks at doorways or unbalanced patterns that draw the eye for all the wrong reasons.
The Hidden Complexities of a “Simple” Layout
Even a straightforward running bond or staggered pattern has nuances that can trip up the unprepared. How do you ensure the stagger is random and doesn’t create a noticeable “step” pattern? How do you start the first row to ensure the last row isn’t a tiny, difficult-to-cut sliver? Answering these questions on the fly is a recipe for frustration.
The direction of the planks can dramatically alter a room’s perceived size and dimensions. Laying planks parallel to the longest wall can make a room feel larger. But what if the main light source comes from a different direction? These are strategic decisions that a vinyl plank flooring layout app helps you make with confidence.
The Solution: Digital Precision with a Layout App
A vinyl plank flooring layout app is your digital blueprint for success. These powerful tools allow you to recreate your room’s exact dimensions and visualize the entire flooring project before you make a single cut. They transform a process of guesswork into one of calculated precision, saving you time, money, and stress.
By inputting your room’s measurements and the dimensions of your chosen planks, you can experiment with different layouts, orientations, and starting points. This virtual sandbox allows you to identify potential problems and find the most aesthetically pleasing and materially efficient layout for your specific space.
Key Features That Make a Flooring App Indispensable
Modern flooring visualizers and layout planners offer a suite of features designed to simplify the process. You can create a digital floor plan, experiment with plank direction, and calculate the exact amount of flooring needed, including a recommended overage for cuts and mistakes. This eliminates the risk of running out of material mid-project.
The ability to see a 3D rendering of your room with the new flooring is a game-changer. It helps you visualize how the final result will look with your existing furniture and decor. This ensures your flooring choice complements the entire space, not just a small sample swatch.
How to Choose and Use a Vinyl Plank Flooring Layout App Effectively
Not all layout apps are created equal. The best apps offer a balance of user-friendly interfaces and powerful features. Look for tools that allow you to input precise room dimensions, account for obstacles like fireplaces or kitchen islands, and offer various layout pattern options.
Start by accurately measuring your room. Don’t just measure the main walls; account for every nook, doorway, and alcove. The more precise your initial measurements, the more reliable the app’s calculations and visualizations will be. This initial step is critical for a successful outcome.
Step-by-Step Guide to Planning Your Layout
Once you’ve selected an app, input your room’s dimensions to create a digital floor plan. Next, enter the specific dimensions of your vinyl planks. The app will then allow you to experiment. Try running the planks parallel to different walls to see how it impacts the room’s visual flow.
Pay close attention to the starting and ending rows. The app should help you adjust the starting line so that the planks on opposite walls are of a similar, substantial width. This avoids the amateur mistake of having a full plank on one side and a paper-thin sliver on the other. For a visually appealing installation, it’s also important to think about what happens if you don’t stagger vinyl flooring, as proper seam placement is key to a professional look.
Beyond Basic Layouts: Advanced Considerations
For more complex installations, such as those involving multiple connecting rooms or intricate patterns like herringbone, a layout app is even more crucial. It can help you plan seamless transitions between rooms and ensure pattern continuity, which is incredibly difficult to achieve by just “eyeballing” it.
The layout isn’t just about the planks themselves. Consider the placement of transition strips, thresholds, and baseboards. A good app allows you to factor in these finishing touches, giving you a complete picture of the final project and helping you create a polished, integrated look.
The Unspoken Truth About AR Visualizers
Many apps now feature Augmented Reality (AR) to “see” the flooring in your room through your phone’s camera. While impressive, be aware of its limitations. The colors and textures on a screen can differ from reality due to lighting and display settings. AR is a fantastic tool for getting a general idea, but it should never replace viewing a physical sample in your own home’s lighting.
The accuracy of AR placement can also vary. Use it for inspiration and to compare different styles quickly, but rely on the 2D floor plan feature for precise layout planning and material calculations. This combination of inspiration and precision planning is the key to leveraging these apps effectively.
| App Feature | Primary Benefit | Pro Tip for Users |
|---|---|---|
| 2D Floor Planner | Precise layout simulation and waste calculation. | Double-check all measurements before inputting them. An error of an inch can throw off the entire plan. |
| 3D/AR Visualization | Realistic preview of flooring style and color in your space. | Always compare the digital preview with a physical flooring sample in your room’s natural light. |
| Material Calculator | Accurate estimation of flooring boxes needed. | Trust the app’s recommendation to add 10-15% overage. It’s better to have a little extra than not enough. |
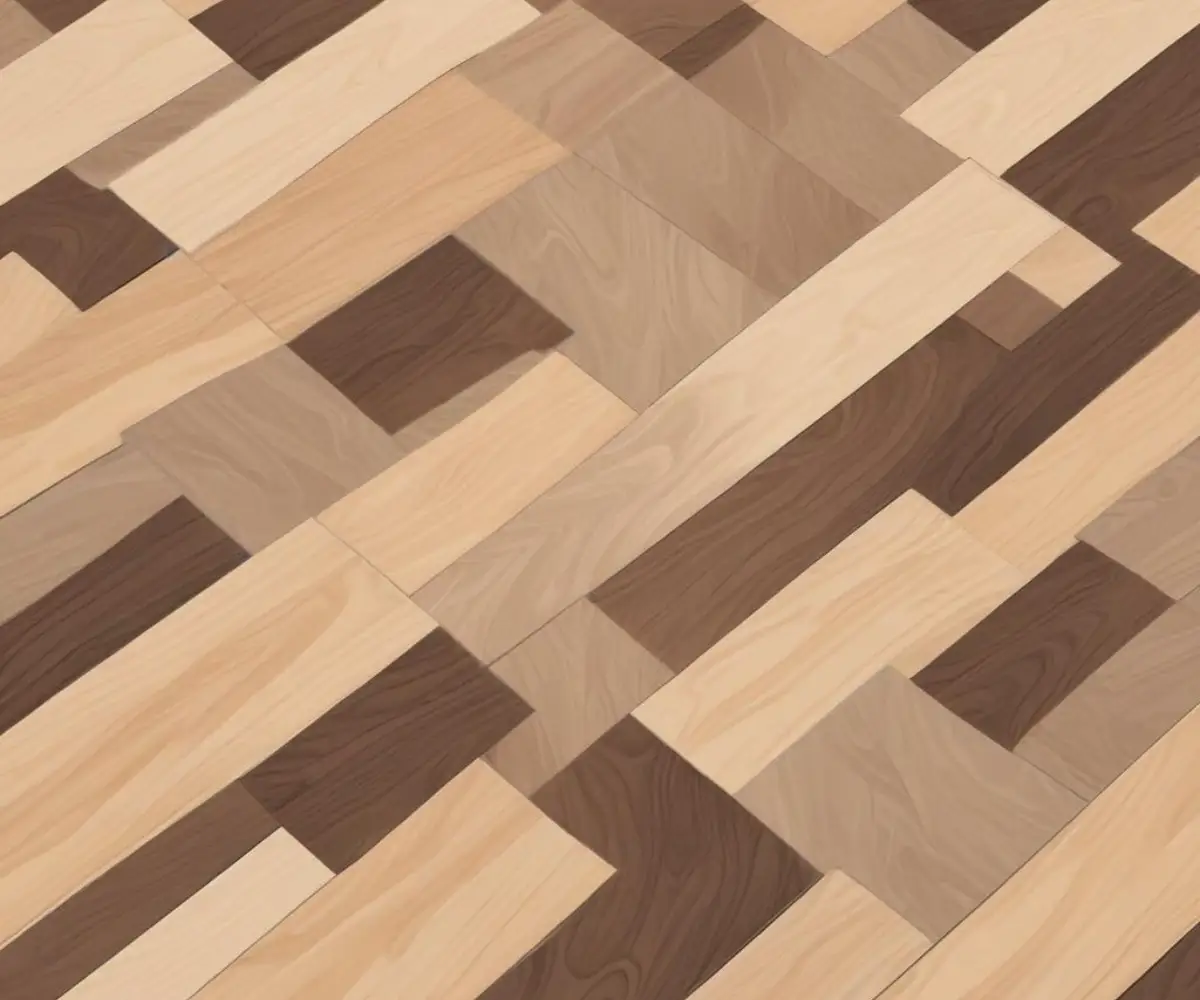
| Pattern Options | Experiment with different layouts like staggered or herringbone. | For a truly custom look, see how different patterns affect the room’s feel. A pattern like the H pattern flooring can offer a unique, structured appearance. |
Finalizing Your Plan for Flawless Installation
Once you’ve used the app to finalize your layout, you have a clear, actionable plan. You know where to start your first row, the sequence of your cuts, and how the floor will terminate at each wall. This digital roadmap eliminates the biggest source of stress and error in a DIY flooring project.
Your finalized plan should be a guide for every step of the installation process. It informs your subfloor preparation, your cutting list, and the placement of each individual plank. Having this level of detail beforehand ensures a smooth, efficient installation and a result that looks like it was done by a seasoned professional. Remember that quality materials matter, too; consider reading up on Hydroshield flooring reviews to ensure you’re starting with a great product.
Putting the Plan into Action
Before you lay the first plank, do a quick “dry lay” of the first few rows based on your app’s plan. This physical check confirms your digital plan translates perfectly to the real world. It’s the final verification before you commit and begin clicking planks into place.
A vinyl plank flooring layout app is more than a novelty; it’s an essential tool for modern DIY. It empowers you to plan with the precision of a professional, avoiding costly mistakes and ensuring the beautiful, durable floor you envisioned becomes a reality. Don’t start your project without one.