Ventilation Under Shed Floor: The #1 Mistake Rotting Your Shed
You’ve invested time and money into a new shed, a perfect space for your tools, hobbies, or storage. But a silent, invisible threat is working to destroy it from the ground up. Trapped moisture under your shed floor is that threat, and without proper ventilation, it can lead to catastrophic rot, mold, and structural failure.
Many shed owners focus on the roof and walls, completely neglecting the critical space between the shed floor and the ground. This oversight is a costly mistake. This guide will expose the dangers of poor under-shed airflow and provide a complete, actionable plan to ensure your shed stands strong for decades.
You'll Learn About
Why Your Shed Floor is a Ticking Time Bomb Without Ventilation
The ground is a constant source of moisture. Through evaporation, water vapor rises, and if it becomes trapped in the dark, stagnant space under your shed, it creates a perfect environment for destruction.
This trapped humidity is the root cause of nearly all under-shed problems. It attacks the very foundation and flooring that your shed relies on, silently and efficiently.
The Science of Trapped Moisture: How Rot Begins
When warm, moist air comes into contact with the cooler surfaces of your shed’s floor joists and subfloor, it condenses into liquid water. This process, known as condensation, provides the fuel for wood-destroying fungi to thrive.
These fungi break down the cellular structure of the wood, turning strong, solid joists into a soft, spongy mess. This is what we call rot, and once it starts, it can spread rapidly through the entire floor system.
Mold, Mildew, and Fungus: A Health Hazard in Your Backyard
Beyond structural damage, the damp environment fosters the growth of mold and mildew. These organisms release spores into the air, which can cause a range of health issues, especially for those with allergies or respiratory conditions.
A persistent musty odor emanating from your shed is a tell-tale sign that you have a mold or mildew problem lurking beneath the floorboards.
An Open Invitation for Pests and Termites
Damp wood is a magnet for pests. Carpenter ants, powderpost beetles, and most importantly, termites are all drawn to moist, softened wood as a source of food and shelter.
An unventilated crawl space under your shed is like a giant welcome mat for a termite colony. The damage they cause can be swift and severe, often requiring complete replacement of the floor structure.
Warped Floors and Structural Damage: The Costly Aftermath
As the wooden components of your floor absorb moisture, they swell and expand. When they dry, they contract. This constant cycle of expansion and contraction leads to warping, cupping, and buckling of the floorboards.
In severe cases, the floor joists can rot to the point of failure, causing the floor to sag or even collapse. What started as a simple moisture problem can quickly escalate into a major, expensive structural repair.
Diagnosing Your Shed’s Airflow Problem: Key Warning Signs
Before you can fix the problem, you need to confirm it exists. A few simple checks can reveal the health of the space beneath your shed. Be prepared to get a little dirty; it will be worth it.
These diagnostic tests are easy for any homeowner to perform and require no special equipment. They provide clear evidence of an airflow issue.
The “Sniff Test”: Detecting Musty Odors
Your nose is one of the best tools for detecting moisture problems. Open your shed door and take a deep breath. If you smell a persistent, damp, or earthy odor, it’s a strong indicator of mold or mildew growth under the floor.
This smell is caused by microbial volatile organic compounds (MVOCs), which are gases released by fungi. Don’t ignore this olfactory warning sign.
Visual Inspection: What to Look For Underneath
Using a powerful flashlight, carefully inspect the underside of your shed. Look at the floor joists, support beams, and the bottom of the subfloor. Pay close attention to any dark stains, discoloration, or visible fuzzy growth, which are all signs of mold or fungal activity.
Also, look for areas where the ground is particularly wet or where water pools after it rains. These areas are major contributors to the humidity problem.
The Screwdriver Test: Checking for Wood Rot
Take a flat-head screwdriver and firmly press the tip into several areas of the floor joists and support posts. The wood should be firm and resistant.
If the screwdriver sinks in easily or if the wood feels soft and spongy, you have active rot. Mark these areas for potential repair and recognize that immediate action on ventilation is required to stop it from spreading.
The Ultimate Guide to Under-Shed Ventilation Solutions
Now that you understand the problem and have diagnosed the signs, it’s time for the solution. Creating adequate airflow under your shed floor is not complicated, but it must be done correctly. The goal is simple: allow dry, fresh air to enter, circulate, and carry away moisture-laden air.
This process, known as cross-ventilation, is the single most effective strategy for protecting your shed’s foundation and floor structure. We will explore the best ways to achieve it.
Passive Ventilation: Your First Line of Defense
For most sheds, passive ventilation is all that is needed. This involves installing vents that allow air to move naturally, driven by wind and slight temperature differences. It’s a low-cost, no-maintenance, and highly effective solution.
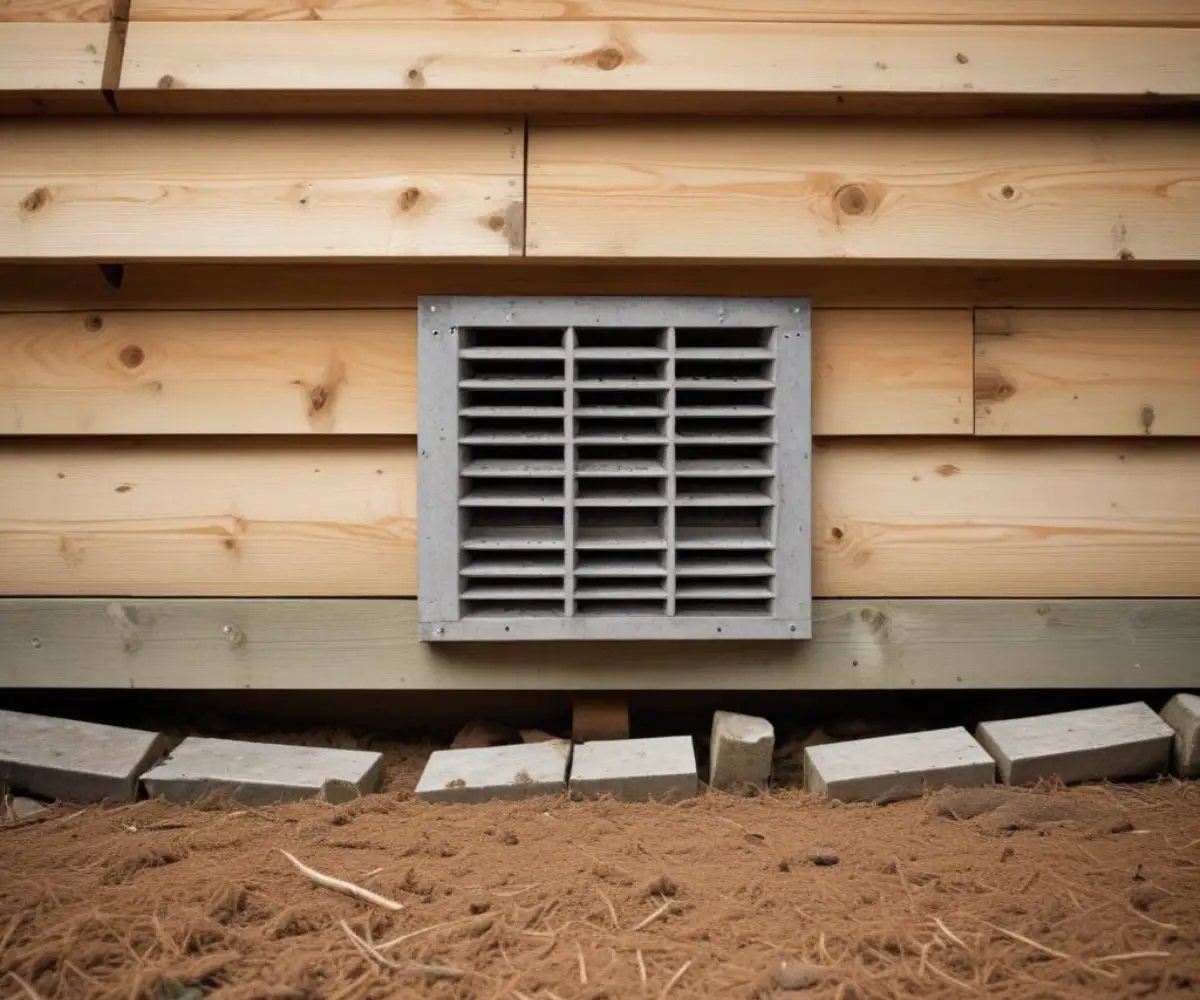
The most common method is installing foundation vents in the shed’s perimeter enclosure or rim joists. These vents should be installed on at least two opposite sides of the shed to promote proper air circulation across the entire underfloor area.
Calculating Your Ventilation Needs: The 1/150 Rule
A long-standing builder’s guideline for ventilating crawl spaces is the “1/150 Rule.” It states that you should have at least 1 square foot of vent area for every 150 square feet of underfloor area. To calculate this, measure the length and width of your shed to find the square footage (e.g., 10 feet x 12 feet = 120 square feet).
Then, divide that number by 150. In our example (120 / 150 = 0.8), you would need 0.8 square feet of total vent opening. Since vents are measured in square inches (1 sq ft = 144 sq in), you would need about 115 square inches of Net Free Vent Area (NFVA), a rating found on the packaging of most vents.
Types of Vents and Their Best Uses
Not all vents are created equal. Choose a vent made from durable, weather-resistant material like heavy-duty plastic or corrosion-resistant metal. Ensure any vent you purchase has a built-in screen or mesh to prevent insects and rodents from entering the space under your shed.
For sheds on skids or blocks with skirting, you can install standard foundation vents directly into the skirting material. For sheds built on a perimeter foundation, you may need to install vents in the rim joists between the floor joists.
| Ventilation Method | Pros | Cons | Best For |
|---|---|---|---|
| Foundation Vents | Direct and efficient airflow; excellent pest resistance; durable. | Requires cutting into skirting or rim joists; can be visually obtrusive. | Sheds with skirting or a perimeter foundation where directed cross-flow is needed. |
| Vented Skirting (Lattice) | Provides a high degree of airflow; easy to install; aesthetically pleasing for some styles. | Offers poor resistance to pests and wind-driven rain; can be fragile. | Sheds in dry climates where maximum airflow is prioritized over pest control. |
| Open Perimeter | Maximum possible ventilation; no cost. | No protection from pests; allows debris to collect; may be unsightly. | Simple, utilitarian sheds where aesthetics and pest control are not a concern. |
| Mechanical Vent Fan | Guarantees air exchange regardless of wind; actively pulls out moisture. | Requires power (solar or wired); has moving parts that can fail; higher cost. | Sheds in extremely humid climates, those with existing moisture issues, or for storing highly valuable items. |
The Critical Role of Cross-Ventilation
Simply installing one vent is not enough. The key to effective ventilation is creating a pathway for air to move through the entire space. You must place vents on opposite sides of the shed to achieve this.
This setup allows wind to enter one side and exit the other, creating a continuous current of air that effectively whisks away any moisture that evaporates from the ground before it has a chance to condense on the wood.
Step-by-Step: How to Retrofit Vents to an Existing Shed
If your shed was built without proper ventilation, don’t worry. Retrofitting vents is a straightforward DIY project that can be completed in an afternoon. This process will add years to the life of your shed.
Follow these steps carefully for a clean, professional, and effective installation that solves your moisture problem for good.
Step 1: Gather Your Tools and Materials
You will need a measuring tape, a pencil, a drill with a bit large enough to create a starter hole, a jigsaw or reciprocating saw, and a screwdriver. Your materials will be the vents themselves, exterior-grade screws, and a tube of exterior sealant or caulk.
Safety is paramount. Always wear safety glasses and gloves when cutting materials.
Step 2: Measure and Mark Your Vent Locations
Decide on the best locations for your vents, aiming for opposite sides of the shed. Position them between wall studs or floor joists for a clean installation. Place the vent against the skirting or rim joist and trace its outline with a pencil.
Ensure your markings are level and evenly spaced for a professional appearance. Most vents will have a flange that covers the cut edge, so your cut doesn’t have to be perfect, but it should be neat.
Step 3: Cut the Openings
Drill a starter hole in one of the corners of your traced outline, ensuring the hole is inside the cut line. Insert the blade of your jigsaw or reciprocating saw into the hole and carefully cut along the pencil line.
Take your time to ensure a straight cut. Once the section is removed, test fit the vent to make sure it slides into the opening easily.
Step 4: Install and Seal the Vents
Apply a bead of exterior-grade sealant to the back of the vent’s mounting flange. This will create a waterproof seal against the shed wall. Insert the vent into the opening and press it firmly into place.
Secure the vent using the provided screw holes with weather-resistant screws. Wipe away any excess sealant with a damp cloth for a clean finish.
Advanced Strategies: Taking Your Shed’s Health to the Next Level
While standard passive vents are sufficient for most situations, some circumstances call for more robust solutions. If you live in a very humid climate, your shed is located in a damp or shady area, or you store particularly valuable items, consider these advanced strategies.
These methods go beyond basic ventilation to create an actively managed, dry environment under your shed.
Beyond Passive Airflow: The Case for Mechanical Ventilation
In high-humidity environments, a solar-powered vent fan can be a game-changer. These units use a small solar panel to power a fan that actively pulls air out from under the shed, forcing fresh, dry air to be drawn in through other vents.
This creates guaranteed air exchange even on still, windless days. It’s an excellent way to supercharge your ventilation and actively combat moisture buildup.
The Ground Game: Vapor Barriers and Site Preparation
Ventilation removes moisture from the air, but a vapor barrier stops it at the source. A simple and effective upgrade is to lay a sheet of 6-mil plastic sheeting on the ground under your shed, extending it wall to wall.
This barrier dramatically reduces the amount of moisture evaporating from the ground into the under-shed space. A subfloor’s first line of defense often involves specific moisture-blocking materials, a concept explored in our guide on tar paper between subfloor layers.
Shed Skirting: Do’s and Don’ts for Airflow
Skirting is great for aesthetics and keeping animals out, but it is also the number one cause of blocked airflow. If you install skirting, you must incorporate vents. Never install solid, unventilated skirting around your shed.
Even decorative lattice, while better than solid panels, can restrict airflow. It’s always best to supplement lattice with dedicated, screened foundation vents to ensure adequate air exchange.
Ventilation and Insulation: A Balancing Act
People often wonder if they should ventilate the space under the floor if they plan to insulate the floor itself. The answer is an emphatic yes. The two systems perform different functions that work together to protect your shed.
Ventilation’s job is to keep the structural components of the floor system dry. Insulation’s job is to slow the transfer of heat through the floor assembly. You need both for a durable and comfortable shed. Thinking about adding warmth? It’s important to understand how to do it without trapping moisture, a topic we cover in our guide on whether you can insulate a plastic shed or a wooden one.
Frequently Asked Questions (FAQs) About Shed Floor Ventilation
Here are some quick answers to the most common questions homeowners have about keeping the space under their shed dry and healthy.
How many vents do I need for my shed?
Use the 1/150 rule: divide your shed’s square footage by 150 to get the required square feet of vent area. For a standard 10×12 shed (120 sq ft), you’ll need at least two 8×16 inch vents, as each typically provides about 56-60 square inches of net free area.
Is lattice enough for shed ventilation?
While lattice allows for some air movement, it doesn’t provide the directed, protected airflow of a proper vent. It also offers little protection against pests. It is always better to install dedicated, screened vents even if you have lattice skirting.
Can I have too much ventilation under my shed?
For moisture control, it’s almost impossible to have too much ventilation. The more air that moves through, the drier the space will be. The only consideration is ensuring all vents are properly screened to prevent pests from entering.
Does my shed’s roofing impact underfloor moisture?
Absolutely. The entire shed is a system. A leaky roof, poorly sealed windows, or bad flashing can introduce water that eventually makes its way down to the floor system. Ensuring the entire shed envelope is secure is critical, which includes addressing issues like rain on an unfinished roof before they cause widespread problems.
Final Thoughts: Protect Your Investment
Ventilation under your shed floor is not an optional extra; it is a fundamental requirement for the longevity and health of your structure. The small effort and minimal cost required to install proper vents will pay for itself many times over by preventing costly repairs from rot, pests, and mold.
Don’t let a hidden moisture problem silently destroy your investment from below. Inspect your shed today and take the necessary steps to ensure it has the airflow it needs to survive and thrive for years to come.