Vanity Sink in Bedroom: The Ultimate Guide to This Bold Design Trend
The line between the bedroom and bathroom is blurring. What was once a strictly utilitarian space is now being integrated into our sanctuaries of rest, creating a more seamless, hotel-like experience. At the forefront of this trend is the vanity sink in the bedroom—a design choice that is both controversial and brilliantly convenient.
For many, the idea sparks confusion. Why would you want a “wet” fixture in a dry, restful space? This article addresses the core problems and questions homeowners face when considering this unique feature, providing a complete roadmap from concept to flawless execution.
You'll Learn About
Why Put a Sink in the Bedroom? Unpacking the Problem of Modern Living
The primary driver behind the bedroom sink trend is the need to solve common household bottlenecks. In homes with multiple occupants and limited bathrooms, the morning rush can become a source of daily friction. A dedicated vanity sink in the master bedroom immediately alleviates this pressure, allowing one person to handle grooming tasks like washing their face or brushing teeth while the main bathroom remains free.
This concept is particularly effective in homes struggling with bad floor plans that create awkward traffic flow. Instead of undertaking a massive renovation, like exploring how to convert a Jack and Jill bathroom, adding a simple vanity can offer a surprisingly effective and less invasive solution. It provides a secondary prep station, transforming the master suite into a more self-sufficient and luxurious retreat.
The Core Benefits of a Bedroom Vanity Sink
Beyond solving scheduling conflicts, integrating a sink into the bedroom offers several distinct advantages. It introduces a touch of hotel-inspired luxury and convenience, perfect for late-night skincare routines or getting a glass of water without navigating a dark house. For those with en-suite bathrooms, it can create a more open, cohesive feel, breaking down the rigid separation between spaces.
Furthermore, it provides a dedicated station for makeup and haircare, keeping these activities separate from the steam and humidity of the main bathroom. This not only protects cosmetics and tools but also creates a more pleasant and focused getting-ready experience. The key is to design it thoughtfully, so it feels like an intentional, stylish addition rather than a misplaced fixture.
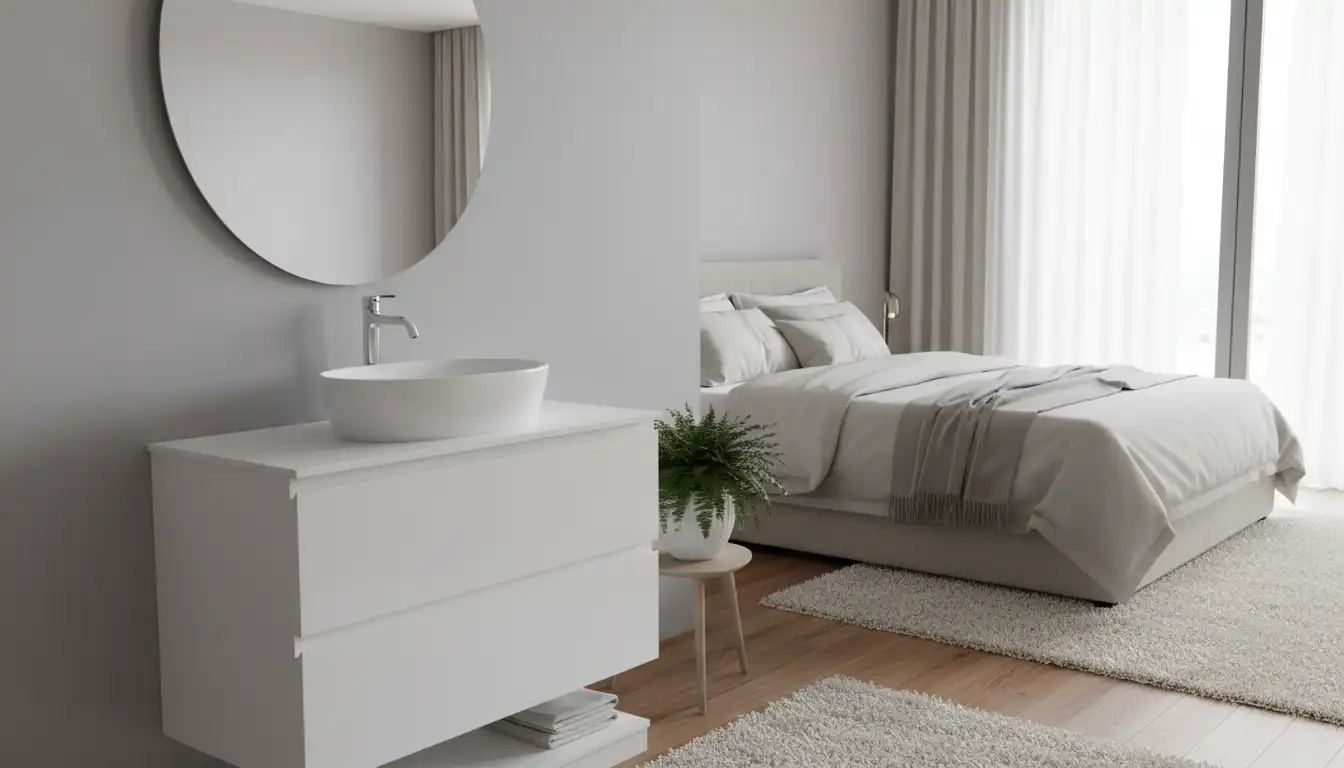
Design and Aesthetics: Making the Bedroom Sink Look Intentional
The biggest hesitation for many homeowners is aesthetic. How do you make a sink look like it truly belongs in a bedroom? The answer lies in treating the vanity as a piece of furniture, not just a utility. Forget the standard, sterile bathroom cabinets and think more creatively.
Choose a vanity that complements your existing bedroom decor. This could be a repurposed antique dresser, a floating wood slab for a minimalist look, or a sleek, modern console table. The goal is to select materials, colors, and hardware that echo the style of your bed, nightstands, and other furniture, creating a harmonious and unified design.
Creating a Designated “Vanity Zone”
To avoid the sink feeling random or out of place, it’s crucial to create a distinct “zone” around it. This can be achieved through several design strategies. Use a stylish backsplash—perhaps a panel of interesting tile, a sheet of antiqued mirror, or a waterproof wallpaper—to define the area behind the sink.
Proper lighting is also essential. Install a chic wall sconce on either side of a mirror or hang a statement pendant light above the vanity. This not only provides necessary task lighting but also visually anchors the vanity, making it a deliberate focal point. A comfortable stool or chair and a plush area rug can further delineate the space and enhance its function as a dedicated grooming station.
The Technical Side: Plumbing, Ventilation, and Installation
While the design is exciting, the practical aspects are what make a bedroom sink project successful and safe. Proper planning around plumbing, moisture control, and electrical needs is non-negotiable. Ignoring these technical details can lead to significant problems like water damage, mold growth, and costly repairs down the line.
It is highly recommended to hire licensed professionals—a plumber and an electrician—to handle the installation. They will ensure all work is up to code and that the new fixture integrates safely with your home’s existing systems.
Plumbing: The Make-or-Break Factor
The feasibility and cost of your project will largely depend on your home’s existing plumbing layout. The ideal scenario is to install the vanity sink on a wall that backs onto an existing bathroom or laundry room. This allows for easier and more affordable access to both water supply lines and a drain/vent stack.
A crucial but often overlooked detail is the installation of dedicated shut-off valves for the bedroom sink. This allows you to turn off the water to the vanity for maintenance without disrupting the water supply to the main bathroom. Additionally, proper venting is vital to ensure the drain functions correctly and prevents sewer gases from entering the room. An Air Admittance Valve (AAV) can sometimes be used if tying into a traditional vent stack is not possible, but you must check local building codes for compliance.
Moisture and Ventilation: Protecting Your Sanctuary
Introducing a water source into the bedroom requires careful consideration of moisture control. While a simple sink doesn’t generate the same level of humidity as a shower, splashes are inevitable. Ensure the area around the vanity is properly protected. Use a waterproof backsplash and consider a durable, water-resistant flooring material like luxury vinyl tile in the immediate vicinity.
Ventilation is equally important to prevent stale air and potential mold growth. If the bedroom doesn’t have excellent natural airflow, consider installing a small, quiet exhaust fan. This is particularly important if the room is small or lacks large windows. Proper ventilation will maintain healthy indoor air quality and protect the structural integrity of your home.
Choosing the Right Materials: A Comparative Look
The materials you select for your vanity cabinet and countertop will significantly impact its durability, style, and maintenance requirements. It’s essential to balance aesthetics with practicality, choosing surfaces that can withstand occasional moisture while complementing your bedroom’s design.
Below is a comparison of common vanity materials to help you make an informed decision.
| Material | Pros | Cons | Best For |
|---|---|---|---|
| Solid Wood | Durable, timeless look, can be refinished. | Expensive, susceptible to water damage if not properly sealed. | Classic, traditional, or rustic bedroom styles. |
| Plywood | Very stable, excellent moisture resistance, holds screws securely. | Can be more expensive than MDF; requires a veneer or paint finish. | High-quality custom or semi-custom vanities. |
| MDF (Medium-Density Fiberboard) | Affordable, smooth surface ideal for painting. | Swells and degrades if exposed to water, cannot be repaired. | Budget-friendly projects with a painted finish. |
| Quartz Countertop | Non-porous, extremely durable, stain and scratch-resistant. | Can be expensive, contemporary look may not suit all styles. | A modern, low-maintenance, and highly durable surface. |
| Cultured Marble Top | Affordable, seamless sink integration, easy to clean. | Can be prone to scratching and staining; can look dated. | An all-in-one, budget-conscious countertop and sink solution. |
Cost Analysis: Budgeting for Your Bedroom Sink Project
The cost of adding a vanity sink to a bedroom can vary dramatically based on several factors. A simple, DIY-friendly installation using a budget vanity where plumbing is easily accessible might cost a few hundred dollars. A high-end project with a custom vanity, stone countertop, and complex plumbing work could run into the thousands.
On average, homeowners can expect the total cost to be between $800 and $3,500. This includes the vanity and sink, faucet, plumbing and electrical labor, and materials for the backsplash and any necessary wall repairs. Obtaining multiple quotes from qualified contractors is the best way to get an accurate estimate for your specific project.
Impact on Resale Value: A Worthwhile Investment?
The question of resale value is complex. For some buyers, a sink in the bedroom might be an unusual feature they don’t appreciate. For others, particularly in a competitive market, it could be seen as a luxurious and practical upgrade that sets your home apart. A well-designed and professionally installed bedroom vanity is more likely to be viewed as a positive feature.
To maximize its appeal, ensure the design is neutral and high-quality. A stylish, furniture-like vanity will always be more attractive to potential buyers than a basic, out-of-place bathroom cabinet. Frame it as a “convenience center” or “in-suite dressing area” in real estate listings to highlight its function and luxury appeal.
Step-by-Step Installation Guide: From Planning to Reality
While professional help is recommended for plumbing and electrical work, understanding the process is crucial for any homeowner managing the project. Here is a simplified overview of the steps involved.
Phase 1: Planning and Preparation
- Select the Location: Choose the optimal spot for your vanity. Prioritize walls with existing plumbing access and consider the room’s traffic flow.
- Choose Your Vanity and Fixtures: Select a vanity, sink, and faucet that match your bedroom’s style and your functional needs.
- Hire Professionals: Obtain quotes from and hire a licensed plumber and electrician. Discuss your plans in detail to ensure they are feasible and up to code.
Phase 2: Rough-In and Construction
- Plumbing and Electrical Rough-In: The plumber will run new water supply and drain lines. The electrician will install wiring for any new outlets or lighting.
- Wall Repair: After the rough-in is complete and inspected, the drywall will be repaired, patched, and prepared for painting or finishing.
- Flooring and Paint: Install any new flooring and paint the walls before the vanity is installed. This ensures a clean, finished look.
Phase 3: Final Installation
- Install the Vanity: The vanity cabinet is secured to the wall. Ensure it is perfectly level.
- Set the Countertop and Sink: The countertop is installed, followed by the sink. All seams should be sealed with silicone.
- Connect Plumbing and Faucet: The plumber will install the faucet and connect the water supply lines and drain trap.
- Install Finishes: Finally, install the mirror, lighting fixtures, and any backsplash tile. After a final check for leaks, your bedroom vanity sink is ready to use.
A vanity sink in the bedroom is more than just a trend; it’s a functional upgrade that can add convenience and a touch of luxury to your daily routine. By focusing on thoughtful design and ensuring a professional, code-compliant installation, you can create a feature that is both beautiful and practical, transforming your master suite into a true personal oasis.