Found an Upside Down Joist Hanger? This Is a Code Red Structural Alert
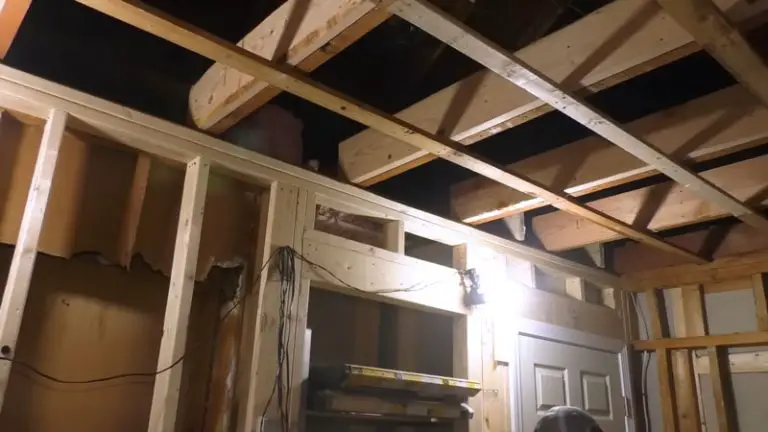
You’re inspecting your deck or the floor framing in your basement, and something looks strange. A piece of structural hardware, a metal joist hanger that’s supposed to cradle a wooden joist, is installed completely upside down. It might seem like a minor mistake, but this is a serious structural red flag that compromises the safety of your home.
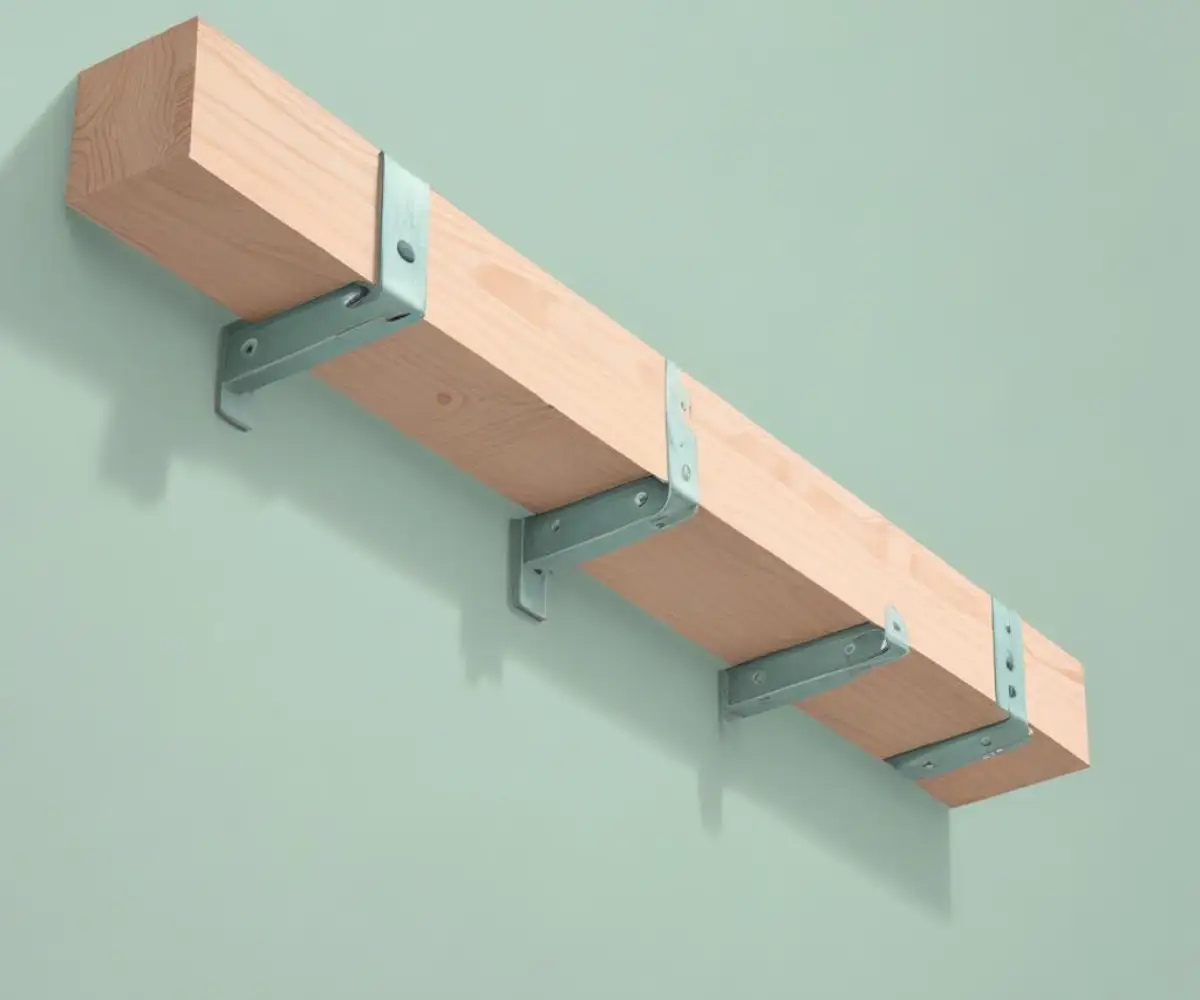
A joist hanger is a workhorse of modern construction. This simple metal bracket is engineered to create a strong, reliable connection between a joist and a ledger board or beam, transferring the load from the floor or deck down to the foundation. When installed correctly, it provides immense strength; when installed incorrectly, it creates a ticking time bomb for structural failure.
You'll Learn About
The Critical Failure Point: Why an Upside Down Hanger Doesn’t Work
Understanding why an upside-down joist hanger is so dangerous requires a quick lesson in basic physics. A joist hanger is designed to support a joist’s vertical load through two primary forces: bearing and shear. The bottom seat of the hanger bears the weight of the joist, while the nails driven through the side flanges into the supporting beam are loaded in shear—a force that acts perpendicular to the nail, like a tiny pin holding everything together.
When a hanger is flipped upside down, this entire engineered system is compromised. The “seat” is now at the top, doing nothing, and the joist is left hanging from fasteners that are now loaded in withdrawal. Instead of resisting a shearing force, the nails are fighting a constant battle against being pulled straight out of the wood. The withdrawal strength of a nail is significantly lower than its shear strength, meaning the connection is drastically weaker than intended.
Shear vs. Withdrawal: A Simple Analogy
Imagine hanging a heavy painting. If you use a hook screwed securely into a stud, the screw is in shear. The weight of the painting pulls downward, perpendicular to the screw’s shaft, and it can hold a significant amount of weight. This is analogous to a correctly installed joist hanger nail.
Now, imagine just pushing a nail partially into the drywall and trying to hang the same painting from it. The force is now trying to pull the nail straight out. It won’t take much weight before the nail gives way and the painting crashes down. This is the exact scenario an upside-down joist hanger creates for your floor or deck structure.
Identifying the Mistake and Understanding the Risks
Spotting an upside-down hanger is straightforward. The solid metal base, or “seat,” of the hanger should always be at the bottom of the joist it is supporting. If the seat is at the top and the joist is hanging below it, the installation is dangerously wrong.
The risks associated with this mistake are severe and escalate over time. Initially, the connection might hold due to friction and the minimal withdrawal strength of the nails. However, factors like wood shrinkage, seasonal moisture changes, and vibrations from foot traffic will gradually loosen the fasteners. This can lead to sagging floors, bouncing decks, and ultimately, a catastrophic failure where a deck joist pulling away from the ledger becomes an inevitability.
Beyond the Hanger: Other Common Installation Errors
An upside-down installation is a glaring error, but it often points to a lack of understanding that can lead to other mistakes. While inspecting your framing, look for these additional issues:
- Missing or Incorrect Fasteners: Every hole in a joist hanger is engineered for a specific fastener. Leaving holes empty or using the wrong nails in pressure-treated lumber, such as roofing nails or drywall screws, severely compromises the hanger’s load capacity.
- Gaps Between Joist and Hanger: The joist should sit snugly in the hanger. A gap of more than 1/8th of an inch between the joist and the hanger’s seat or sides reduces the bearing capacity and can lead to failure.
- Modified Hangers: Hangers should never be bent, cut, or otherwise modified to fit. If a standard hanger doesn’t work for the application, a specialty hanger (like one for sloped joists) is required.
The Right Way: A Guide to Correct Joist Hanger Installation
Fixing an upside-down joist hanger is non-negotiable, and so is ensuring any new installations are done correctly from the start. Proper installation is a straightforward process that ensures safety and structural integrity.
Step 1: Select the Correct Hanger and Fasteners
Always choose a hanger specifically designed for the size of your lumber (e.g., a 2×8 hanger for a 2×8 joist). The manufacturer’s specifications will also dictate the exact type and size of nails or structural screws required. Using the wrong fasteners is one of the most common installation mistakes.
Step 2: Position the Joist and Hanger
First, position the joist at the correct location. You can temporarily hold it in place with a clamp or by toenailing it to the ledger board. The joist should be flush with the top of the ledger or beam. Slide the hanger into position, ensuring it is tight against the bottom and sides of the joist.
Step 3: Install Fasteners into the Ledger/Beam
With the hanger held firmly in place, begin by installing the specified fasteners through the hanger’s face flanges into the supporting ledger or beam. Many hangers have speed prongs that can be hammered in to temporarily hold the position. Fill every designated hole.
Step 4: Install Fasteners into the Joist
Next, drive the fasteners at an angle through the hanger’s side flanges into the joist itself. These double-shear nails are critical for achieving the hanger’s full load capacity, as they transfer the load through the steel plate in two separate planes, creating an incredibly strong connection.
Remediation: Fixing an Existing Upside-Down Hanger
Discovering this error on an existing structure requires immediate attention. The process involves carefully supporting the joist before replacing the incorrectly installed hardware.
First, you must support the joist. Use a temporary post or a bottle jack with a block of wood to take the weight off the faulty connection. Ensure the joist is lifted slightly to be level with its original intended position.
Second, remove the old hanger. Carefully pull out the nails and remove the upside-down hanger. If the wood has been damaged, you may need to consult a professional about reinforcing the area.
Finally, install the new hanger correctly. Following the steps outlined above, install a new, correctly sized joist hanger with the proper fasteners. Once the new hanger is secure, you can remove the temporary support.
A Note on Cantilevered Structures
There are rare, engineered situations, particularly with cantilevered joists (joists that extend past a beam), where a hanger might be installed “upside down” to counteract uplift forces on a rim board. However, this is a highly specific application that must be designed by a structural engineer. For 99% of standard framing applications, an upside-down hanger is a serious mistake, not a clever technique.
Joist Hanger Fastener Guide
Choosing the right fastener is as critical as orienting the hanger correctly. This table provides a general guide for common joist hangers, but you must always defer to the manufacturer’s specifications for your specific product.
| Hanger Type | Typical Application | Face Flange Fasteners (to Ledger) | Joist Flange Fasteners (to Joist) |
|---|---|---|---|
| Standard Face Mount (e.g., LUS series) | General purpose joist-to-beam connection. | 10d or 16d Common Nails or specified Structural Screws | 10d x 1 1/2″ Joist Hanger Nails (Double-Shear Nailing) |
| Concealed Flange | Aesthetic applications where flanges are hidden. | Specified structural screws or nails into pre-drilled holes. | Specified structural screws or nails into pre-drilled holes. |
| Sloped/Skewed Hanger | Connecting joists at an angle (e.g., for hip rafters or stair stringers). | 10d or 16d Common Nails or specified Structural Screws | 10d x 1 1/2″ Joist Hanger Nails |
| Heavy Duty Hangers (e.g., for Glulam beams) | Supporting large engineered lumber beams. | Often requires through-bolts or heavy-duty structural screws. | Heavy-duty structural screws or specified nails. |
Final Thoughts: Don’t Ignore the Warning Signs
An upside-down joist hanger is more than just a cosmetic issue; it’s a direct threat to the structural integrity of your home. It fundamentally misunderstands and misapplies the engineering principles that keep your floors and decks safe. If you encounter this mistake, it’s crucial to address it immediately.
By understanding how these critical connectors are supposed to work, you can ensure your home is built on a foundation of safety and strength, not one held together by chance. Always follow manufacturer guidelines, use the correct materials, and when in doubt, consult a qualified professional.