TSP Deglosser: The No-Sand Secret to Flawless Paint Jobs
That perfect, glossy finish on your kitchen cabinets or vintage furniture once looked pristine. Now, it stands as a slick barrier between you and a much-needed modern update. The thought of hours spent sanding, enveloped in a cloud of fine dust, is enough to make anyone postpone a project indefinitely.
This painstaking process is a common hurdle in DIY home improvement. But what if there was a way to bypass the most labor-intensive step and still achieve a professional, durable finish? There is a powerful solution that chemically prepares surfaces for paint, ensuring superior adhesion without the mess and hassle of sanding.
You'll Learn About
What Exactly Is TSP Deglosser and Why Does It Work?
Trisodium Phosphate, commonly known as TSP, is a potent cleaning and deglossing agent that has been a secret weapon for professional painters for decades. It’s an inorganic compound that, when mixed with water, creates a strong alkaline solution. This solution excels at cutting through the toughest grime, grease, smoke residue, and stains.
The true magic of TSP for painting prep lies in its ability to simultaneously clean and degloss a surface. It chemically alters the top layer of old paint or varnish, microscopically etching it. This process creates a dull, porous surface that allows new primer and paint to bond tightly, preventing the chipping and peeling that often occurs when painting over glossy finishes.
Breaking Down Trisodium Phosphate (TSP)
At its core, TSP is a heavy-duty cleaner. Before environmental regulations limited its use in common household detergents, it was a primary ingredient known for its incredible cleaning power. While its primary role in paint prep is cleaning, the deglossing effect is a significant and valuable byproduct.
It’s crucial to distinguish between true TSP and “TSP substitutes” or phosphate-free alternatives. While substitutes are more environmentally friendly and often require no rinsing, traditional TSP offers unparalleled strength for breaking down years of kitchen grease and stubborn contaminants.
The Science of Deglossing: How It Preps Surfaces
Sanding is a mechanical process; it uses friction to physically rough up a surface. TSP deglossing, on the other hand, is a chemical process. The alkaline solution softens the existing paint or varnish, effectively removing its sheen and creating a “toothy” surface for the new paint to grip.
This chemical etching is remarkably effective on oil-based paints and older, stubborn finishes where sanding can be particularly arduous. It ensures that the surface is not only dull but also immaculately clean, a combination that is essential for a long-lasting paint job.
Before You Begin: The Essential TSP Deglosser Toolkit
Proper preparation is key to both safety and success when working with TSP. The chemical is caustic and requires respectful handling. Before mixing your first batch, gather all the necessary supplies to ensure a smooth and safe workflow.
Having everything within arm’s reach prevents interruptions and reduces the risk of accidental spills or contact. Treat this setup process as the first critical step of your project, just as important as the application itself.
| Product Type | Primary Use | Rinsing Required? | Key Consideration |
|---|---|---|---|
| Powdered TSP (Traditional) | Heavy-duty cleaning, grease removal, and deglossing. | Yes, absolutely critical. | Highest strength; must be handled with care and rinsed thoroughly to avoid paint adhesion failure. |
| Liquid TSP Concentrate | Convenient alternative to powder for similar heavy-duty tasks. | Yes, thorough rinsing is required. | Easier to mix than powder but offers the same powerful cleaning action. |
| Phosphate-Free TSP Substitute | General cleaning and paint prep for less greasy surfaces. | Often a “no-rinse” formula, but check the label. | More environmentally friendly and safer to handle, but may be less effective on heavy grime. |
| Combined Deglosser/”Liquid Sandpaper” | Specifically formulated to dull surfaces for painting. | Varies by brand; read instructions carefully. | Excellent at deglossing but may have less cleaning power than true TSP. Often has a strong solvent odor. |
Your Step-by-Step Guide to Using TSP Deglosser Like a Pro
Using TSP is a straightforward process, but success hinges on following the steps correctly. Rushing or skipping a stage, especially the rinsing phase, can lead to paint failure. Approach the task with patience and precision for a flawless outcome.
Follow this methodical guide to transform your glossy surfaces into the perfect canvas for your new paint color. Each step is designed to ensure safety, effectiveness, and a durable, professional-quality finish.
Step 1: Safety is Non-Negotiable
Before you even open the box of TSP, protect yourself and your surroundings. Always wear chemical-resistant gloves, safety goggles, and long sleeves. Ensure the area is well-ventilated by opening windows and using fans. Lay down drop cloths to protect floors and cover any adjacent surfaces you don’t want to be affected.
TSP is a powerful chemical that can cause skin and eye irritation. Taking these precautions is not optional; it’s an essential part of the process that guarantees a safe DIY experience.
Step 2: The Perfect Mix Ratio
For most paint preparation tasks, a solution of a half-cup of powdered TSP per two gallons of hot water is effective. The hot water helps the powder dissolve completely. Always read the manufacturer’s specific instructions, as concentrations can vary.
Mix the solution in a sturdy bucket, adding the TSP powder to the water and stirring until it is fully dissolved. Avoid creating dust while pouring the powder. For smaller jobs, you can halve the recipe, but maintain the correct ratio.
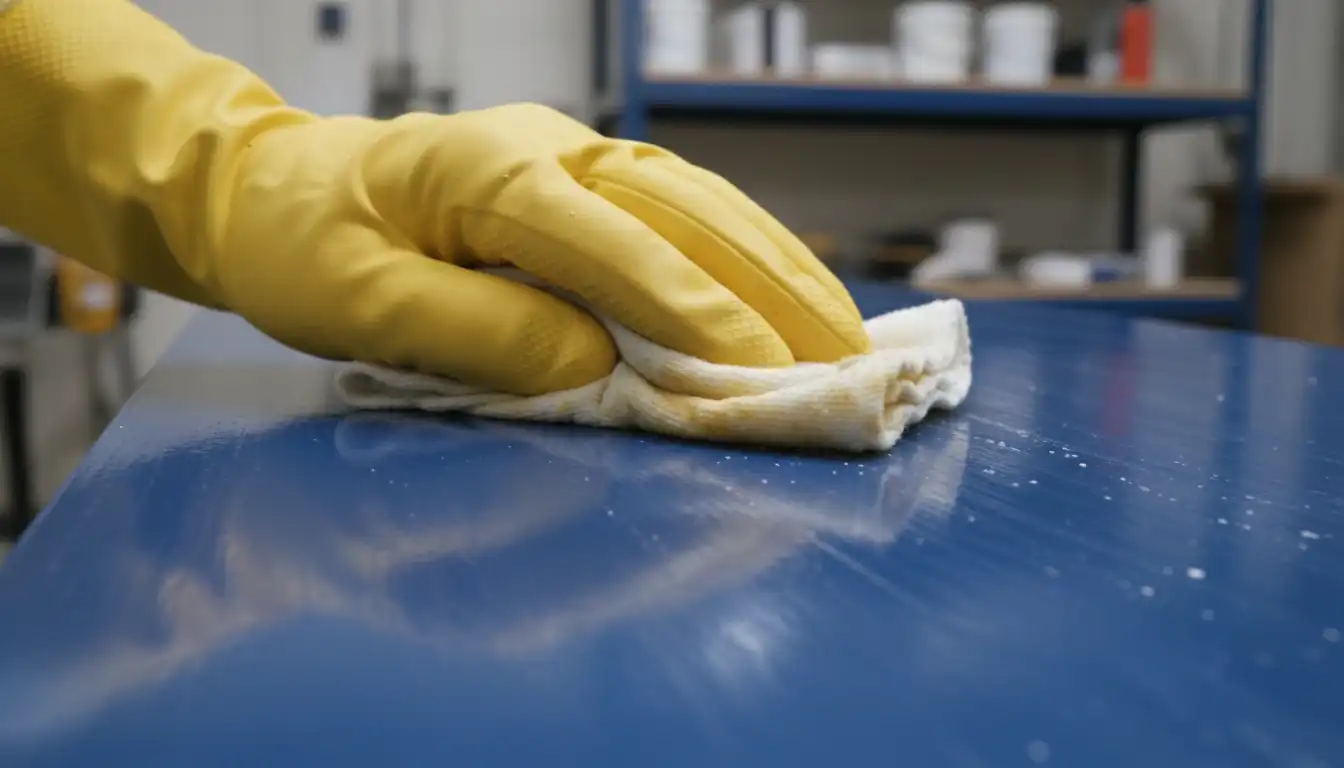
Step 3: Application and Cleaning Technique
Dip a clean sponge or lint-free cloth into the TSP solution and wring it out so it’s damp, not dripping. To prevent streaks, work from the bottom of the surface upwards. Apply the solution in manageable sections, scrubbing with firm, consistent pressure.
For stubborn areas like greasy kitchen cabinets, a nylon scrub pad can be used. You will see the gloss begin to dull and grime lift away as you work. This is the chemical doing its job, creating the ideal surface for painting.
Step 4: The Critical Rinsing Stage
This is the most crucial step and the one most often done incorrectly. Any TSP residue left on the surface will interfere with paint adhesion, causing it to fail. You must rinse the surface thoroughly with clean water.
Using a new bucket filled with fresh, clean water and a clean sponge, wipe down the entire surface. Change the rinse water frequently. If the water in your bucket looks dirty, the wall is not yet fully rinsed. Continue rinsing until your sponge comes away clean and the surface no longer feels slick or soapy.
Step 5: Drying and Final Inspection
Allow the surface to dry completely. This can take several hours, depending on humidity and ventilation. Once dry, run your hand over the surface. It should feel clean, dull, and slightly rough to the touch.
Look for any white, chalky film, which indicates leftover TSP residue that needs more rinsing. A properly prepared surface is the foundation of a great paint job and is now ready for a high-quality bonding primer.
When to Use TSP Deglosser (And When to Avoid It)
TSP is an incredibly effective tool, but it’s not suitable for every situation. Understanding where it excels and which materials it can damage is key to using it successfully and avoiding costly mistakes. Proper application on the right surfaces yields fantastic results.
Conversely, using it on the wrong material can cause irreversible damage. Before you begin, always assess your project to determine if TSP is the appropriate choice for your specific needs.
Ideal Projects for TSP Deglosser
TSP is the perfect choice for prepping surfaces with stubborn contaminants or high-gloss finishes. It excels on old kitchen cabinets caked with years of grease, lacquered or varnished furniture, and glossy interior trim and doors. It’s also highly effective for cleaning exterior siding before painting.
Essentially, any durable, non-porous surface that needs to be impeccably clean and deglossed for a new coat of paint is an excellent candidate. Proper surface preparation is as important as finding skilled professionals for other home projects, such as when you need to find `3-4-drywall-near-me_gem1` for a wall repair.
Surfaces to Avoid
Never use TSP on certain surfaces. It can damage metal fixtures, especially aluminum and chrome, and can etch glass and ceramic tiles. It should not be used for general cleaning on walls you do not intend to repaint, as it will dull the finish.
Avoid using TSP on porous woods like raw oak or mahogany, as it can darken the wood and raise the grain excessively. When renovating a kitchen, it’s about making smart choices for every component, from surface prep to appliance selection, such as in a hallman range vs ilve comparison.
Common TSP Deglosser Mistakes and How to Fix Them
Even with careful planning, issues can arise. Understanding the common pitfalls of using TSP allows you to troubleshoot effectively and save your project from potential failure. Most problems are preventable and easily corrected if caught early.
Being aware of these potential issues ahead of time will help you work more confidently. This knowledge ensures you can tackle any unexpected results and still achieve a perfect finish.
Problem: White, Chalky Residue After Drying
This is the most common issue and is a clear sign of insufficient rinsing. A white, powdery film is dried TSP residue that will prevent your primer from bonding. The only solution is to re-rinse the entire surface with clean water and fresh sponges until all traces of the film are gone.
Do not paint over this residue under any circumstances. It will almost certainly lead to widespread paint peeling and failure in the near future, forcing you to strip the entire surface and start over.
Problem: Paint Isn’t Sticking or is Peeling
If your new paint is peeling or scraping off easily, the cause is almost always poor adhesion. This can be traced back to leftover TSP residue from inadequate rinsing, a surface that wasn’t fully deglossed, or not allowing the surface to dry completely before applying primer.
Unfortunately, the fix for this is labor-intensive. You will need to scrape and sand off the peeling paint, re-clean the surface (this time rinsing meticulously), prime, and repaint.
Problem: Streaks and Drips on the Surface
Visible streaks after cleaning are typically caused by working from the top down. As the solution drips, it cleans streaks into the dirtier areas below. Always work from the bottom up to prevent this, allowing you to control the application and clean drips as you go.
Consistent pressure and avoiding an overly saturated sponge will also help ensure an even, clean finish across the entire surface. Sometimes, mysterious issues in the house, like a persistent chirping noise in house not smoke detector, require a methodical approach to solve, just like proper painting prep.
Frequently Asked Questions About TSP Deglosser
Many DIYers have questions about this powerful product. Addressing these common queries can provide extra clarity and build confidence before you start your project. Here are answers to some of the most frequently asked questions.
Understanding these details will help you use TSP deglosser safely and effectively, ensuring your project is a success from the very first step.
Do I still need to prime after using TSP?
Yes, absolutely. TSP is a cleaner and deglosser, not a primer. After cleaning and rinsing, you must apply a high-quality bonding primer to ensure the topcoat of paint adheres properly and has a uniform, durable finish.
Can I use TSP to remove paint?
No, TSP is not a paint stripper. While it can help lift small, flaking pieces of old paint, it will not remove a soundly adhered finish. For complete paint removal, you will need to use a chemical paint stripper or mechanical methods like sanding and scraping.
How long do I wait to paint after using TSP?
You must wait until the surface is completely and thoroughly dry. Any moisture trapped beneath the primer and paint can cause bubbling, peeling, and adhesion failure. Depending on the temperature and humidity, this could take anywhere from a few hours to a full day.
Your Final Checklist for Painting Success
Transforming your home with a fresh coat of paint is incredibly rewarding, and success begins long before a brush is dipped. Using a TSP deglosser is a professional technique that replaces the exhausting work of sanding with a simple, effective chemical process. By prioritizing safety, mixing correctly, applying methodically, and rinsing relentlessly, you create the perfect foundation for a durable, flawless finish.
Embrace this powerful tool and unlock the secret to a paint job that not only looks professionally done but is built to last. With the right preparation, you can confidently tackle any painting project and achieve stunning results.