Troy Bilt Snow Blower Starts Then Dies? The #1 Fix Revealed!
There’s nothing more frustrating than getting ready to clear a foot of snow only to have your Troy-Bilt snow blower start up, sputter for a few seconds, and then die. You’re left in the cold, staring at a machine that promised to make your life easier but is now the source of a major headache. This common problem can feel baffling, but the solutions are often simpler than you think.
This guide will walk you through the most common reasons why a Troy-Bilt snow blower starts and then dies, providing clear, step-by-step instructions to get your machine running reliably again. From simple checks to a deep carburetor clean, you’ll find the answers you need right here. Say goodbye to the shovel and hello to a fully functional snow blower.
You'll Learn About
Decoding the Stall: Top Reasons Your Troy-Bilt Won’t Stay Running
When an engine fires up and then quits, it’s a classic sign of fuel starvation or an improper air-fuel mixture. The initial prime or choke gives it just enough gas to start, but the engine can’t get a continuous supply to keep running. Let’s break down the most likely culprits behind this annoying issue.
The Clogged Carburetor: Public Enemy Number One
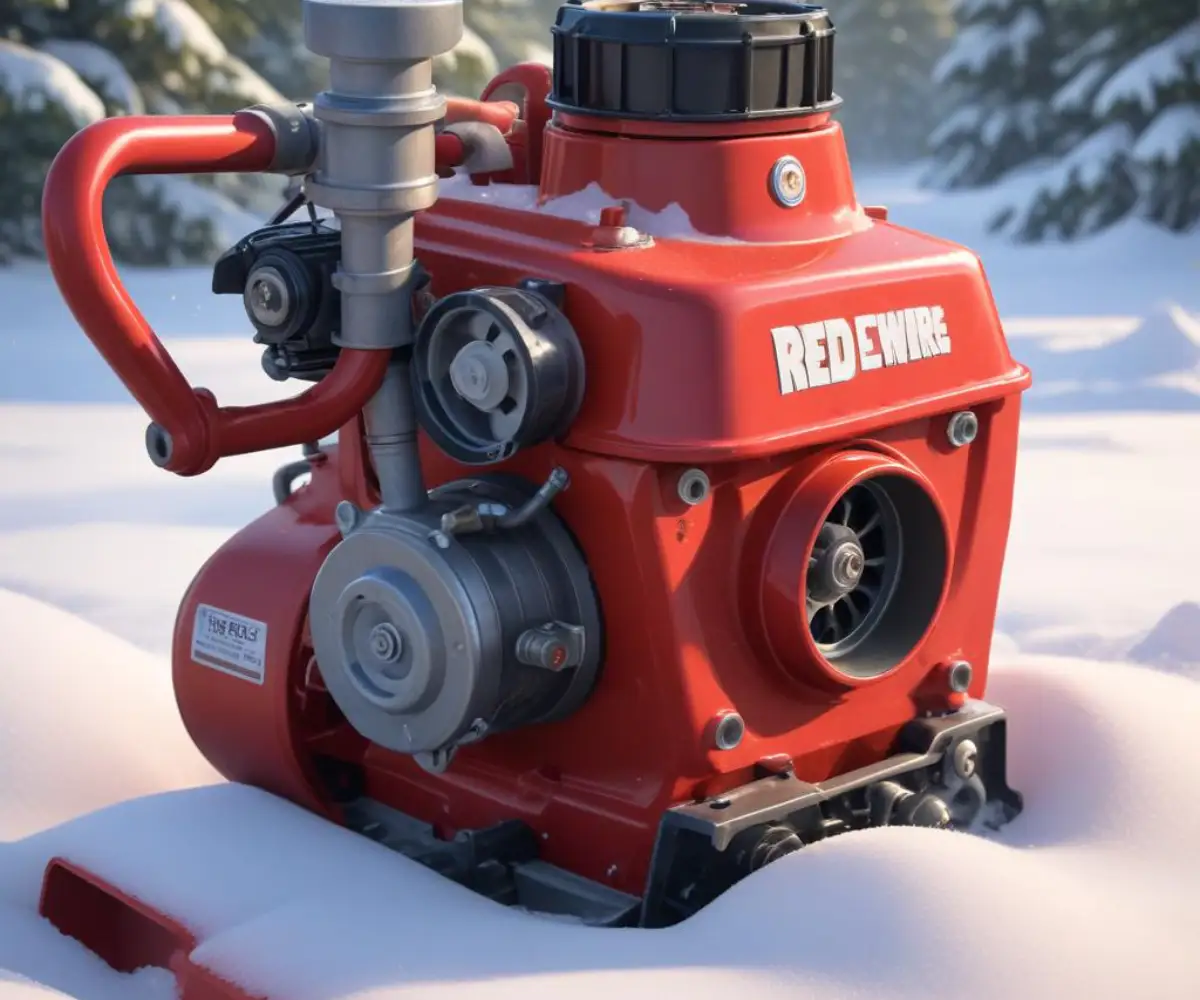
By far, the most frequent cause of a snow blower starting and then dying is a clogged carburetor. This issue is almost always a result of leaving old fuel in the tank during the off-season. Over time, gasoline degrades, and its lighter components evaporate, leaving behind a thick, sticky varnish.
This gummy residue blocks the tiny passages, jets, and needles inside the carburetor that are responsible for mixing fuel and air. The engine might start on the fresh fuel from the primer bulb, but as soon as it needs to draw fuel through the clogged main jet, it starves and shuts down.
Fuel System Foul-Ups: Beyond the Carburetor
While the carburetor gets most of the blame, other parts of the fuel system can cause the same symptom. These issues also restrict the flow of gasoline from the tank to the engine, leading to a quick stall after starting.
A Blocked Fuel Cap Vent is a surprisingly common and often overlooked problem. Your gas cap has a tiny vent hole to allow air into the tank as fuel is used. If this vent becomes clogged with dirt or ice, it creates a vacuum in the fuel tank that prevents gas from flowing out, effectively choking the engine.
Other potential blockages include a clogged fuel line or a dirty in-line fuel filter. Old, degraded fuel can leave deposits in these components, restricting flow and preventing the carburetor from getting the consistent supply it needs to keep the engine running smoothly.
Water in the Fuel: The Hidden Menace
Water contamination is another significant cause of engine problems. Because ethanol in modern gasoline is hygroscopic, it attracts and absorbs moisture from the air. This water can separate from the fuel and settle at the bottom of the fuel tank and carburetor bowl.
When the engine tries to draw this water instead of gasoline, it will sputter and die. Water can enter the tank through condensation, especially if the tank was left partially empty, or from using a gas can that had water in it. This can cause coughing, loss of power, and stalling.
Your Step-by-Step Action Plan to Fix the Stall
Now that you know the likely causes, it’s time to roll up your sleeves and get to work. Follow these steps in order, starting with the easiest fixes first. In most cases, you’ll have your snow blower back in action without needing a trip to the repair shop.
The Quick Fixes: Check These First!
Before you start disassembling parts, perform these simple diagnostic tests. They take only a few minutes and can save you a lot of unnecessary work. These initial steps are crucial for isolating the root of the problem.
First, check the fuel cap. The next time the engine starts and dies, immediately try starting it again with the gas cap slightly loosened. If the snow blower now stays running, you have a clogged fuel cap vent. Simply cleaning the vent or replacing the cap will solve your problem permanently.
Second, ensure you are using fresh, clean gasoline. If the fuel in your tank is from last season, drain it completely from both the tank and the carburetor bowl. Refill with fresh gasoline (less than 30 days old) treated with a quality fuel stabilizer.
The Ultimate Carburetor Cleaning Guide
If the quick fixes don’t work, a clogged carburetor is almost certainly your issue. Cleaning it thoroughly is the most reliable way to fix the problem. You will need basic hand tools, carburetor cleaner spray, and a clean workspace.
Step 1: Access and Remove the Carburetor. First, shut off the fuel valve. You may need to remove a plastic cover or shroud to access the carburetor. Take pictures as you go to remember where everything connects. Carefully disconnect the fuel line, the primer bulb hose, and any throttle linkages attached to the carburetor. Then, unbolt the carburetor from the engine.
Step 2: Disassemble the Carburetor. Find a clean, well-lit surface. Start by removing the bolt at the bottom of the carburetor bowl; this will allow you to remove the bowl itself. Be careful, as it may still contain some gasoline. Next, carefully slide out the pin holding the float in place and remove the float and the attached needle valve.
Step 3: Clean the Jets and Passages. With the bowl and float removed, you can access the main jet and pilot jet. These tiny orifices are where clogs happen. Spray carburetor cleaner liberally through every opening, jet, and passage you can find. The main jet is often located in the central tube where the bowl bolt screws in. Use the thin straw attached to the cleaner can to force fluid through it. For stubborn clogs, use a very fine wire (like one strand from a wire brush) to gently poke through the jets and clear any blockages, but be extremely careful not to scratch the brass components.
Step 4: Reassemble and Reinstall. Once everything is clean and you can see light through all the jets, reassemble the carburetor in the reverse order you took it apart. Re-attach it to the engine, connect the linkages and fuel lines, and turn the fuel valve back on. With a clean carburetor, your snow blower should now start and continue to run smoothly.
Servicing the Spark Plug: A Simple but Vital Check
A fouled or failing spark plug can also cause stalling issues. A weak spark might be enough to ignite the fuel from the primer but not strong enough to sustain combustion under running conditions. Checking the spark plug is a key part of routine maintenance.
Remove the spark plug using a spark plug socket. Inspect the electrode. If it’s covered in black, sooty carbon or is wet with oil, it needs to be cleaned or replaced. For peace of mind, it’s often best to install a new spark plug, ensuring it’s gapped to the manufacturer’s specification (usually around 0.030 inches). This is an inexpensive part that can solve a variety of running issues.
Troubleshooting Summary Table
For a quick reference, here is a breakdown of the common issues and their solutions. This table can help you diagnose the problem at a glance and decide on the best course of action.
| Symptom | Most Likely Cause | Solution | Difficulty |
|---|---|---|---|
| Starts, runs for 10-30 seconds, then dies. | Clogged Carburetor Main Jet | Thoroughly clean the carburetor, focusing on the main jet and emulsion tube. | Medium |
| Runs longer, then sputters and dies, especially after using some fuel. | Clogged Fuel Cap Vent | Loosen the fuel cap to test. Clean the vent or replace the cap. | Easy |
| Runs rough, sputters, may produce white smoke/steam. | Water in the Fuel | Drain the entire fuel system (tank and carburetor bowl) and refill with fresh, stabilized fuel. | Easy |
| Weak start, rough running, intermittent stalling. | Fouled or Defective Spark Plug | Inspect, clean, and re-gap the spark plug, or replace it with a new one. | Easy |
| Stalls, especially after sitting or when tilted. | Clogged Fuel Line or Filter | Inspect the fuel line for cracks or blockages. Replace the in-line fuel filter if equipped. | Easy-Medium |
Preventive Maintenance: Your Best Defense Against Stalling
The old saying, “an ounce of prevention is worth a pound of cure,” is especially true for small engines. Proper maintenance is the key to ensuring your Troy-Bilt snow blower starts reliably every time you need it. Taking a few simple steps can save you hours of troubleshooting in the cold.
The Golden Rule of Fuel
The single most important thing you can do is manage your fuel properly. Never use old gasoline. Aim to use fuel that is less than a month old. For any fuel that will sit in the can or the machine for longer, you must treat it with a quality fuel stabilizer. Stabilizer prevents the fuel from degrading and forming the varnish that clogs carburetors.
At the end of the winter season, don’t just leave fuel sitting in the tank. The best practice is to run the snow blower completely dry. Let the engine run until it dies from lack of fuel. This ensures the tank, fuel lines, and, most importantly, the carburetor are empty, preventing any varnish from forming during summer storage.
Seasonal Tune-Up Checklist
Before the first snowflake falls, perform a quick tune-up. This proactive approach will catch most potential problems before they can sideline your machine. Many find that seasonal maintenance drastically improves the reliability of their equipment, much like how owners of MTD-made machines keep them running for years. If you’re curious about their overall quality, it’s worth reading up on whether MTD snow blowers are good for the long haul.
Your pre-season check should include changing the engine oil, installing a new spark plug, and inspecting the belts for wear and tear. You should also check the location of essential components. For instance, knowing the air filter location on a Troy-Bilt snow blower can simplify maintenance. It’s also a good idea to lubricate any moving parts and check the tire pressure. This annual ritual ensures your snow blower is ready for whatever winter throws at it.
Conclusion: Taking Control of Your Snow Blower’s Reliability
When your Troy-Bilt snow blower starts and then dies, it’s a clear signal that the engine isn’t getting what it needs to keep running—fuel. While this can be incredibly frustrating, the problem is almost always solvable with basic tools and a little bit of patience. By systematically checking the fuel cap vent, ensuring you have fresh fuel, and performing a thorough carburetor cleaning, you can address the root cause of the issue.
Remember that consistent, preventive maintenance is your best tool against future problems. Proper fuel management and an annual tune-up will ensure your snow blower is a reliable partner in your battle against winter weather, not another source of cold-weather stress. With these tips, you can confidently diagnose and fix the issue, keeping your driveway clear and your winter manageable.