Topping Potted Plants with Sand: The Ultimate Fix for Fungus Gnats?
There is nothing more frustrating than seeing a cloud of tiny, black flies erupt from your beloved houseplants every time you water them. These persistent pests, known as fungus gnats, are a common nuisance for indoor gardeners. They seem to appear out of nowhere, turning a relaxing hobby into a constant battle.
The core of the problem lies hidden just beneath the surface. The moist, rich environment of your potting soil is the perfect breeding ground for these insects. Fortunately, a surprisingly simple and effective solution might be hiding in plain sight: a layer of sand.
You'll Learn About
Why Your Potted Plants Are a Breeding Ground for Pests
To defeat an enemy, one must first understand it. Fungus gnats (of the families Mycetophilidae and Sciaridae) thrive in damp conditions. Adult gnats, which are the annoying flyers you see, are primarily a nuisance but don’t cause significant plant damage themselves.
The real danger lies with their larvae. An adult female can lay up to 200 eggs in the top two inches of moist potting soil. When these eggs hatch, the tiny, translucent larvae feast on fungi and decaying organic matter in the soil, and more worrisomely, they will also feed on the delicate root hairs of your plants, hindering nutrient uptake and potentially killing young seedlings.
Standard indoor conditions—warm temperatures and soil that stays consistently moist—create a perpetual nursery for generation after generation of fungus gnats. Overwatering is the single biggest contributor to a severe infestation, making the topsoil an irresistible place for adults to lay their eggs.
The Sand Solution: A Simple Trick to Stop Pests in Their Tracks
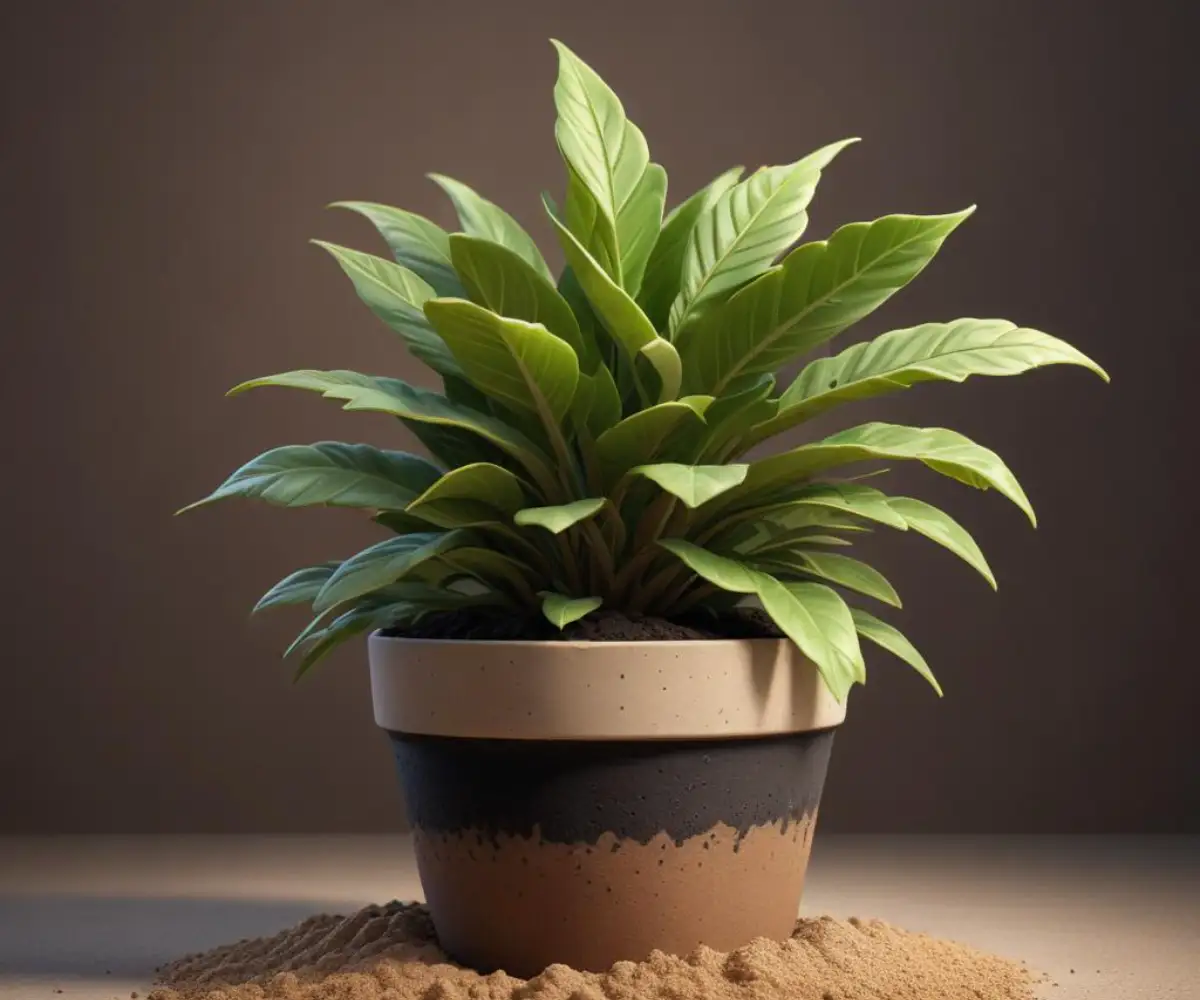
Topping potted plants with sand is a non-toxic and highly effective physical control method. The principle is straightforward: by adding a half-inch to a full-inch layer of sand on top of the potting soil, you create a dry, inorganic barrier. This barrier works in two critical ways.
First, it prevents adult fungus gnats from reaching the moist soil to lay their eggs. They simply cannot burrow through the dry, abrasive sand. Second, any larvae that may already be in the soil and maturing into adults will be unable to emerge through the sand barrier, effectively breaking the life cycle.
An often-overlooked benefit of this technique is its role as a visual moisture indicator. A layer of light-colored sand provides a stark contrast to dark, damp soil. This makes it incredibly easy to see when the top layer is completely dry, helping to prevent the overwatering that attracts pests in the first place.
Not All Sand Is Created Equal: Choosing the Right Type
Before you rush to the nearest beach or playground, it is crucial to understand that the type of sand you use is the most important factor for success. Using the wrong sand can do more harm than good, leading to soil compaction and poor aeration.
The key is to select a coarse, gritty sand. The larger particles of coarse sand allow for proper air and water exchange at the soil surface. Fine-grained sand, on the other hand, has small, rounded particles that can lock together, creating a cement-like layer that suffocates plant roots.
When you’re ready to start a new project, whether it’s battling pests or browsing for new green companions after reading some plant lust reviews, having the right materials is essential for success.
| Sand Type | Key Characteristics | Gardening Use | Verdict |
|---|---|---|---|
| Horticultural Sand | Coarse, sharp, gritty particles. Sterilized. | Ideal for top dressing and improving drainage in potting mixes. | Highly Recommended |
| Builder’s Sand / Sharp Sand | Coarse and gritty, similar to horticultural sand but may not be washed or sterilized. | Good, cost-effective alternative. Should be rinsed before use. | Recommended |
| Play Sand / All-Purpose Sand | Very fine, rounded particles. Tends to compact easily. | Can create a dense, suffocating layer that blocks water and air. | Avoid for Top Dressing |
| Beach Sand | Fine particles, contains salt and potential impurities. | The salt content is harmful to most plants and it compacts easily. | Never Use |
How to Properly Apply Sand to Your Potted Plants: A Step-by-Step Guide
Applying the sand layer is a simple process, but attention to detail is key for maximum effectiveness. Following these steps will ensure you create a formidable barrier against pests without harming your plant.
First, it’s best to address the existing population of flying adults. Place yellow sticky traps in your pots to catch as many of the current flyers as possible. This reduces the number of gnats that can lay eggs while you implement the sand barrier.
Before applying the sand, allow the top one to two inches of the potting soil to dry out. This is a critical step, as applying sand to wet soil can trap too much moisture and promote root rot. Once the soil is appropriately dry, you are ready to apply the sand.

Gently pour a layer of coarse horticultural or builder’s sand over the entire soil surface. Aim for a depth of approximately 1/2 to 1 inch. Ensure you create an even layer that completely covers all exposed soil, reaching right up to the base of the plant’s stem. Any gaps can become entry points for determined fungus gnats.
Mastering the Art of Watering with a Sand Topping
Once you have a layer of sand on your plants, your watering technique must adapt. Top-watering will no longer be effective; it will simply saturate the sand layer, defeating its purpose as a dry barrier and potentially washing fine sand particles down into the soil mix.
The solution is to switch to bottom-watering. This method delivers water directly to the roots where it’s needed, keeping the topsoil and the sand layer completely dry. To bottom-water, place your potted plant in a tray, sink, or bathtub filled with a few inches of water. Allow the plant to soak up water through its drainage holes for 15-30 minutes, or until the soil is moist but not waterlogged. Then, remove the plant and let any excess water drain away completely.
Beyond Fungus Gnats: Other Benefits (and a Few Cautions)
While fungus gnat control is the primary reason for topping plants with sand, this technique offers several other advantages. The clean, uniform appearance of a sand top dressing can provide a finished, decorative look to your houseplants, much like choosing the right decor for a room, such as finding the perfect match between Mindful Gray cabinets and Repose Gray walls, can enhance your home’s aesthetic.
It can also deter other soil-dwelling pests and may even discourage curious pets from digging in your pots. However, there are a few cautions to keep in mind. The sand layer can make it harder to physically check the soil’s moisture level with your finger. You will need to rely on the weight of the pot or a moisture meter to determine when it’s time to water.
Over time, especially with improper watering, the sand can slowly mix with the top layer of soil. This is why using coarse sand is so important, as fine sand mixing into the soil can lead to poor aeration and drainage issues down the line.
An Integrated Approach: Sand is Not a Magic Bullet
The most successful pest control strategies are rarely about a single solution. Topping with sand is an incredibly powerful tool, but it works best as part of an Integrated Pest Management (IPM) approach. Combining the sand barrier with other methods creates a multi-front defense that pests cannot overcome.
Continue using yellow sticky traps to monitor and catch any remaining adult gnats. Most importantly, focus on your watering habits. Allowing the soil to dry out sufficiently between waterings is the number one way to make your plants less hospitable to pests. A comprehensive strategy, similar to how one might tackle finding the source of random ants in the house, is always more effective than a single tactic.
Good air circulation from a small fan can also help dry the soil surface more quickly and physically deter weak flyers like fungus gnats.
Alternatives to Sand for Top Dressing Your Plants
If sand doesn’t feel like the right choice for you or your plants, several other options can help create a protective top barrier. Each has its own set of benefits and drawbacks.
Diatomaceous Earth (DE): This is a fine powder made from fossilized diatoms. On a microscopic level, it’s incredibly sharp and works by shredding the exoskeletons of insects. However, DE is only effective when completely dry and becomes useless as soon as it gets wet, requiring frequent reapplication.
Pebbles or Decorative Stones: Small pebbles or gravel can create a physical barrier similar to sand and offer a decorative touch. Be aware that they can sometimes trap moisture at the soil level if the layer is too thick or the stones are too large, so proper watering and good air circulation remain key.
Mosquito Bits (Bti): While not a top dressing, Mosquito Bits are a highly effective biological control. They contain Bacillus thuringiensis israelensis (Bti), a bacterium that is lethal to the larvae of gnats and mosquitos but harmless to plants, pets, and humans. Soaking the bits in your watering can before you water treats the entire soil profile, killing larvae wherever they are hiding.
Topping your potted plants with a layer of coarse sand is a game-changing technique for any indoor gardener plagued by fungus gnats. It is a simple, affordable, and chemical-free method that physically blocks pests and breaks their life cycle. By choosing the right type of sand and switching to bottom-watering, you can take back control and ensure your indoor oasis remains a peaceful, pest-free sanctuary.

