Toilet Not Used For Years? What You Must Know Before Flushing
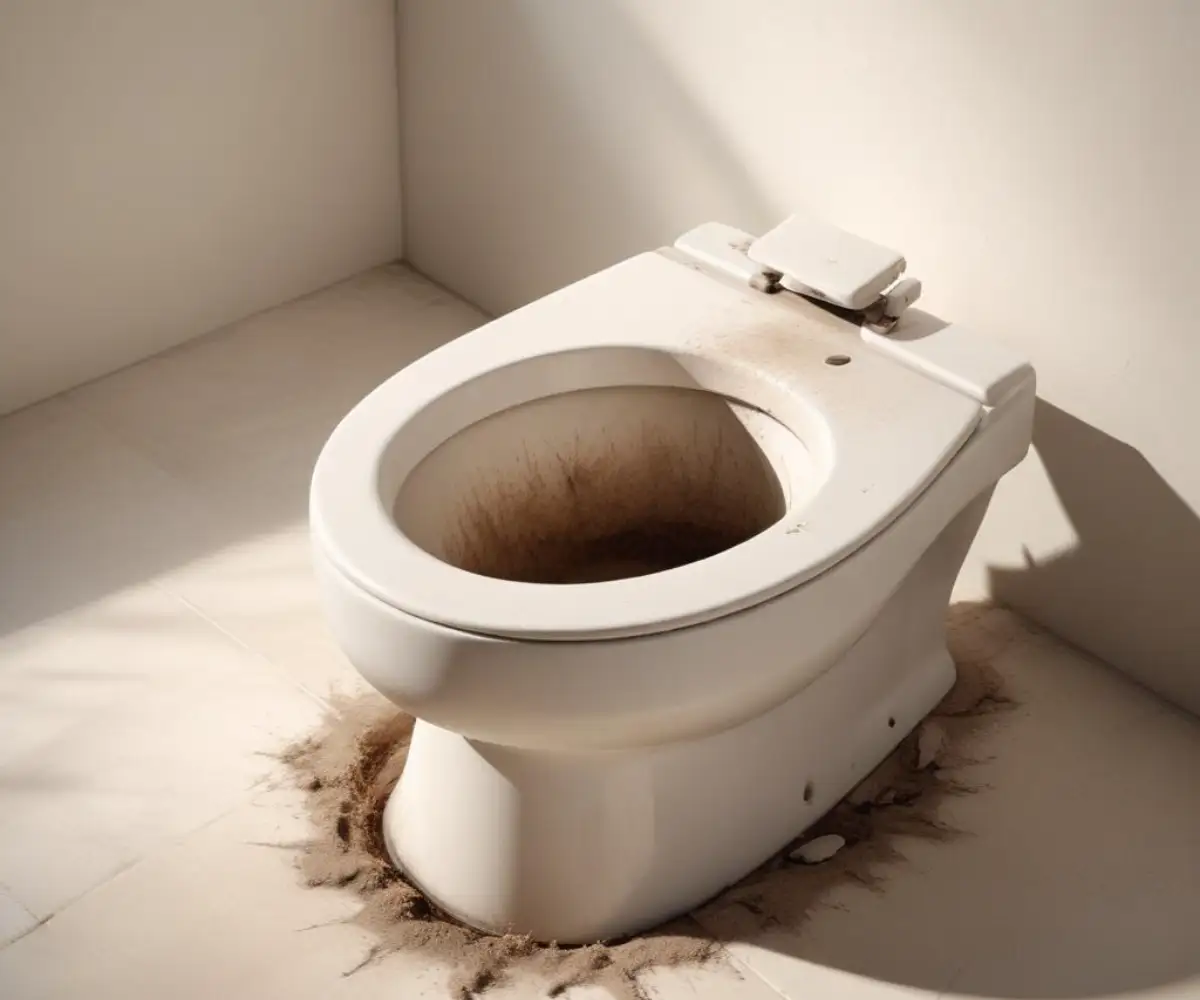
An unused toilet in a vacant home, basement, or guest bathroom can seem harmless. However, a toilet not used for years hides several lurking problems that can cause serious issues. Before you even think about flushing it, understanding the hidden dangers is crucial for your health and your home’s plumbing system.
From hazardous sewer gases to costly water damage, the risks are real. This guide will walk you through everything you need to know to safely bring a long-neglected toilet back into service. Following these steps will protect both your property and your well-being.
You'll Learn About
The Hidden Dangers of a Dormant Toilet
When a toilet sits unused for an extended period, it’s not just collecting dust. Several significant problems develop over time. These issues can range from unpleasant odors to severe health hazards and structural damage to your home.
Evaporation and the P-Trap Problem
Every toilet has a U-shaped pipe called a P-trap, which is designed to hold a small amount of water. This water acts as a crucial barrier, blocking sewer gases from entering your home. When a toilet isn’t flushed for months or years, this water evaporates completely.
Once the P-trap is dry, there is nothing to stop harmful and foul-smelling gases like hydrogen sulfide from seeping into your living space. Exposure to these gases can cause headaches, nausea, and other health issues, making a dry P-trap a significant concern.
Dried and Failed Seals
A toilet has several rubber gaskets and seals, including the critical wax ring at its base. These components are designed to stay moist. Over years of disuse, they can dry out, become brittle, and crack.
A compromised wax ring is a major problem. When you finally flush the toilet, water can leak from the base, often unseen, damaging the subfloor and potentially causing structural rot or mold growth. Other dried-out seals within the tank can also fail, leading to leaks and water waste.
Step-by-Step Guide to Recommissioning an Unused Toilet
Bringing a long-dormant toilet back to life requires a careful and methodical approach. Do not simply flush it and walk away. Follow these steps to inspect, clean, and safely test the toilet before regular use.
Step 1: Initial Safety Inspection
Before you do anything with the water, perform a thorough visual inspection of the entire toilet. Look for any signs of damage that may have occurred while it was sitting idle.
Pay close attention to the porcelain bowl and tank, searching for hairline cracks. These cracks can worsen under the pressure of refilling and flushing, leading to leaks or even a complete failure of the fixture. If you notice a strange burnt hair smell in bathroom areas, it could indicate underlying electrical issues, but it’s wise to ensure it’s not related to sewer gas from a dry trap.
Step 2: Manually Refill the Bowl
Your first action should be to restore the P-trap’s water barrier. Slowly pour about a gallon of water directly into the toilet bowl. This will immediately block any sewer gases from entering the room.
Listen for any unusual sounds and watch to see if the water level in the bowl remains stable. If the water level drops, it could indicate a crack in the bowl or the internal trap, which is a serious issue requiring professional attention.
Step 3: Inspect the Tank and Its Components
Carefully lift the lid off the toilet tank and look inside. You will likely find sediment, mold, or mildew. Examine the rubber flapper, fill valve, and other components for signs of decay or brittleness.
These parts are often the first to fail after long periods of disuse. If they look worn or cracked, it is best to replace them before turning on the water supply. Replacement kits are widely available and relatively inexpensive.
Step 4: Deep Cleaning the Bowl and Tank
Stagnant water and humid conditions are a breeding ground for bacteria and mold. A thorough cleaning is essential for hygiene. Start by using a toilet brush and a quality toilet bowl cleaner to scrub the inside of the bowl.
For the tank, use a solution of vinegar or a mild bleach mixture to clean the interior surfaces. Avoid harsh chemicals that could damage the rubber parts. For stubborn mineral deposits, a pumice stone can be effective, but use it gently to avoid scratching the porcelain.
Turning on the Water and Testing for Leaks
Once you have completed the initial inspection and cleaning, you can proceed with turning on the water. This phase is critical for identifying any leaks that weren’t visible before.
Slowly Open the Shut-off Valve
Locate the water supply shut-off valve, usually on the wall behind the toilet. Turn it on slowly, only about a quarter of the way at first. This allows the tank to fill gradually and prevents a sudden surge of pressure that could damage old components.
As the tank fills, listen for any hissing sounds and watch closely for drips around the valve, the supply line connections, and the base of the toilet. If you see any signs of a leak, turn the water off immediately.
The First Flush and Observation
Once the tank is full and you’ve confirmed there are no immediate leaks, it’s time for the first flush. Press the handle and watch carefully as the water flows from the tank to the bowl and down the drain.
Observe the base of the toilet for any signs of water seeping out. Check the tank-to-bowl connection as well. A successful flush should be followed by the tank refilling properly without any continuous running water.
Potential Problems and When to Call a Plumber
Even with careful preparation, you might encounter issues that require professional help. Recognizing these signs early can save you from costly repairs down the line.
Identifying Serious Issues
Some problems are too complex for a simple DIY fix. If you encounter any of the following, it is highly recommended to contact a licensed plumber:
- Persistent Leaks: If you’ve tightened connections and still see water, especially around the base.
- Cracks in the Porcelain: Hairline cracks can quickly become major breaks under pressure.
- Gurgling or Slow Drains: This could indicate a blockage further down the sewer line.
- Unstable Toilet: If the toilet rocks or feels loose, the flange may be broken.
Attempting to fix these issues without the proper expertise can lead to more significant damage. For major renovations, understanding the cost to cut basement concrete floor for plumbing can provide insight into the complexities of larger plumbing jobs.
Understanding Repair Costs
To help you budget for potential issues, here is a table outlining common problems with an unused toilet and their estimated repair costs. Keep in mind that prices can vary based on your location and the complexity of the job.
| Problem | Common Cause | Estimated DIY Cost | Estimated Professional Cost |
|---|---|---|---|
| Dried Out Wax Ring | Evaporation and age | $10 – $25 | $150 – $350 |
| Faulty Fill/Flapper Valve | Rubber degradation | $20 – $50 | $120 – $250 |
| Hairline Crack in Tank/Bowl | Age or stress | N/A (Replacement needed) | $350 – $600 (for new toilet installation) |
| Sewer Line Clog | Debris or root intrusion | $15 – $30 (for auger) | $200 – $500+ |
Long-Term Maintenance and Prevention
After successfully bringing your toilet back into service, a little preventative maintenance can keep it running smoothly and prevent future issues. This is especially important for toilets that will continue to be used infrequently.
Tips for Infrequently Used Toilets
If a toilet in a guest bathroom or basement will not be used regularly, make it a point to flush it at least once every few weeks. This simple action keeps the P-trap full and the seals moist, preventing the two most common problems associated with disuse.
For long-term vacancies, consider adding a small amount of mineral oil to the bowl after flushing. The oil creates a barrier on the water’s surface, significantly slowing down evaporation. Also, be mindful of what gets put down your drains; for instance, learn the proper methods for the safe disposal guide for diatomaceous earth (DE) to avoid clogs.
Final Thoughts on Toilet Health
A toilet not used for years is more than just an out-of-sight, out-of-mind fixture. It requires careful attention before being put back into service. By following a structured process of inspection, cleaning, and testing, you can avoid common pitfalls and ensure the toilet is safe and functional. Never underestimate the importance of a properly sealed and functioning toilet for the overall health of your home’s plumbing and the safety of its occupants. Taking the time to recommission it correctly provides peace of mind and prevents costly future repairs.